简介
This guide explains how to replace the motherboard for your BlackBerry 7100g.
你所需要的
-
-
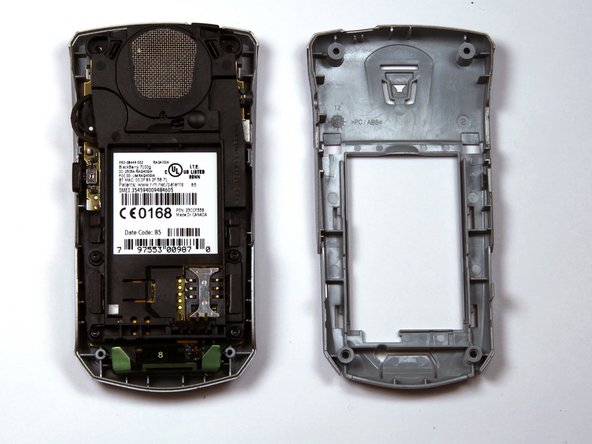
Turn over your BalckBerry 7100g so that the back cover is facing up.
-
Locate the battery cover release button near the bottom of the back panel.
-
-
-
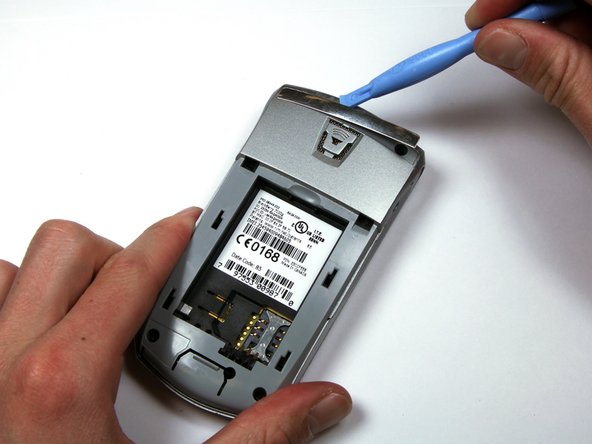
Locate the silver strip near the top of your BlackBerry.
-
Use a plastic opening tool to pry off the edge of the silver lining.
-
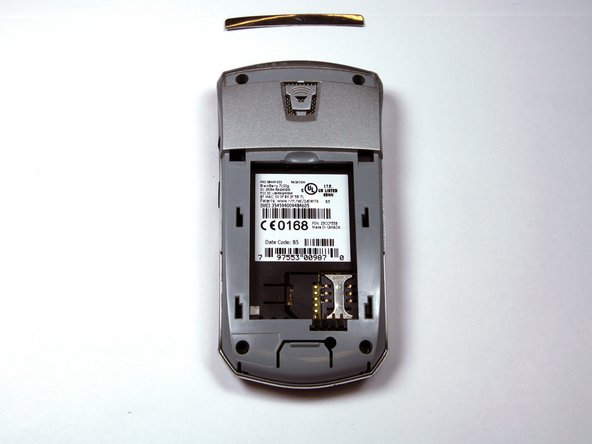
Slide the tool along the length of the silver strip to completely remove it.
-
-
-
-
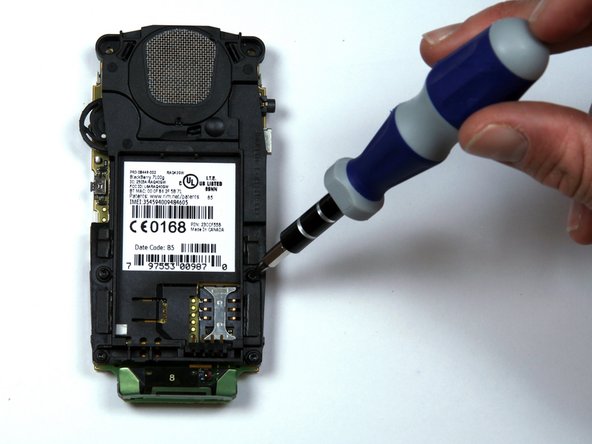
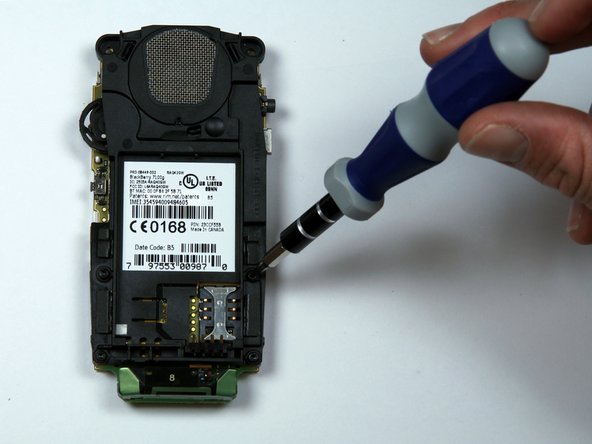
Turn over the motherboard so that the speaker is facing up.
-
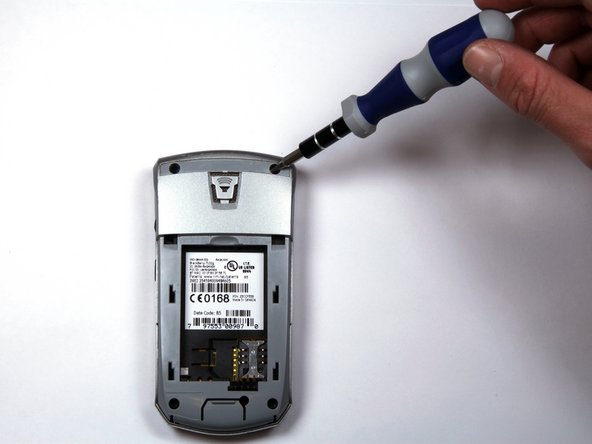
Locate and unscrew the four (4) screws near the bottom of the motherboard, using a T6 screwdriver.
-
-
-
Turn the "guts" over so the speaker is facing up.
-
Locate and unscrew the four (4) screws near the bottom of the motherboard, using a T6 screwdriver.
-
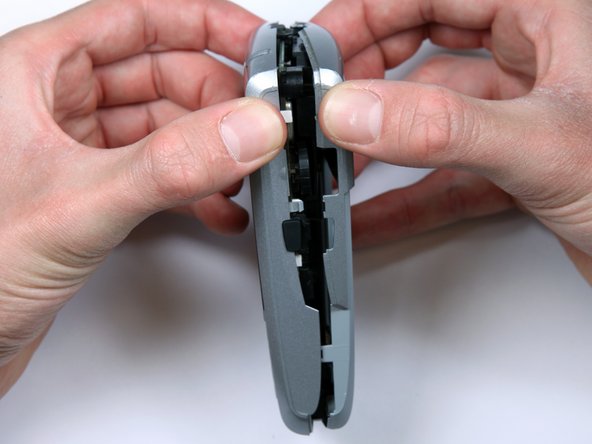
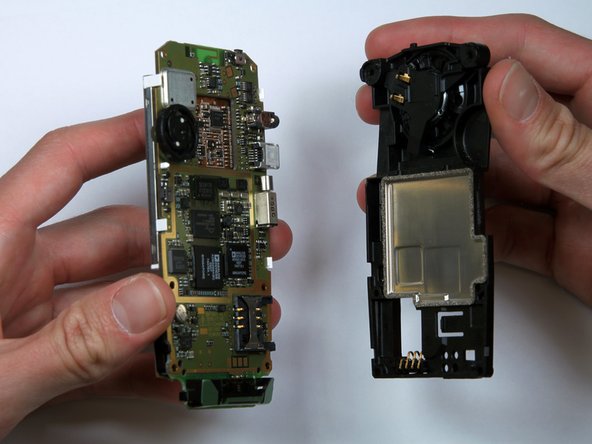
Separate the battery housing from the motherboard.
-
-
-
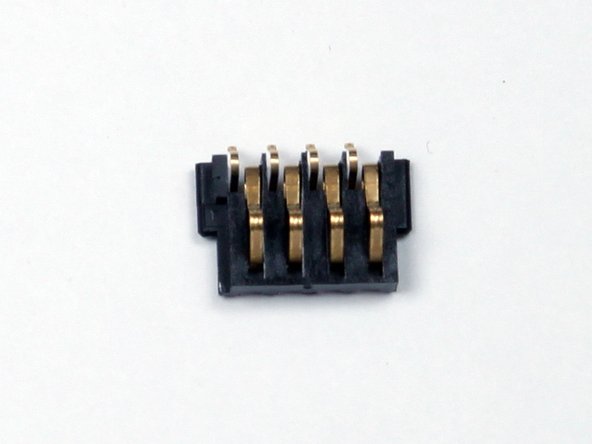
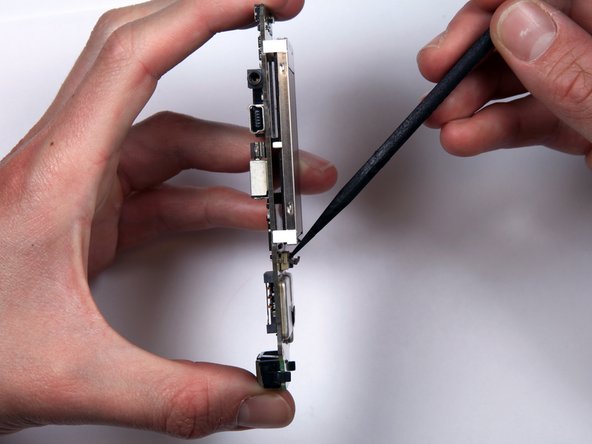
Locate the ribbon connector below the bottom of the screen.
-
Use a spudger to flip up the connector.
-


To reassemble your device, follow these instructions in reverse order.
To reassemble your device, follow these instructions in reverse order.
另外一个人完成了本指南。
团队

Cal Poly, Team 25-87, Amido Spring 2010 Cal Poly, Team 25-87, Amido Spring 2010 的会员
CPSU-AMIDO-S10S25G87
4 名成员
创作了16篇指南