跳转到主内容
加入维修社区 - 创建账户

Back Cover Screw Access

仅作为前提条件
本指南仅提供前提条件!本指南是另一个程序的一部分,不能单独使用。

你所需要的

  1. Back Cover Screw Access, Prepare your controller for disassembly: 步骤 1 中的图像 1,2 Back Cover Screw Access, Prepare your controller for disassembly: 步骤 1 中的图像 2,2
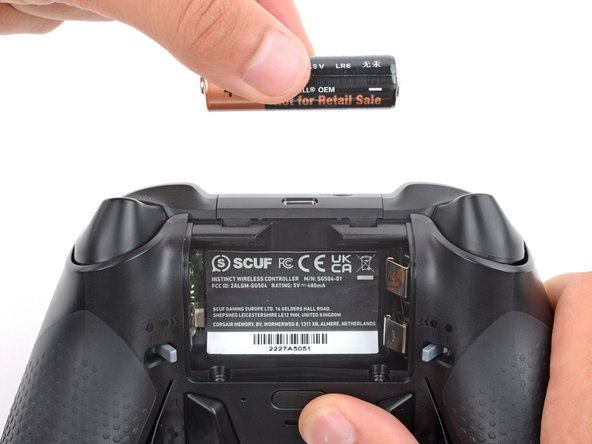
    • Unplug all cables from your controller before starting.

    • Completely power off your controller.

    • Due to the controller’s odd shape, it can be helpful to stabilize it as you work. To prevent damage, consider laying it on a soft surface like a cloth or towel.

  2. Back Cover Screw Access, Remove the battery cover: 步骤 2 中的图像 1,2 Back Cover Screw Access, Remove the battery cover: 步骤 2 中的图像 2,2
    • Weak magnets and two clips along the bottom edge secure the battery cover to the controller.

    • Slide the battery cover away from the controller to remove it.

  3. Back Cover Screw Access, Remove the batteries: 步骤 3 中的图像 1,3 Back Cover Screw Access, Remove the batteries: 步骤 3 中的图像 2,3 Back Cover Screw Access, Remove the batteries: 步骤 3 中的图像 3,3
    • If your batteries are starting to corrode, clean the contacts and replace the batteries.

    • Use your fingers to remove the batteries.

    • During reassembly, insert the batteries so their positive (+) and negative () ends match up with the markings on the battery contacts.

  4. Back Cover Screw Access, Heat the battery sticker: 步骤 4 中的图像 1,2 Back Cover Screw Access, Heat the battery sticker: 步骤 4 中的图像 2,2
    • The sticker in the battery recess hides a back cover screw.

    • If you don't care about damaging the sticker, you can puncture through the center and skip the next step.

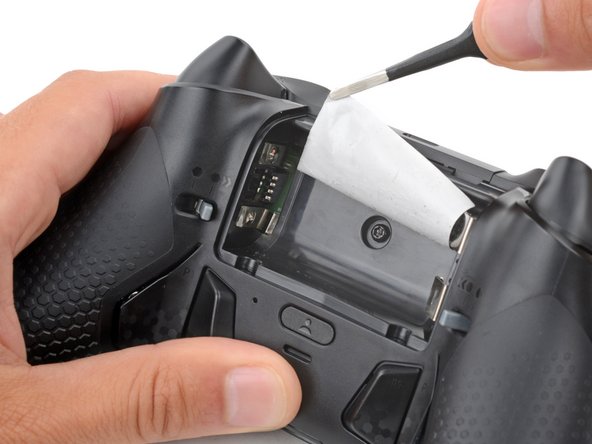
    • Use a hair dryer to heat the sticker and soften the adhesive securing it.

    • The sticker can be peeled without heating, but you risk tearing it.

  5. Back Cover Screw Access, Peel up the battery sticker: 步骤 5 中的图像 1,3 Back Cover Screw Access, Peel up the battery sticker: 步骤 5 中的图像 2,3 Back Cover Screw Access, Peel up the battery sticker: 步骤 5 中的图像 3,3
    在这个步骤中使用的工具:
    Tweezers
    $4.99
    • Use the point of a spudger to push up a corner of the sticker until you can grab it with a pair of blunt nose tweezers.

    • Use your tweezers to peel up the sticker until the back cover screw is accessible.

结论

To reassemble your device, follow these instructions in reverse order.

Spencer Day

于09/14/22注册

158,999 声望

创作了1,043篇指南

团队

iFixit iFixit 的会员

Staff

123 名成员

创作了23,918篇指南

0指南评论

添加评论

浏览统计数据:

过去 24 小时: 0

过去 7 天: 5

过去 30 天: 6

总计 43