跳转到主内容

BRCK v1 Battery Replacement

你所需要的

  1. BRCK v1 Battery Replacement, Antenna: 步骤 1 中的图像 1,1
    • Stand the device on its side so the antenna is sitting on the top.

  2. BRCK v1 Battery Replacement: 步骤 2 中的图像 1,2 BRCK v1 Battery Replacement: 步骤 2 中的图像 2,2
    • Use the tweezers to grip the neck of the antenna(the part closest to the device).

    • Use opposite hand to twist off the body of the antenna.

  3. BRCK v1 Battery Replacement, Top Cover: 步骤 3 中的图像 1,1
    • Place the face of the device showing BRCK face up.

  4. BRCK v1 Battery Replacement: 步骤 4 中的图像 1,1
    • Remove the four screws(4mm hex head) on the corners of the device with a Hex 2.0 Screwdriver.

  5. BRCK v1 Battery Replacement: 步骤 5 中的图像 1,1
    • Remove the top cover.

  6. BRCK v1 Battery Replacement, Motherboard: 步骤 6 中的图像 1,2 BRCK v1 Battery Replacement, Motherboard: 步骤 6 中的图像 2,2
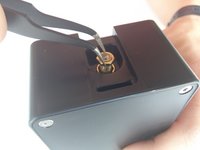
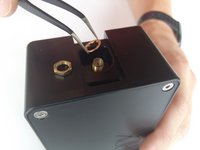
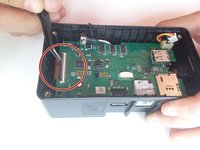
    • Remove the nut and washer from the RF connector, located where the antenna was connected.

  7. BRCK v1 Battery Replacement: 步骤 7 中的图像 1,2 BRCK v1 Battery Replacement: 步骤 7 中的图像 2,2
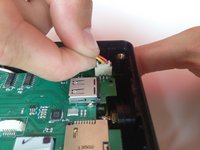
    • Unplug the red, black, and yellow wire connection by lifting up.

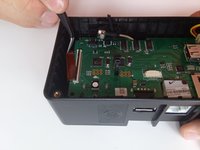
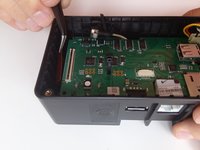
  8. BRCK v1 Battery Replacement: 步骤 8 中的图像 1,3 BRCK v1 Battery Replacement: 步骤 8 中的图像 2,3 BRCK v1 Battery Replacement: 步骤 8 中的图像 3,3
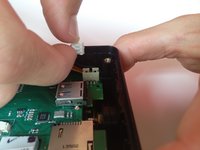
    • Carefully insert tweezers under the black tab, and lift to release the clip.

    • Slide the ribbon out from under the clip to free the motherboard.

  9. BRCK v1 Battery Replacement: 步骤 9 中的图像 1,1
    • Remove outside rubber covers by lifting them out of place.

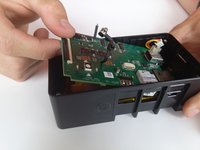
  10. BRCK v1 Battery Replacement: 步骤 10 中的图像 1,3 BRCK v1 Battery Replacement: 步骤 10 中的图像 2,3 BRCK v1 Battery Replacement: 步骤 10 中的图像 3,3
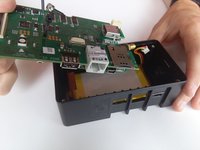
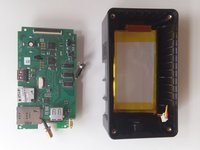
    • Slowly lift the motherboard out from the device by lifting it from the end next to the ribbon connection.

    • Lift and pull out of place.

  11. BRCK v1 Battery Replacement, Battery: 步骤 11 中的图像 1,3 BRCK v1 Battery Replacement, Battery: 步骤 11 中的图像 2,3 BRCK v1 Battery Replacement, Battery: 步骤 11 中的图像 3,3
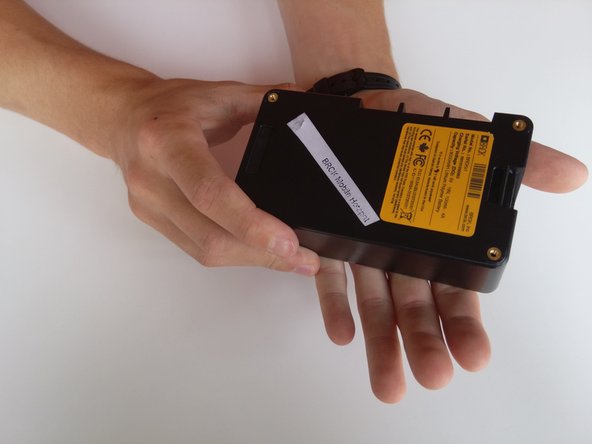
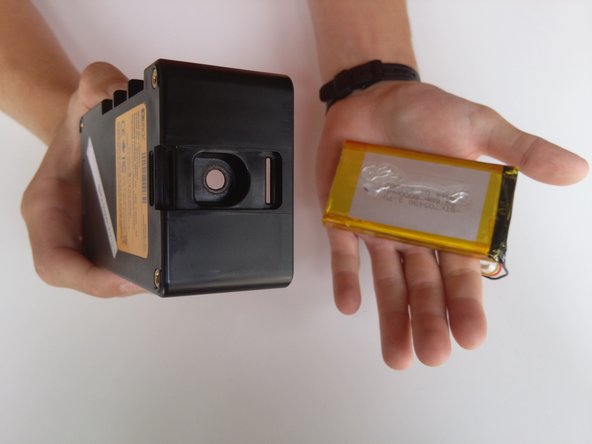
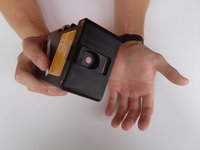
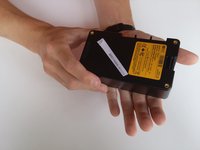
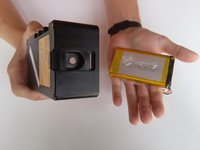
    • Flip device upside down. Hold the device and tap into your other hand with varying force to remove battery.

    • This may take a few tries to remove the battery.

结论

To reassemble your device, follow these instructions in reverse order.

Jeret Buerger

于04/01/15注册

501 声望

创作了5篇指南

团队

Cal Poly, Team 12-3, Lancaster Spring 2015 Cal Poly, Team 12-3, Lancaster Spring 2015 的会员

CPSU-LANCASTER-S15S12G3

3 名成员

创作了14篇指南

0条评论

添加评论

浏览统计数据:

过去 24 小时: 0

过去 7 天: 0

过去 30 天: 2

总计 205