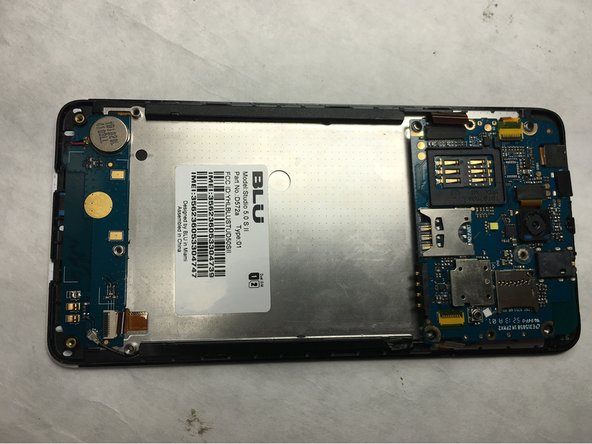
跳转到主内容

BLU Studio 5.0 S II Screen Replacement

你所需要的

  1. BLU Studio 5.0 S II Screen Replacement, Remove back cover: 步骤 1 中的图像 1,1
    • Remove the back cover of the phone with the plastic opening tool, or your fingers.

  2. BLU Studio 5.0 S II Screen Replacement, Remove battery: 步骤 2 中的图像 1,1
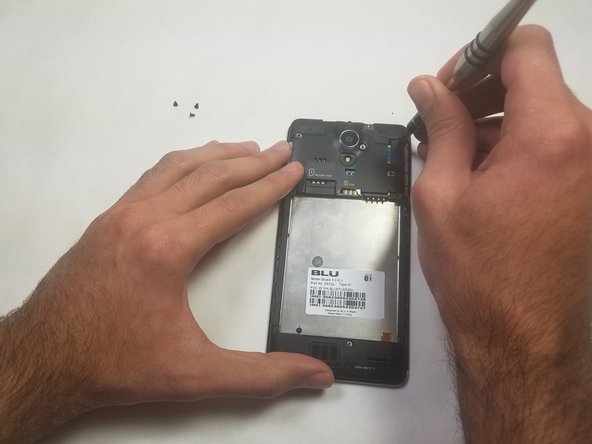
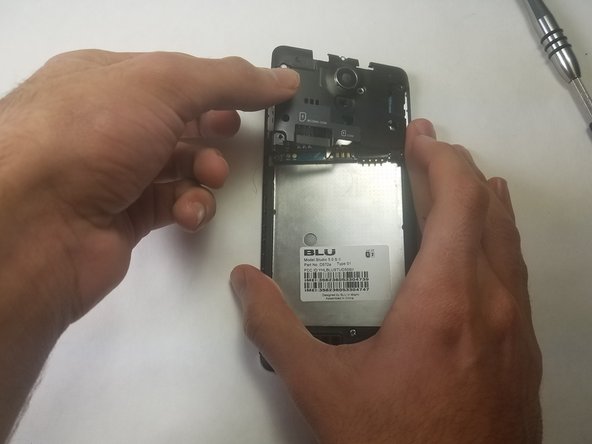
    • Remove the battery from the phone with the plastic opening tool, or your fingers.

  3. BLU Studio 5.0 S II Screen Replacement, Motherboard: 步骤 3 中的图像 1,2 BLU Studio 5.0 S II Screen Replacement, Motherboard: 步骤 3 中的图像 2,2
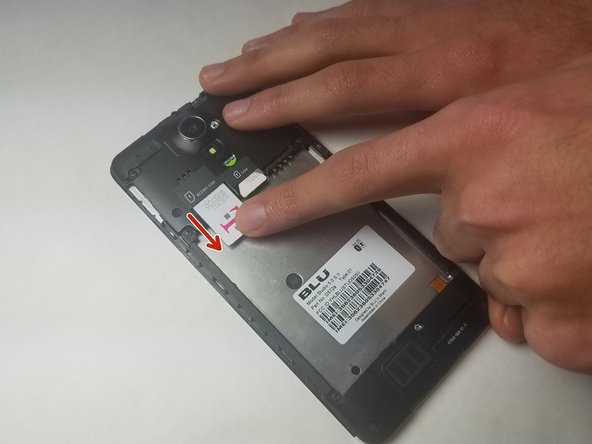
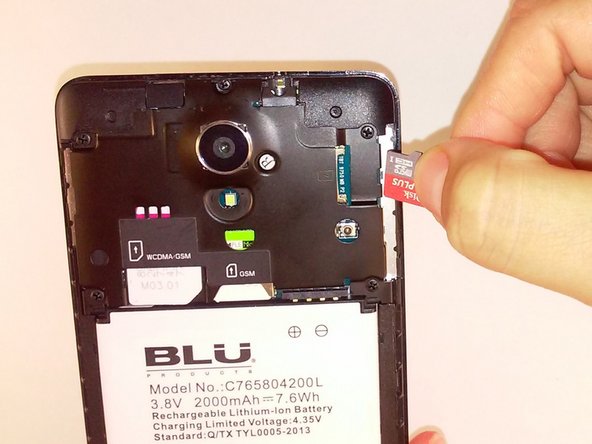
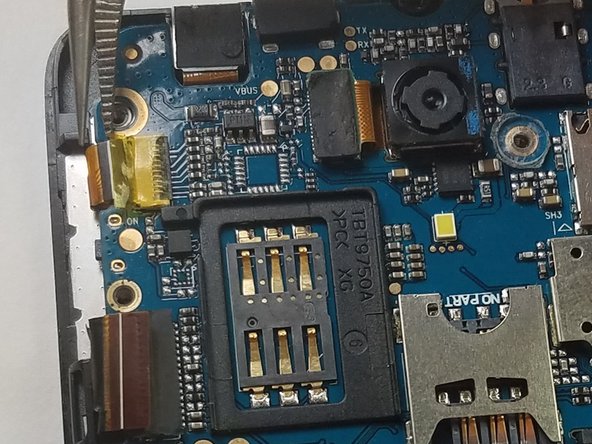
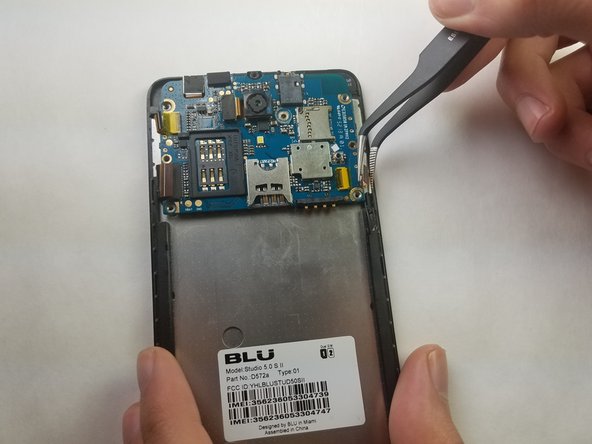
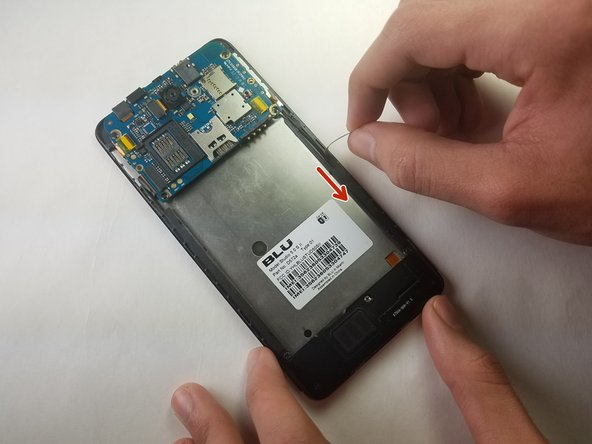
    • Remove the microSD and SIM card. Gently tug on the microSD and SIM card to slide them out of their insert.

  4. BLU Studio 5.0 S II Screen Replacement: 步骤 4 中的图像 1,2 BLU Studio 5.0 S II Screen Replacement: 步骤 4 中的图像 2,2
    • Locate the 5 black 3.5mm screws and the 1 3.5mm silver screw on the top back plate.

    • Remove the 6 3.5mm screws by using a Phillips #00 screwdriver.

  5. BLU Studio 5.0 S II Screen Replacement: 步骤 5 中的图像 1,2 BLU Studio 5.0 S II Screen Replacement: 步骤 5 中的图像 2,2
    • Remove the inner top back black plate.

  6. BLU Studio 5.0 S II Screen Replacement: 步骤 6 中的图像 1,2 BLU Studio 5.0 S II Screen Replacement: 步骤 6 中的图像 2,2
    • Locate the 2 black 3.5mm screws on the motherboard.

    • Remove the black 3.5 mm screws using a Phillips #00 screwdriver.

  7. BLU Studio 5.0 S II Screen Replacement: 步骤 7 中的图像 1,3 BLU Studio 5.0 S II Screen Replacement: 步骤 7 中的图像 2,3 BLU Studio 5.0 S II Screen Replacement: 步骤 7 中的图像 3,3
    在这个步骤中使用的工具:
    Tweezers
    $4.99
    购买
    • Locate the 2 orange ribbons on opposite sides.

    • Carefully remove the two ribbon cables using tweezers.

    • Gently rock the cable back and forth equally from both sides to not damage the pins.

  8. BLU Studio 5.0 S II Screen Replacement: 步骤 8 中的图像 1,2 BLU Studio 5.0 S II Screen Replacement: 步骤 8 中的图像 2,2
    • Gently rock the plastic opening tool back and forth until the motherboard releases from the phone.

    • Adhesion, identified with red circles, bonds the motherboard to the chassis. This may require extra effort to lift off from back of phone.

  9. BLU Studio 5.0 S II Screen Replacement: 步骤 9 中的图像 1,2 BLU Studio 5.0 S II Screen Replacement: 步骤 9 中的图像 2,2
    • Follow the wire from the motherboard.

    • Remove the black lining covering the wire.

  10. BLU Studio 5.0 S II Screen Replacement: 步骤 10 中的图像 1,2 BLU Studio 5.0 S II Screen Replacement: 步骤 10 中的图像 2,2
    • Locate the 5 black screws on inner black lower plate.

    • Remove the black 3.5 mm screws using a Phillips #00 screwdriver.

  11. BLU Studio 5.0 S II Screen Replacement: 步骤 11 中的图像 1,2 BLU Studio 5.0 S II Screen Replacement: 步骤 11 中的图像 2,2
    • Remove the bottom inner back plate.

  12. BLU Studio 5.0 S II Screen Replacement: 步骤 12 中的图像 1,2 BLU Studio 5.0 S II Screen Replacement: 步骤 12 中的图像 2,2
    • Holding the cable with the removal tool, gently pull in the direction of the cable to remove the connector from its socket.

    • Gently rock the cable back and forth equally from both sides to not damage the pins.

  13. BLU Studio 5.0 S II Screen Replacement: 步骤 13 中的图像 1,1
    • Remove the whole motherboard.

    • The Motherboard contains the headphone jack and the power button.

  14. BLU Studio 5.0 S II Screen Replacement, Screen: 步骤 14 中的图像 1,2 BLU Studio 5.0 S II Screen Replacement, Screen: 步骤 14 中的图像 2,2
    • Peel off the bottom back with finger or supdger.

    • CAUTION: Adhesive is attached to the bottom circuitboard. May require extra effort to remove.

结论

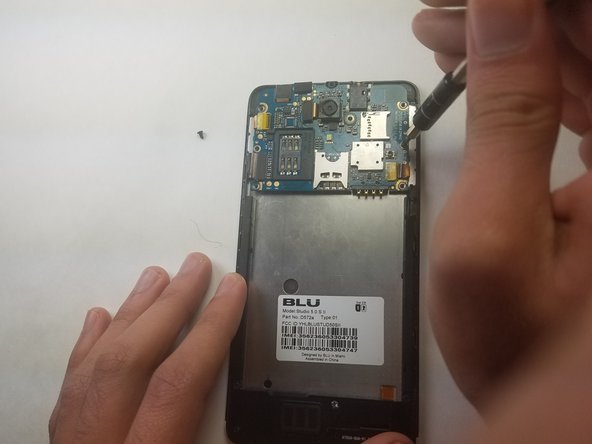
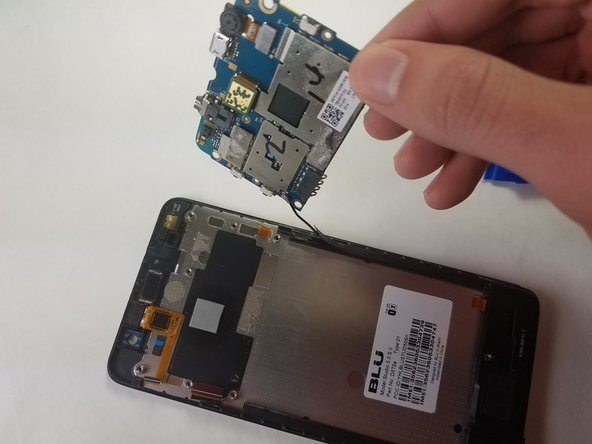
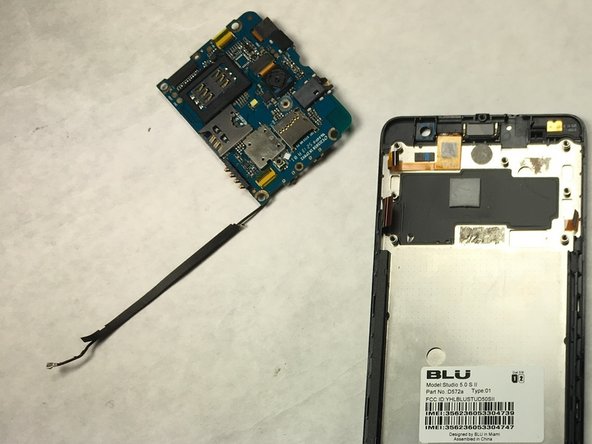
To reassemble your device, follow these instructions in reverse order with the screen replacement.

2等其他人完成本指南。

Curt Collingwood

于03/01/17注册

261 声望

创作了2篇指南

团队

IUPUI, Team S2-G3, Harley Spring 2017 IUPUI, Team S2-G3, Harley Spring 2017 的会员

IUPUI-HARLEY-S17S2G3

4 名成员

创作了3篇指南

0条评论

添加评论

浏览统计数据:

过去 24 小时: 0

过去 7 天: 6

过去 30 天: 9

总计 782