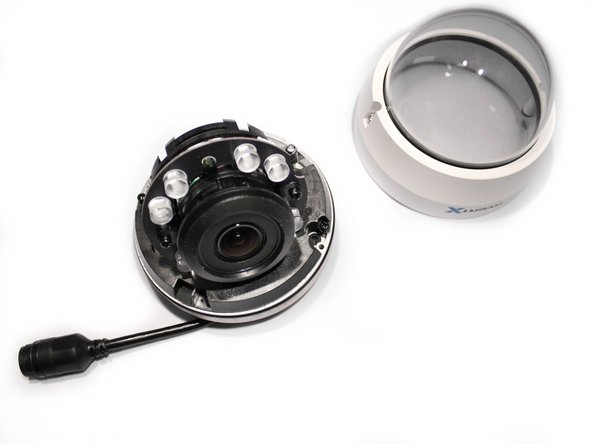
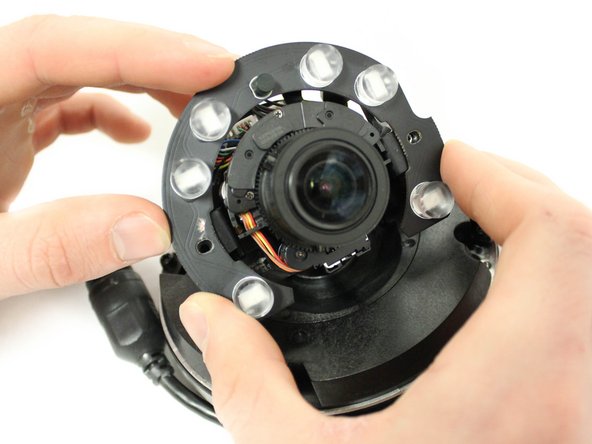
跳转到主内容

AvertX HD810 Camera Replacement

你所需要的

  1. AvertX HD810 Camera Replacement, Clear Dome Cover: 步骤 1 中的图像 1,3 AvertX HD810 Camera Replacement, Clear Dome Cover: 步骤 1 中的图像 2,3 AvertX HD810 Camera Replacement, Clear Dome Cover: 步骤 1 中的图像 3,3
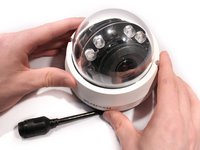
    • Lift off the paintable snap-on cover from the AvertX HD810 dome security camera.

    • Optimally, the device should be turned off and the PoE (Power over Ethernet) unplugged.

  2. AvertX HD810 Camera Replacement: 步骤 2 中的图像 1,2 AvertX HD810 Camera Replacement: 步骤 2 中的图像 2,2
    • Loosen both 10mm screws on either side of the clear dome cover housing using a T10 Torx security screwdriver.

    • It is not recommended to remove the screws from the clear dome cover housing. The screws are apart of the cover and not intended to come out.

  3. AvertX HD810 Camera Replacement: 步骤 3 中的图像 1,3 AvertX HD810 Camera Replacement: 步骤 3 中的图像 2,3 AvertX HD810 Camera Replacement: 步骤 3 中的图像 3,3
    • Gently pull off the clear dome cover from the camera base.

  4. AvertX HD810 Camera Replacement, IR LED Lightboard: 步骤 4 中的图像 1,3 AvertX HD810 Camera Replacement, IR LED Lightboard: 步骤 4 中的图像 2,3 AvertX HD810 Camera Replacement, IR LED Lightboard: 步骤 4 中的图像 3,3
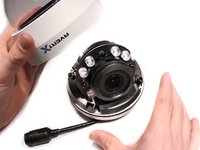
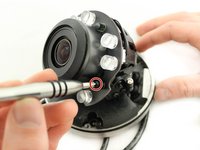
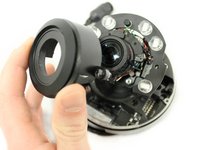
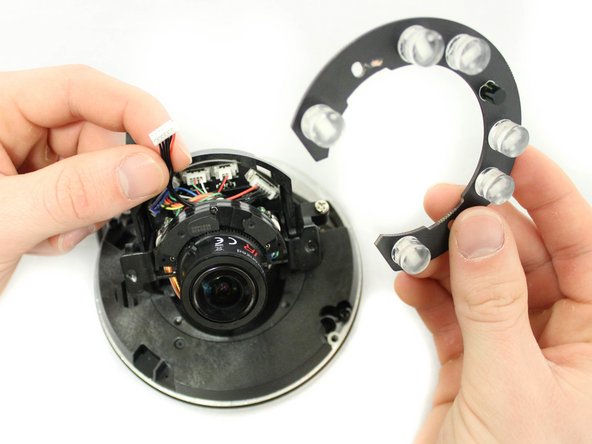
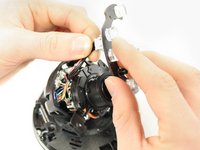
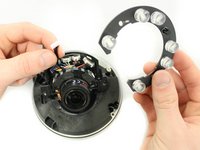
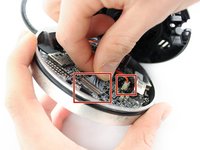
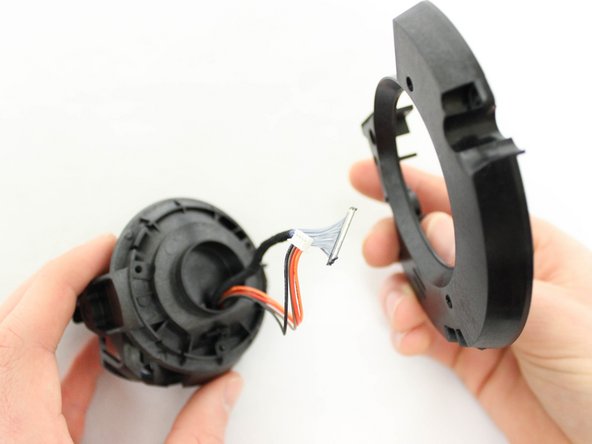
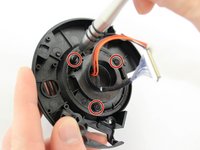
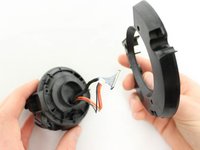
    • Use the PH1 screwdriver to remove or loosen both 10mm screws on either side of the inner protective lens cover. This will loosen both the cover and the IR LED lightboard.

    • The cover and the lightboard are two separate pieces held in place by these two screws. The cover should be set aside first before continuing with the lightboard.

  5. AvertX HD810 Camera Replacement: 步骤 5 中的图像 1,3 AvertX HD810 Camera Replacement: 步骤 5 中的图像 2,3 AvertX HD810 Camera Replacement: 步骤 5 中的图像 3,3
    • Pull the IR LED light board gently away from the camera to expose the connecting cable.

    • Firmly but gently detach the IR lED light board from its cable connector by pulling directly away from the connection port.

    • A spudger may be used to loosen a stubborn cable connection. Wedge the flat end of the spudger between the connector and the port to ease it off of the port's prongs.

  6. AvertX HD810 Camera Replacement, 4 MP Camera: 步骤 6 中的图像 1,3 AvertX HD810 Camera Replacement, 4 MP Camera: 步骤 6 中的图像 2,3 AvertX HD810 Camera Replacement, 4 MP Camera: 步骤 6 中的图像 3,3
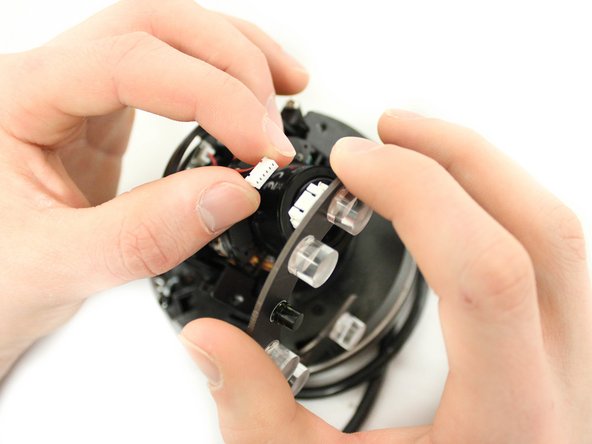
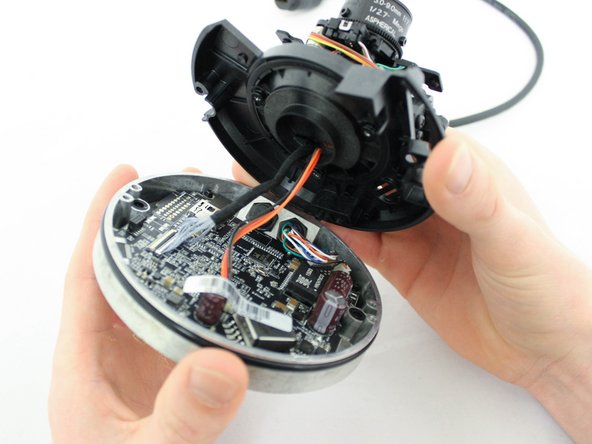
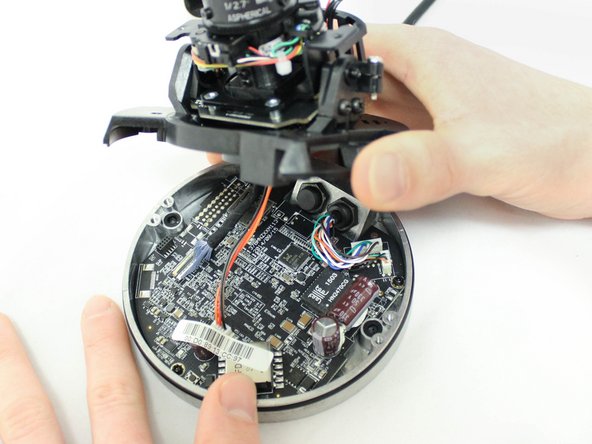
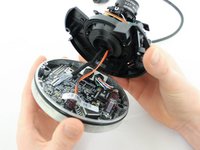
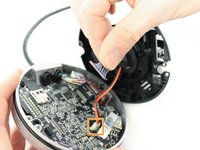
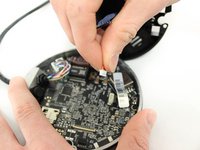
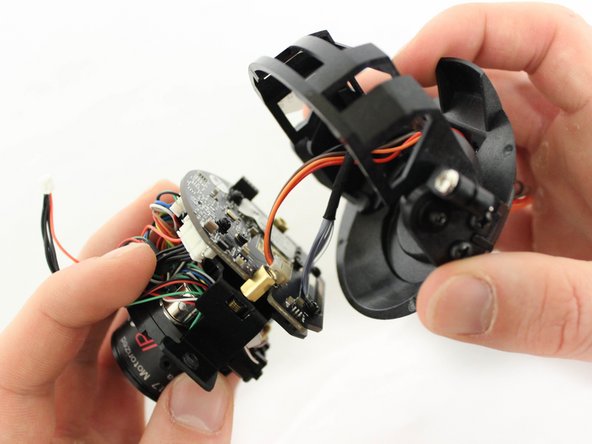
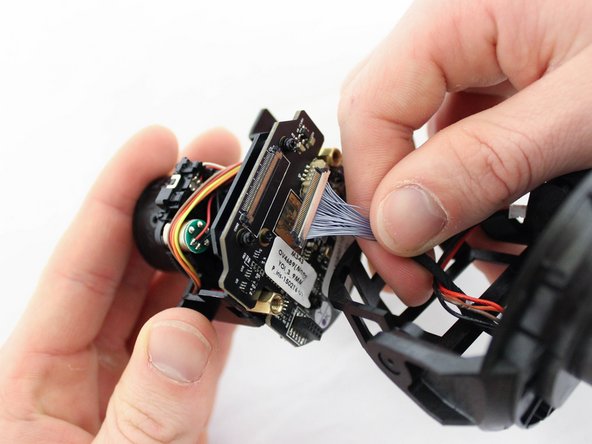
    • Using a PH1 screwdriver, remove the two 8mm screws holding the plastic base to the metal base of the camera.

    • Be sure to keep track of your screws and washers. Using the correct Phillips Head screwdriver will help prevent stripping the screws.

    • Careful when lifting the plastic base away from the metal base. There are two chords that may be damaged if pulled on.

  7. AvertX HD810 Camera Replacement: 步骤 7 中的图像 1,3 AvertX HD810 Camera Replacement: 步骤 7 中的图像 2,3 AvertX HD810 Camera Replacement: 步骤 7 中的图像 3,3
    • Disconnect the two cables from the camera base motherboard by gently but firmly pulling directly away from their respective ports.

  8. AvertX HD810 Camera Replacement: 步骤 8 中的图像 1,3 AvertX HD810 Camera Replacement: 步骤 8 中的图像 2,3 AvertX HD810 Camera Replacement: 步骤 8 中的图像 3,3
    • Remove the three 6mm screws with a PH1 screwdriver. These hold the camera's plastic housing to the plastic part of the camera base.

    • Do not lose the wide washers. Each of these screws have wide washers to keep the plastic housing in place during assembly.

  9. AvertX HD810 Camera Replacement: 步骤 9 中的图像 1,2 AvertX HD810 Camera Replacement: 步骤 9 中的图像 2,2
    • Gently tilt the camera forward in the cradle of the camera housing to get access to the two 10m screws.

    • Use a PH1 screwdriver to remove the two 10mm screws.

    • Pull away the camera housing once the screws have been removed.

  10. AvertX HD810 Camera Replacement: 步骤 10 中的图像 1,2 AvertX HD810 Camera Replacement: 步骤 10 中的图像 2,2
    • Remove the two cables gently but firmly by pulling directly away from their respective ports.

    • The camera housing will always stay attached to these cables. They should not be removed from this housing.

结论

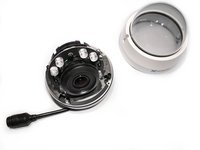
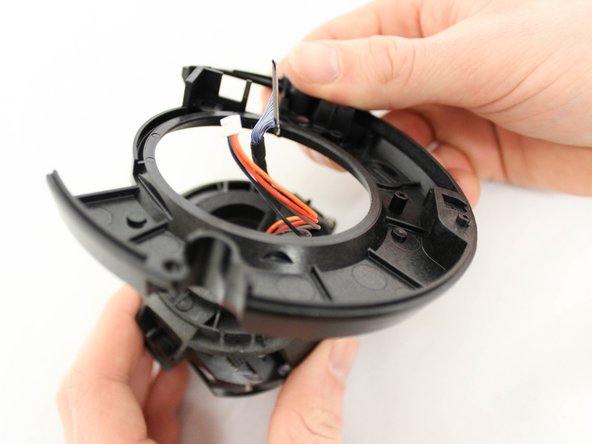
To reassemble your device, follow these instructions in reverse order.

0条评论

添加评论

浏览统计数据:

过去 24 小时: 0

过去 7 天: 3

过去 30 天: 5

总计 554