简介
If your Asus ZenBook Flip (model UX360C) screen isn’t producing clear visuals, distorted images, has a cracked screen, or has no visuals, use this guide to replace the screen.
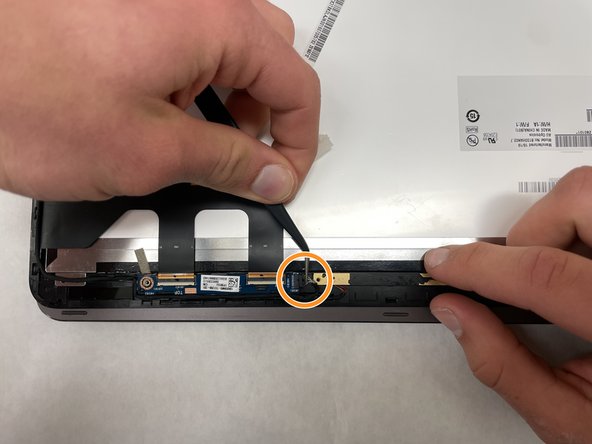
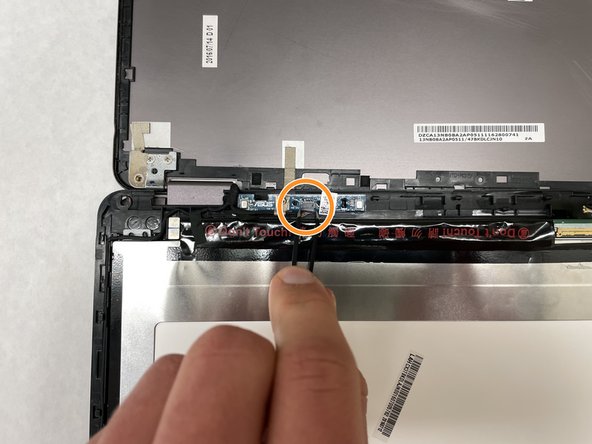
The laptop transmits information to LCD screen through an auxiliary cord. A faulty or cracked screen will transmit distorted visuals or no visuals at all.
你所需要的
-
-
Use a spudger to pry out the two rubber grommets from the front of the screen.
-
Remove the two 4mm Phillips Head #1 screws behind the grommets.
-
-


To reassemble your device, follow these instructions in reverse order.
To reassemble your device, follow these instructions in reverse order.
团队

IUPUI, Team 1-4, Harley Spring 2022 IUPUI, Team 1-4, Harley Spring 2022 的会员
IUPUI-HARLEY-S22S1G4
3 名成员
创作了3篇指南