简介
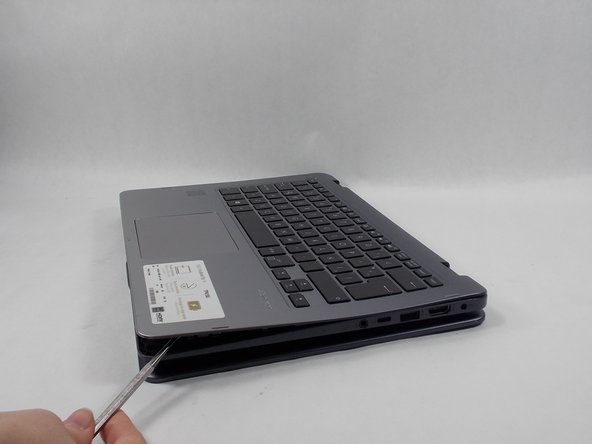
A display can eventually die due to extensive use, or a majority of the times, receive too much damage that it won't function properly. This guide should be followed in order to replace the LCD assembly.
你所需要的


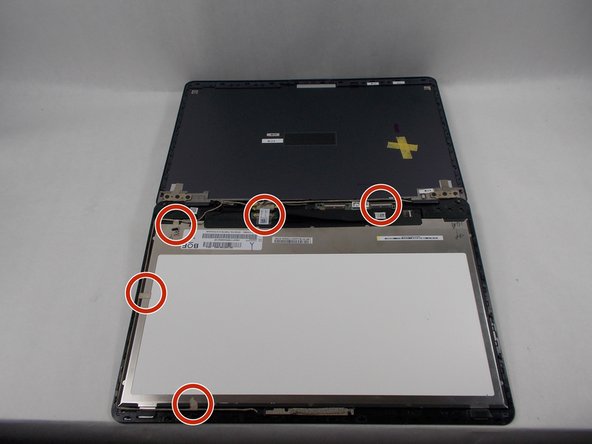

即将完成!
To reassemble your device, follow these instructions in reverse order.
结论
To reassemble your device, follow these instructions in reverse order.
2等其他人完成本指南。
