跳转到主内容

Asus VivoBook Q200E-BSI3T08 Battery Replacement

你所需要的

  1. Asus VivoBook Q200E-BSI3T08 Battery Replacement, Back Panel: 步骤 1 中的图像 1,1
    • Turn off the computer and unplug the charge cable.

    • If the computer is on or plugged in, it could cause electric shock.

    • Turn the computer upside down.

  2. Asus VivoBook Q200E-BSI3T08 Battery Replacement: 步骤 2 中的图像 1,1
    • Remove the nine Philips #00 screws holding the back panel in place (four 5.6mm, four 7.7mm, and one 9.2mm).

  3. Asus VivoBook Q200E-BSI3T08 Battery Replacement: 步骤 3 中的图像 1,2 Asus VivoBook Q200E-BSI3T08 Battery Replacement: 步骤 3 中的图像 2,2
    • Use a plastic opening tool to gently remove the back panel.

  4. Asus VivoBook Q200E-BSI3T08 Battery Replacement, Battery: 步骤 4 中的图像 1,1
    • Remove the eight 4.7mm Philips #00 screws holding the battery in place.

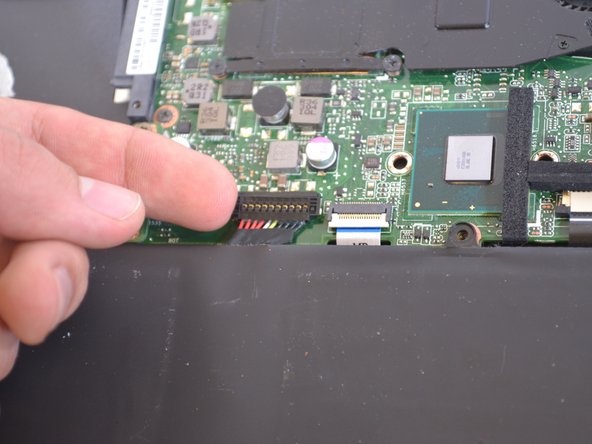
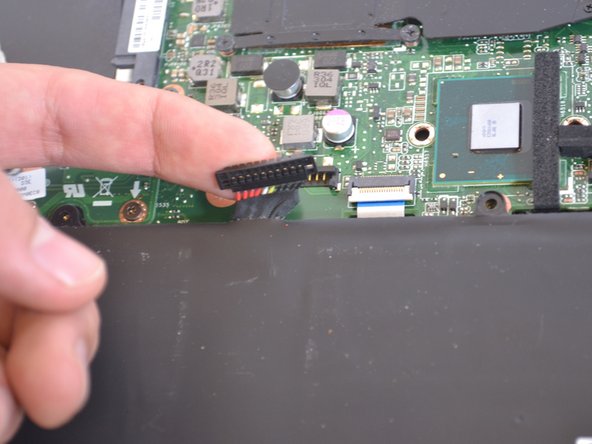
  5. Asus VivoBook Q200E-BSI3T08 Battery Replacement: 步骤 5 中的图像 1,3 Asus VivoBook Q200E-BSI3T08 Battery Replacement: 步骤 5 中的图像 2,3 Asus VivoBook Q200E-BSI3T08 Battery Replacement: 步骤 5 中的图像 3,3
    • The battery is attached by a set of wires.

    • Use your finger to disconnect the set of wires. It should come off very easily.

  6. Asus VivoBook Q200E-BSI3T08 Battery Replacement: 步骤 6 中的图像 1,2 Asus VivoBook Q200E-BSI3T08 Battery Replacement: 步骤 6 中的图像 2,2
    • Now just lift the battery out of place.

结论

To reassemble your device, follow these instructions in reverse order.

14等其他人完成本指南。

Maxim

于01/21/15注册

462 声望

撰写一个指南

团队

UWT Liner: Group 6 UWT Liner: Group 6 的会员

Community

3 名成员

创作了1篇指南

2条评论

Super helpful instructions. Especially mentioning which screws were different sizes, so I knew to keep the 3 different sizes for the back cover separated and noted which sizes went back where. Many thanks!

Albert Einstein - 回复

Great guide. Thanks!

weston.fisher - 回复

添加评论

浏览统计数据:

过去 24 小时: 0

过去 7 天: 1

过去 30 天: 9

总计 7,334