简介
This guide shows how to replace or upgrade the hard drive in your VivoBook Flip 14. The laptop uses an M.2 2280 connector, so be sure your replacement hard disk is the right dimensions.
This guide does not cover OS re-installation or data recovery.
你所需要的
-
-
After removing the hard disk, no data or operating system will be available on your laptop. Ensure that all important data you may wish to restore is backed up to removable media, or the cloud.
-
Ensure you also have operating system installation media or Asus recovery disks to reinstall your OS on the new hard disk.
-
-
-
Unplug the laptop, power it off, and turn it over.
-
Remove the four long screws, marked in red, and place them aside.
-
Remove the six shorter screws, marked in orange, and place them aside as well.
-
-
-
-
Starting from the power button area, insert a flat pry tool between the side and back of the laptop, and lever the back away from the rest of the case.
-
Continue around the rear (hinge side) of the laptop, ensuring that you insert the tool at the proper seam.
-
Once the sides and rear clips are pried free, the back can be gently swung away to unclip the front of the back.
-
-
-
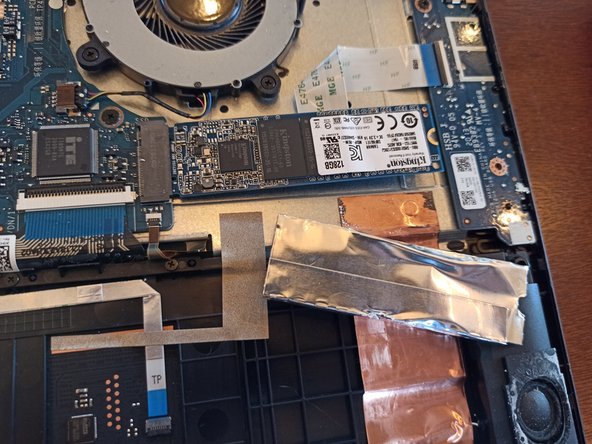
Our focus is the M.2 hard drive, highlighted in green.
-
Remove the retention screw, marked in orange, and set it aside.
-
Slide the protective sleeve off of the hard drive, and then firmly grip the long edges and wiggle the disk free from its black motherboard connector.
-


2等其他人完成本指南。
