简介
The motherboard is connected to everything within the computer, so if it sustains damage, likely the machine will not function smoothly.
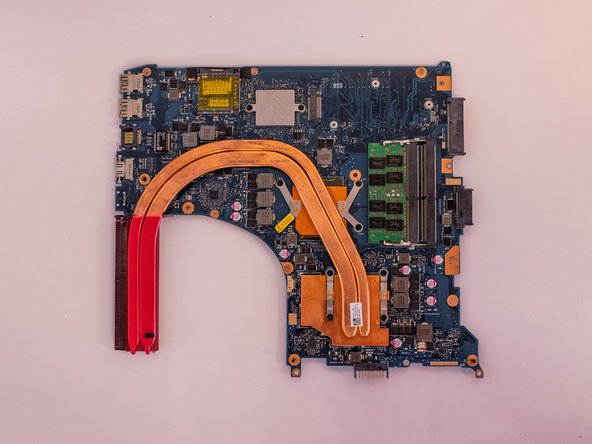
If you motherboard has been broken or exposed to water, this guide will show you how to remove it.
你所需要的
-
-
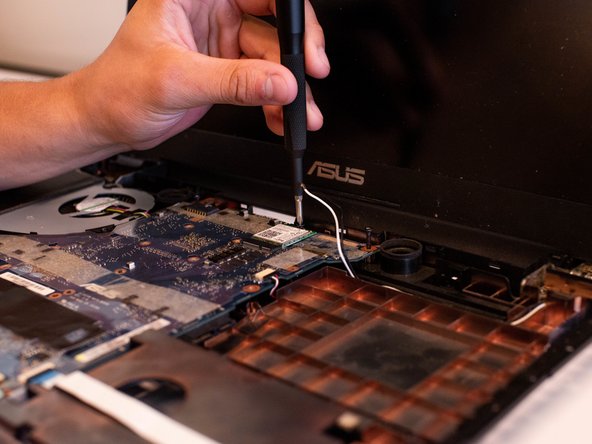
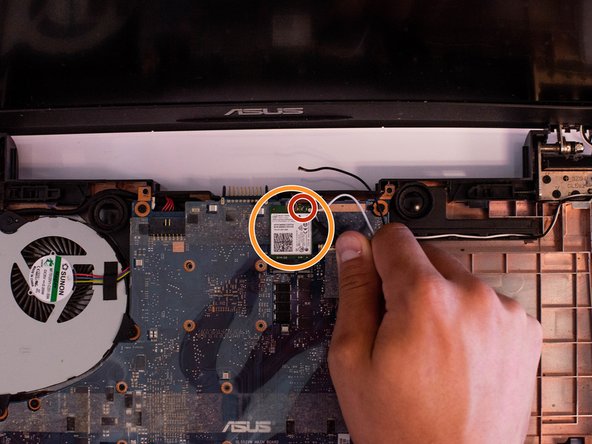
Remove the 1.6 mm and 9 mm screws from the back panel using the Phillips #1 screwdriver.
-
-


即将完成!
To reassemble your device, follow these instructions in reverse order.
结论
To reassemble your device, follow these instructions in reverse order.
团队

Embry-Riddle Aeronautical University, Team S15-G3, Lamothe Fall 2019 Embry-Riddle Aeronautical University, Team S15-G3, Lamothe Fall 2019 的会员
ERAU-LAMOTHE-F19S15G3
4 名成员
创作了6篇指南