跳转到主内容

Asus ROG GL551J Optical Drive Replacement

你所需要的

  1. Asus ROG GL551J Optical Drive Replacement, Battery: 步骤 1 中的图像 1,1
    • Lay the device on a flat surface with the battery facing up.

    • Be sure to wear ESD or Rubber gloves to protect the computer components.

  2. Asus ROG GL551J Optical Drive Replacement: 步骤 2 中的图像 1,1
    • Push the latch found below the battery to the unlock position.

  3. Asus ROG GL551J Optical Drive Replacement: 步骤 3 中的图像 1,1
    • Pull the battery out.

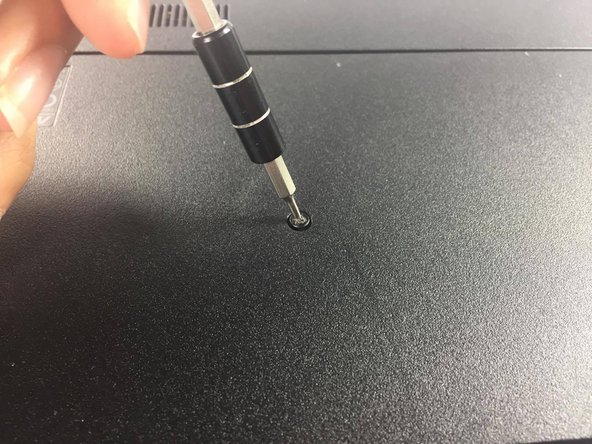
  4. Asus ROG GL551J Optical Drive Replacement, Optical Drive: 步骤 4 中的图像 1,2 Asus ROG GL551J Optical Drive Replacement, Optical Drive: 步骤 4 中的图像 2,2
    • Locate and unscrew the screw which connects the optical drive to the chassis

  5. Asus ROG GL551J Optical Drive Replacement: 步骤 5 中的图像 1,1
    • Grasp the edge of the optical drive

  6. Asus ROG GL551J Optical Drive Replacement: 步骤 6 中的图像 1,1
    • Pull on the optical drive gently. With little resistance, the optical drive should just slide out

结论

To reassemble your device, follow these instructions in reverse order.

4等其他人完成本指南。

Philip Muino

于02/15/17注册

179 声望

撰写一个指南

团队

USF Tampa, Team 5-4, Lacy Spring 2017 USF Tampa, Team 5-4, Lacy Spring 2017 的会员

USFT-LACY-S17S5G4

4 名成员

创作了5篇指南

一条评论

ok.so , if someone had replaced the dvd rom with a hard disk drive i nust do the same for replace the drive?

anix - 回复

添加评论

浏览统计数据:

过去 24 小时: 0

过去 7 天: 2

过去 30 天: 4

总计 1,961