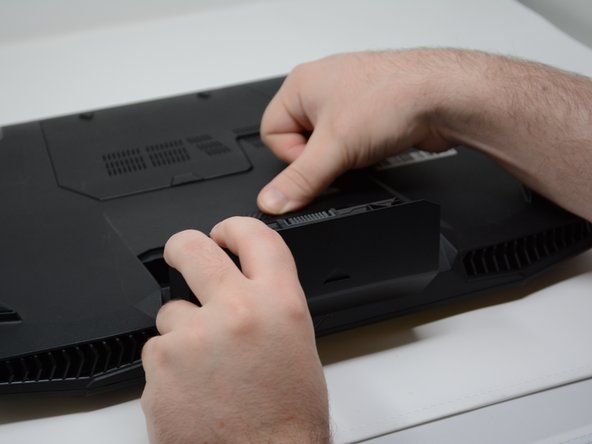
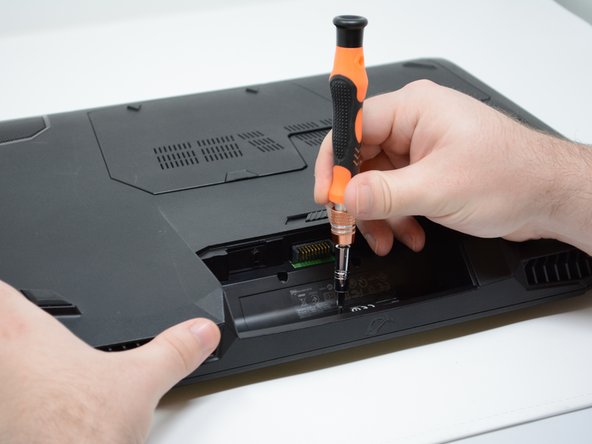
跳转到主内容

Asus ROG G750JM-BSI7N23 Soundbar/speaker Replacement

你所需要的

  1. Asus ROG G750JM-BSI7N23 Soundbar/speaker Replacement, Soundbar/speaker: 步骤 1 中的图像 1,2 Asus ROG G750JM-BSI7N23 Soundbar/speaker Replacement, Soundbar/speaker: 步骤 1 中的图像 2,2
    • Using a plastic opening tool, remove the two rubber tabs circled in red.

  2. Asus ROG G750JM-BSI7N23 Soundbar/speaker Replacement: 步骤 2 中的图像 1,2 Asus ROG G750JM-BSI7N23 Soundbar/speaker Replacement: 步骤 2 中的图像 2,2
    • Remove both of the 8mm Phillips #2 screws from these slots where the rubber caps were removed.

  3. Asus ROG G750JM-BSI7N23 Soundbar/speaker Replacement: 步骤 3 中的图像 1,2 Asus ROG G750JM-BSI7N23 Soundbar/speaker Replacement: 步骤 3 中的图像 2,2
    • Slide the tab to pop the battery out of its holder.

    • Pull the battery out of its slot.

  4. Asus ROG G750JM-BSI7N23 Soundbar/speaker Replacement: 步骤 4 中的图像 1,2 Asus ROG G750JM-BSI7N23 Soundbar/speaker Replacement: 步骤 4 中的图像 2,2
    • Remove the three 4mm Phillips #2 screws from the open battery slot as shown.

    • Remove the two 5mm Phillips #2 screws.

  5. Asus ROG G750JM-BSI7N23 Soundbar/speaker Replacement: 步骤 5 中的图像 1,3 Asus ROG G750JM-BSI7N23 Soundbar/speaker Replacement: 步骤 5 中的图像 2,3 Asus ROG G750JM-BSI7N23 Soundbar/speaker Replacement: 步骤 5 中的图像 3,3
    • Begin prying up on the plate as shown in the pictures.

  6. Asus ROG G750JM-BSI7N23 Soundbar/speaker Replacement: 步骤 6 中的图像 1,1
    • Detach the single connector using your plastic opening tool.

    • Remove the speaker bar.

结论

To reassemble your device, follow these instructions in reverse order.

0条评论

添加评论

浏览统计数据:

过去 24 小时: 0

过去 7 天: 1

过去 30 天: 2

总计 385