简介
This guide covers how to replace the fan for the Asus ROG G750JH-DB71.
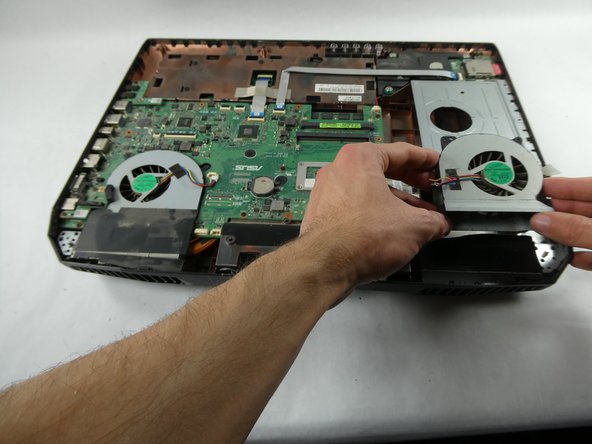
The fan provides cooling for all the internal components. After long term use of the laptop the components start to heat up. The fan will turn on a remove heat from inside the laptop. If your laptop is experiencing overheating after extended use, consider replacing the fan.
Before replacing the fan, inspect it, look to see if there's any buildup of dust or debris keeping the fan from working. If this is the case clean the fan with a cloth, cotton swab, or whatever you prefer. Make sure to also check the vents on the exterior of the laptop for any dust or debris.
你所需要的
-
-
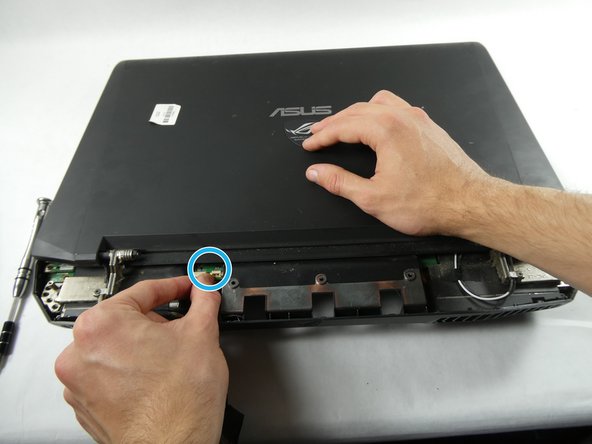
Use a spudger or your finger to lift up the plastic cover on the bottom of the laptop.
-
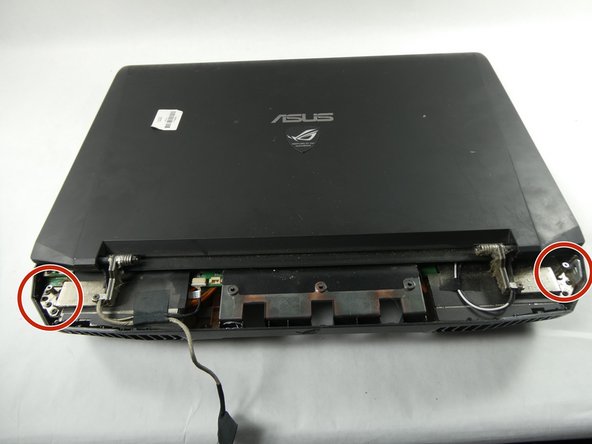
Under the plastic cover is a captive screw; unscrew it using a Phillips #00 screwdriver.
-
-


To reassemble your device, follow these instructions in reverse order.
To reassemble your device, follow these instructions in reverse order.
团队

UMass Dartmouth, Team 5-5, Sinclaire Fall 2022 UMass Dartmouth, Team 5-5, Sinclaire Fall 2022 的会员
UMASSD-SINCLAIRE-F22S5G5
4 名成员
创作了6篇指南