跳转到主内容

Asus G75VW-BHI7N07 Optical Drive Assembly Replacement

你所需要的

  1. Asus G75VW-BHI7N07 Optical Drive Assembly Replacement, Optical Drive: 步骤 1 中的图像 1,3 Asus G75VW-BHI7N07 Optical Drive Assembly Replacement, Optical Drive: 步骤 1 中的图像 2,3 Asus G75VW-BHI7N07 Optical Drive Assembly Replacement, Optical Drive: 步骤 1 中的图像 3,3
    • If you have power, press the eject button.

    • If you don't have power, use the opening tool to pry off the disk drive cover.

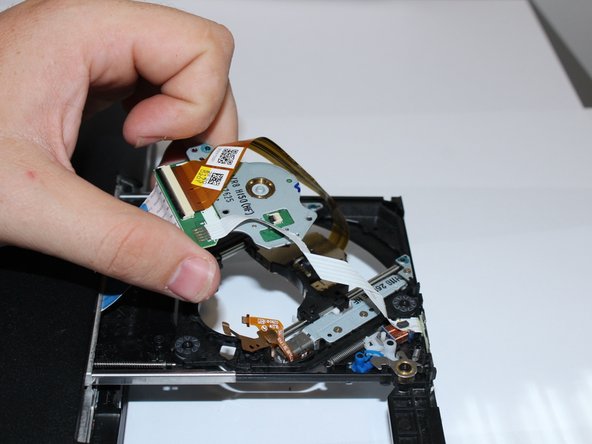
    • Press the Manual Eject button with the spudger and the disk drive should slide out. (Might need tweezers if it doesn't pop out immediately)

    • Once the disc drive pops out, flip the laptop over.

  2. Asus G75VW-BHI7N07 Optical Drive Assembly Replacement: 步骤 2 中的图像 1,2 Asus G75VW-BHI7N07 Optical Drive Assembly Replacement: 步骤 2 中的图像 2,2
    • Remove the 4 screws that hold down the metal plate with the J0 Phillips-head screwdriver.

    • Put the screws onto the magnetic pad, to avoid losing any.

    • Lift the metal plate off the optical drive with your fingers.

  3. Asus G75VW-BHI7N07 Optical Drive Assembly Replacement: 步骤 3 中的图像 1,2 Asus G75VW-BHI7N07 Optical Drive Assembly Replacement: 步骤 3 中的图像 2,2
    • Remove 3 screws of disc drive with the J0 Phillips-head screwdriver.

    • Pick up the disc drive assembly and pull it out.

  4. Asus G75VW-BHI7N07 Optical Drive Assembly Replacement: 步骤 4 中的图像 1,3 Asus G75VW-BHI7N07 Optical Drive Assembly Replacement: 步骤 4 中的图像 2,3 Asus G75VW-BHI7N07 Optical Drive Assembly Replacement: 步骤 4 中的图像 3,3
    • Remove optical assembly by hand.

    • Remove disc reader by removing 2 bolts from the top using the J0 Phillips-head screwdriver.

    • Lift the metal piece out.

    • Make sure no edges are sticking out when putting the metal plate back in place.

结论

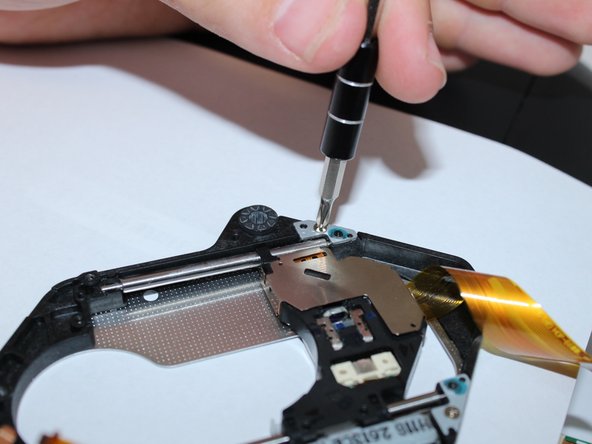
To reassemble your device, follow these instructions in reverse order.

另外一个人完成了本指南。

0条评论

添加评论

浏览统计数据:

过去 24 小时: 0

过去 7 天: 1

过去 30 天: 7

总计 785