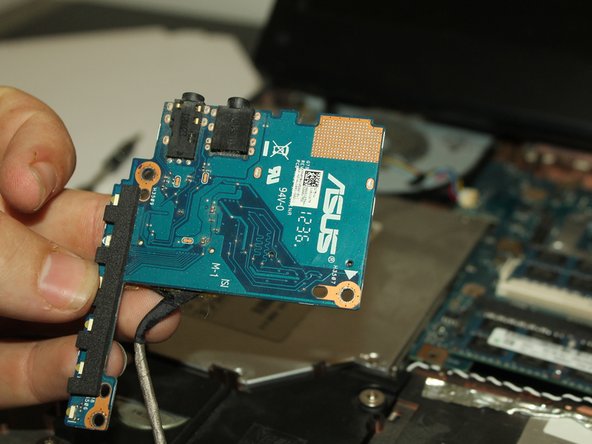
跳转到主内容

Asus G75VW-BHI7N07 Audio Jack Replacement

你所需要的

  1. Asus G75VW-BHI7N07 Audio Jack  Replacement, Audio Jack: 步骤 1 中的图像 1,3 Asus G75VW-BHI7N07 Audio Jack  Replacement, Audio Jack: 步骤 1 中的图像 2,3 Asus G75VW-BHI7N07 Audio Jack  Replacement, Audio Jack: 步骤 1 中的图像 3,3
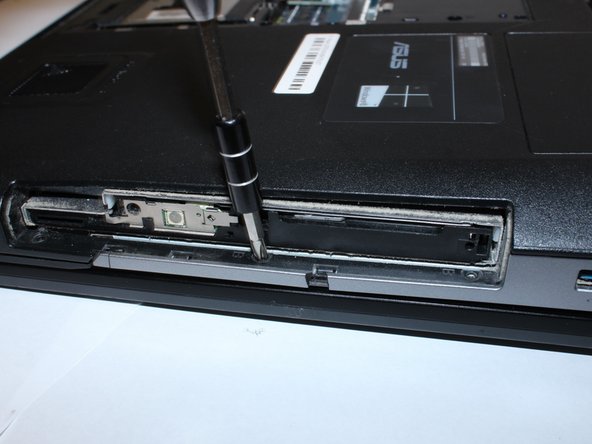
    • Remove the 5 (9 mm screws) around the outside edges of the back cover with the PH1 Phillips-head screwdriver.

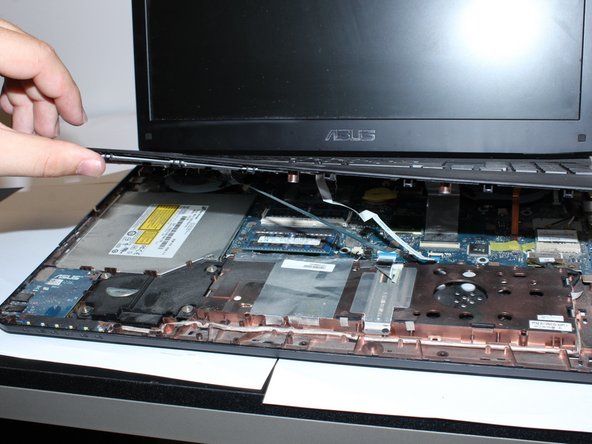
    • Lift off the back cover using the opening tool.

  2. Asus G75VW-BHI7N07 Audio Jack  Replacement: 步骤 2 中的图像 1,3 Asus G75VW-BHI7N07 Audio Jack  Replacement: 步骤 2 中的图像 2,3 Asus G75VW-BHI7N07 Audio Jack  Replacement: 步骤 2 中的图像 3,3
    • Remove the 10 (9 mm) screws marked 'A' using the PH1 Phillips-head screwdriver.

    • Remove the battery by pressing the slide release button.

    • Remove 2 more (9 mm) 'A' marked screws within the battery compartment using the PH1 Phillips-head screwdriver.

  3. Asus G75VW-BHI7N07 Audio Jack  Replacement: 步骤 3 中的图像 1,2 Asus G75VW-BHI7N07 Audio Jack  Replacement: 步骤 3 中的图像 2,2
    • Remove the cover for the disc drive with the opening tool.

    • Remove the 6 (4 mm) 'B' marked screws with the PH1 Phillips-head screwdriver. (3 screws are in the battery compartment and 3 are under the disc drive cover)

  4. Asus G75VW-BHI7N07 Audio Jack  Replacement: 步骤 4 中的图像 1,2 Asus G75VW-BHI7N07 Audio Jack  Replacement: 步骤 4 中的图像 2,2
    • Pry open the keypad platform with the opening tool.

    • You will need to lift the keypad platform with your hands to get to the laptop's internal systems.

  5. Asus G75VW-BHI7N07 Audio Jack  Replacement: 步骤 5 中的图像 1,3 Asus G75VW-BHI7N07 Audio Jack  Replacement: 步骤 5 中的图像 2,3 Asus G75VW-BHI7N07 Audio Jack  Replacement: 步骤 5 中的图像 3,3
    • Take out 1 (5mm) screw, using the J0 Phillips head screwdriver.

    • Use the opening tool to remove the audio-electrical board.

    • Lift out with your hands.

结论

To reassemble your device, follow these instructions in reverse order.

另外一个人完成了本指南。

0条评论

添加评论

浏览统计数据:

过去 24 小时: 0

过去 7 天: 1

过去 30 天: 1

总计 621