简介
Use this guide to replace the Asus G73JW-XT1 Fan.
Ensure that all sources of power are disconnected before you begin the replacement.
你所需要的
-
-
Remove the two 5.5 mm Phillips #0 screws from the back cover.
-
Gently lift and remove the back cover.
-
-
-
-
Flip the device over and turn it so the keyboard is facing away from you.
-
Locate the narrow plastic panel behind the screen. Insert the opener tool into the seam between the narrow plastic panel and the back panel.
-
Gently pry the narrow panel upward until it comes free. Lift the narrow panel away from the device using your fingers.
-
-
-
Lift the keyboard partially away from from the device. A ribbon cable will still be connecting the keyboard to the device.
-
Using the plastic opening tool, slide the small clips on either side of the ribbon cable to the left. The ribbon cable should now be released.
-
Gently pull the ribbon cable free and set the keyboard aside.
-
-
-
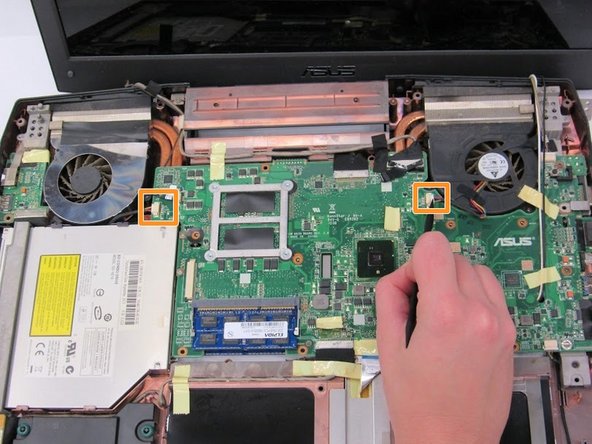
Remove four 5.5 mm Phillips #0 screws in the area where the keyboard used to be.
-
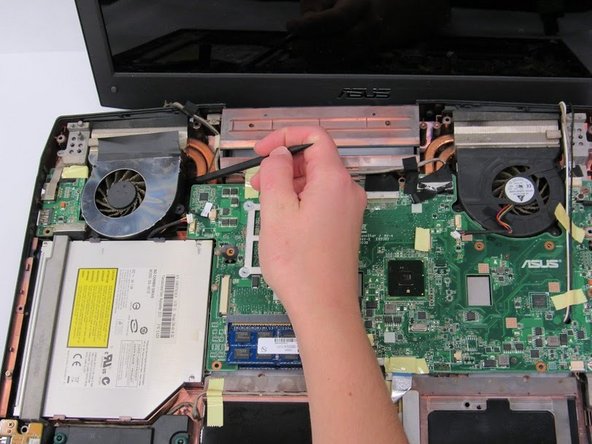
Insert the plastic opening tool into the seam between the top and bottom panels. Using the plastic opening tool, gently pry the top panel upwards until it pops free. Repeat this process along the entire perimeter of the panel.
-
When the panel is free, grab the edge of the panel that is closest to you and pull it toward you.
-
-
-
Rotate the device so the battery port is facing you.
-
Remove six 5.5 mm Phillips #0 screws on both sides of the device directly behind the screen.
-
Rotate the device so the battery port is facing away from you.
-
Grab the screen with your fingers and gently pull it free. Carefully set it aside making sure that you don't accidentally unplug it from the device.
-


To reassemble your device, follow these instructions in reverse order.
To reassemble your device, follow these instructions in reverse order.
团队

Oregon Institute of Technology, Team S1-G3, Lancaster Fall 2018 Oregon Institute of Technology, Team S1-G3, Lancaster Fall 2018 的会员
OIT-LANCASTER-F18S1G3
3 名成员
创作了5篇指南
2条评论
Guide is almost 100% accurate for G73 SW.
The differences for me were:
Step 6: There are also 2 tiny little screws under the DVD ROM as well.
Step 10: my laptop has had the keyboard glued to the cover so be gentle with releasing it from its original place.
Step 11: is incomplete. be aware that you have to release all ribbon cables and contacts through the cut outs before attempting to release the top cover. I would find at least a description on how to release these cables very usefull.
My total time was around 2,5 hours. But i did such thing for the very first time. I guess next time i would be much more faster.
WARNING. Before you begin, make sure that you will get some extension or longer philllps screwdriver to release the screws on the chasis. most of them are too deep in plastic where I couldnt reach with ifixit driver. I uses hexbit 4 as an extension for the phillips bit, but it was emergency workaround and it was cumberosome to use it since the phillips kept sliding out of hex.