简介
Hinges on your laptop help support the screen when opening and closing the device. If the hinges are too loose, the screen may not stay upright. Be sure to have a hard drive compatible with your laptop when replacing it.
你所需要的
-
-
Flip laptop face down and rotate so the battery is facing toward you.
-
To remove the battery, place one finger on each of the two black slide tabs. Push each tab toward the center of the laptop to release the lock.
-
Slide the battery toward you and lift it out of the laptop.
-
-
-
Lay the laptop right side up.
-
Rotate laptop 90 degrees towards you, so the empty battery compartment is visible.
-
-
-
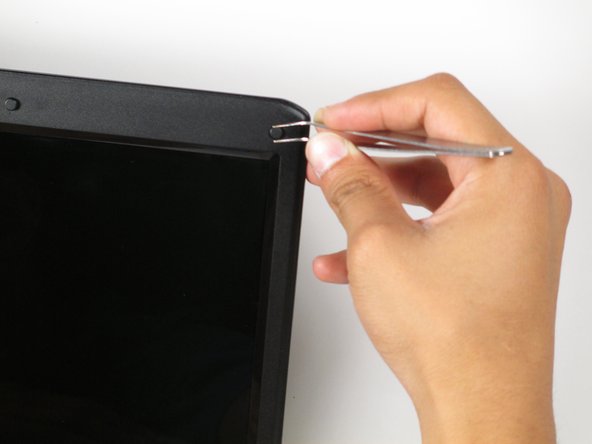
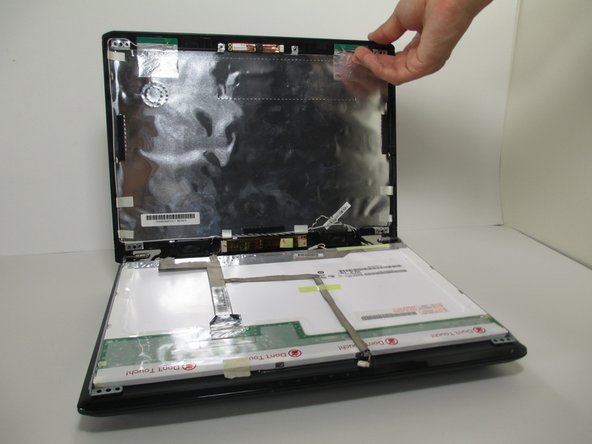
With a pair of tweezers, grab on to the white connector at the bottom of the screen. Gently, but firmly, pull the connector to the right to to remove it.
-
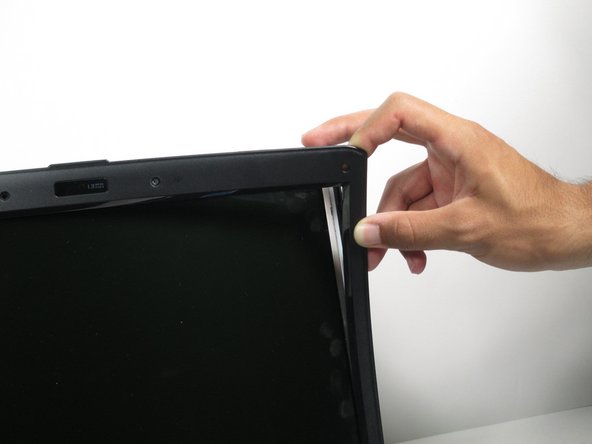
Repeat this process with the white connector attached to the webcam above the screen.
-
-
-
-
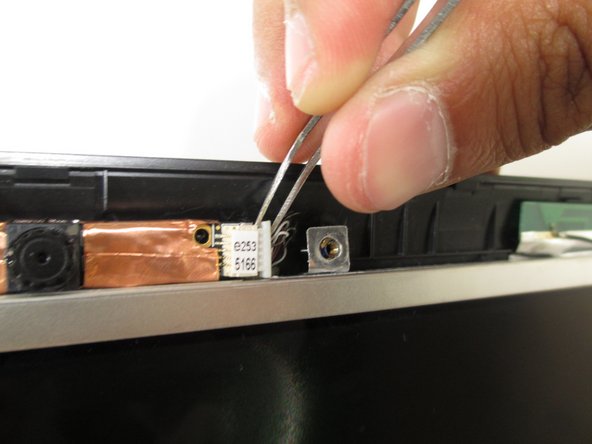
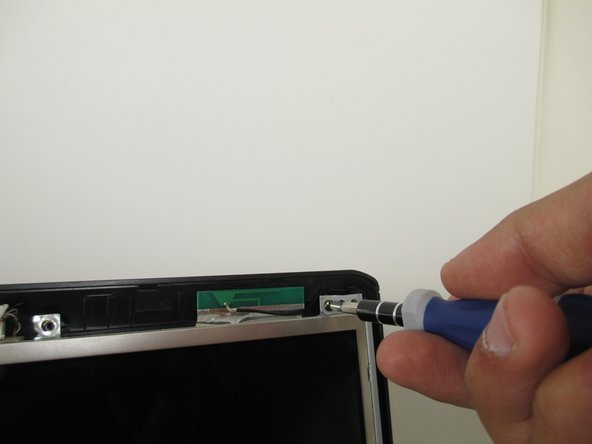
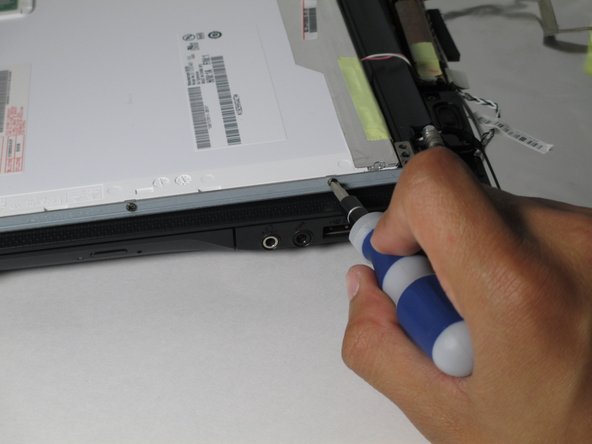
Remove the six 2 mm Phillips #1 screws securing the hinges to the screen. There are three on each side.
-
After the screws are removed, close the laptop and flip it over so it is face down.
-
-
-
With the laptop facing down, rotate it so the battery pack is facing away from you.
-
Remove the six 1.5 mm Phillips #1 screws on the back panel of the laptop.
-
-
-
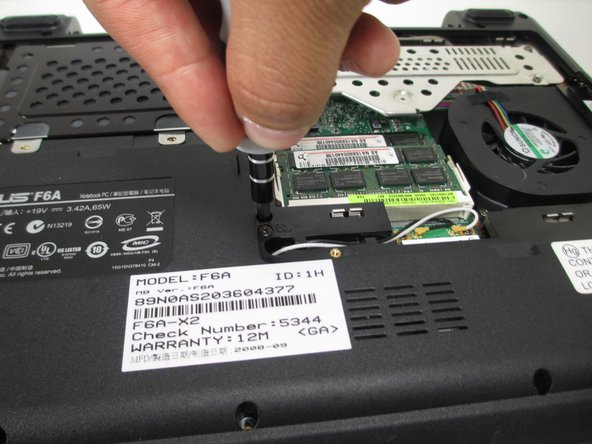
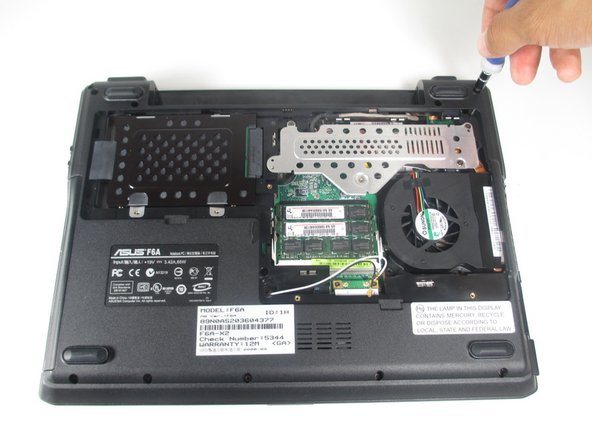
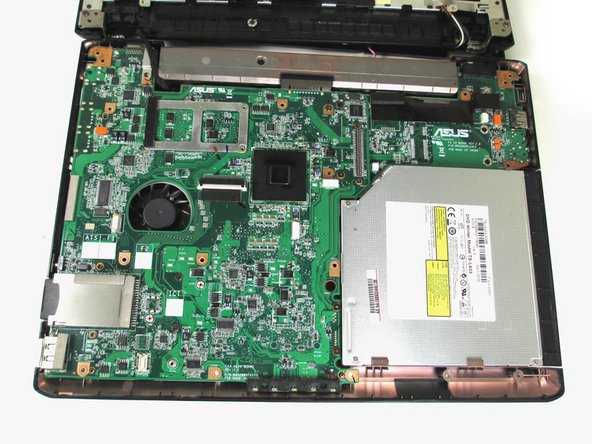
Remove the following four screws that hold the base to the motherboard:
-
One 1.5 mm Phillips #1 screw located near the center of the laptop.
-
One 1.5 mm Phillips #1 screw located at the top, center, next to the metal guard.
-
Two 1.5 mm Phillips #1 screws located next to the fan.
-
-
-
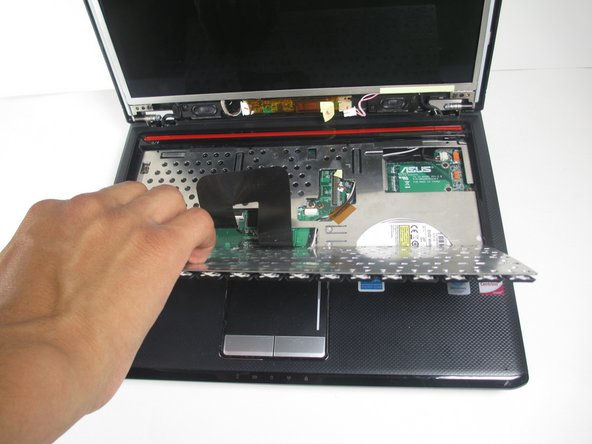
Flip the laptop right side up and open to reveal the keyboard.
-
Insert a finger or the flat end of a spudger into the top left edge of the keyboard, underneath the 'Esc' and the 'F1-F2' keys.
-
Gently pull the keyboard towards you and lay it flat. It will make a slight popping noise as it disconnects from the laptop.
-
-
-
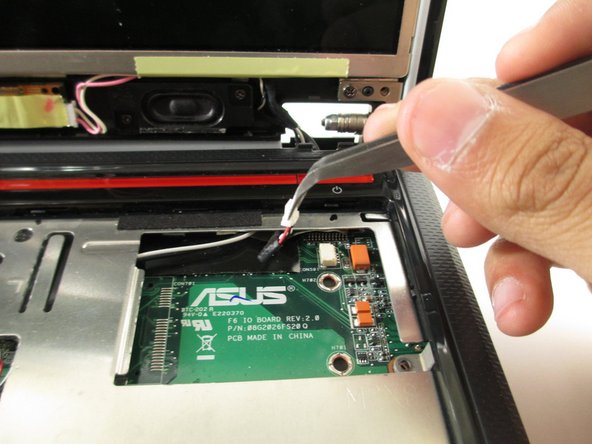
With a pair of tweezers, remove the three white connectors attached to the motherboard. This will give slack when disassembling the base.
-
The connectors at the top right and middle of the laptop will need to be pulled to the left.
-
The connector in between the two will need to be pulled towards the back of the laptop.
-
-
-
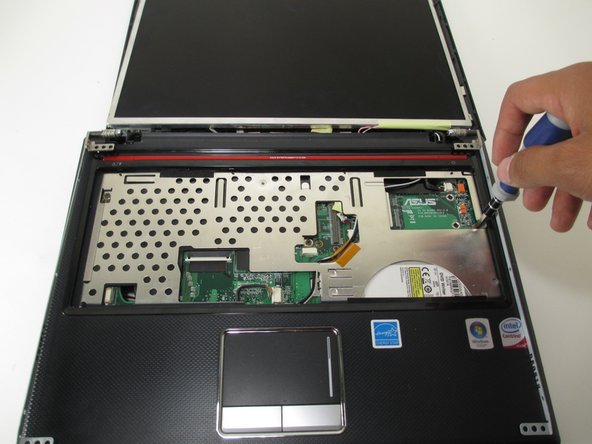
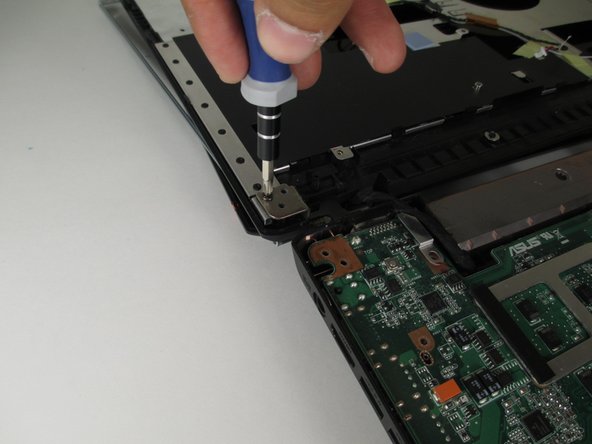
Remove the two 2.0 mm Phillips #1 screw on each hinge.
-
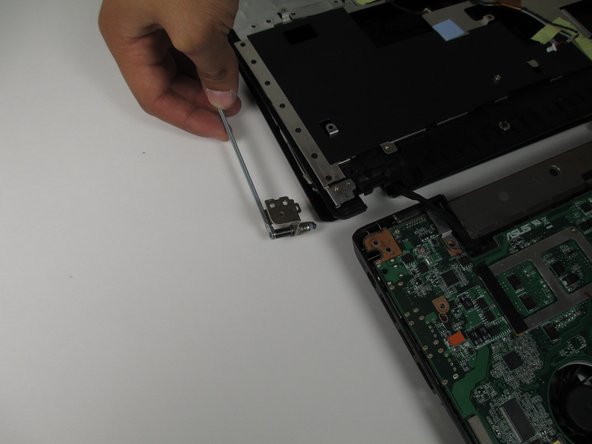
Pull the hinges away from the laptop to remove them.
-


To reassemble your device, follow these instructions in reverse order.
To reassemble your device, follow these instructions in reverse order.
团队

Cal Poly, Team 10-56, Amido Spring 2014 Cal Poly, Team 10-56, Amido Spring 2014 的会员
CPSU-AMIDO-S14S10G56
4 名成员
创作了12篇指南