简介
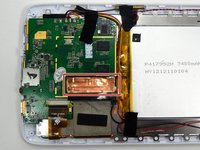
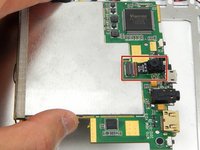
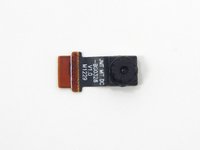
This guide, along with the prerequisite guides, will demonstrate how to remove and replace the camera in your Arnova 7K G3 tablet.
你所需要的
-
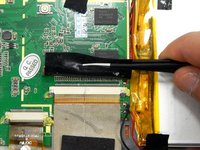
在这个步骤中使用的工具:Tweezers$4.99
-
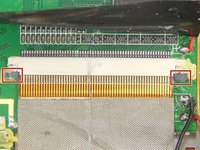
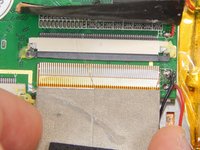
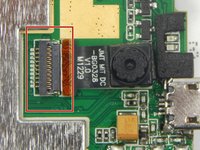
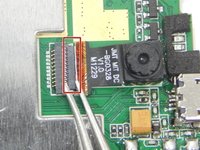
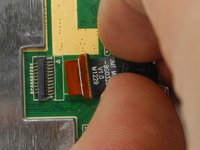
Peel the copper tape covering the ribbon connector with a set of tweezers.
-
-
-
-
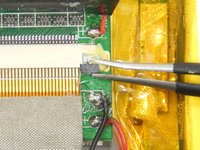
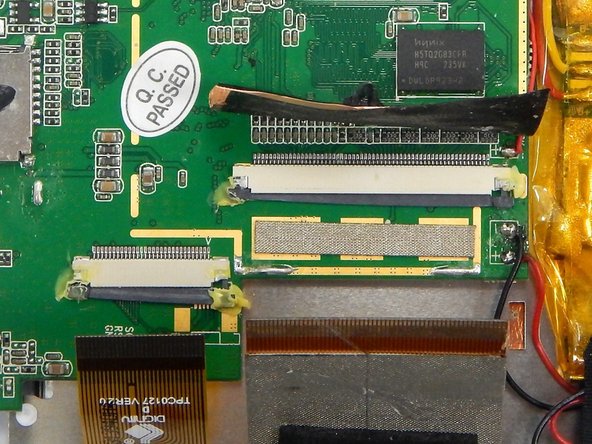
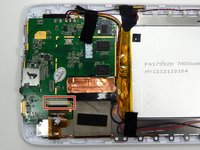
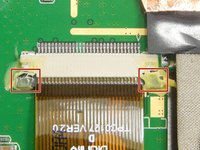
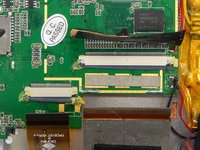
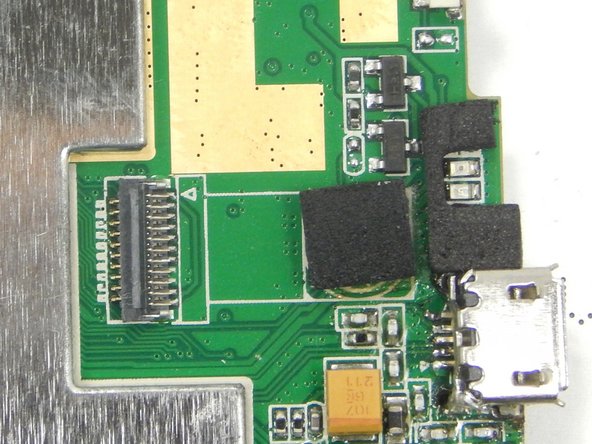
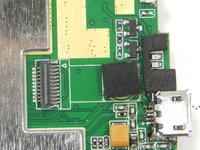
Remove the two Phillips #00 screws from the motherboard.
-


结论
To reassemble your device, follow these instructions in reverse order.
团队

Michigan Tech, Team 1-2, Lauer Spring 2015 Michigan Tech, Team 1-2, Lauer Spring 2015 的会员
MTU-LAUER-S15S1G2
2 名成员
创作了10篇指南