简介
时光飞逝:苹果已发布Apple Watch八个月之久。我们一起让苹果手表停下来,看看是什么让他滴答作响。
你所需要的
-
-
先生,女士们,我们已经拿到了 Apple Watch, 在揭开它的真实面貌前,让我们先快速浏览下技术参数:
-
具有压力感应的,高灵敏 AMOLED Retina 显示屏
-
定制化的苹果S1 SiP 处理器(系统级封装)
-
8G 内存
-
支持 NFC, Wi-Fi 802.11b/g/n 协议以及蓝牙4.0
-
拥有加速感应器,陀螺仪,心率传感器,麦克风和扬声器
-
苹果 Watch OS 操作系统
-
-
这个步骤还没有翻译 帮忙翻译一下
-
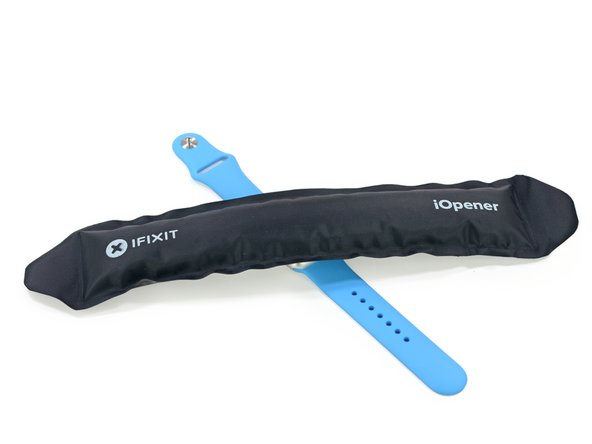
Unfazed by the lack of external screws, we reattach the Sport Band for extra leverage and whip out an iOpener to negotiate our way into the belly of this beast.
-
Forgoing our traditional opening tools, we give this display all the force our Tech Knife can muster.
-
We move in with our opening pick to finish things off. Let's hope this doesn't get as messy as Apple's other flagship release.
-
-
这个步骤还没有翻译 帮忙翻译一下
-
We gingerly lift up the display, expecting a snaggle of cables—namely, the display and digitizer cables.
-
Disconnecting the display isn't easy, as the display cables are trapped under a springy bracket (not unlike the Touch ID cable cover of the iPhone 5s).
-
Our teardown engineers are watching out for such tricks... but who watches the watchmen?
-
-
这个步骤还没有翻译 帮忙翻译一下
-
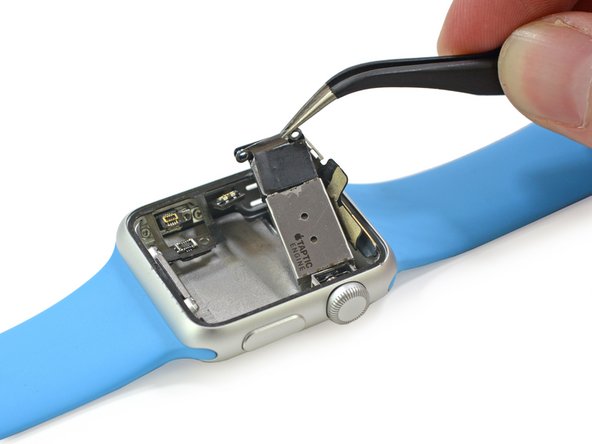
Houston, we have separation. With the display panel removed, we quickly spy two highly-advertised Apple Watch features: the Taptic Engine and the Digital Crown.
-
It looks like even the lowly Watch Sport gets a bit of glitzy gold. We expect that this is some kind of antenna, featuring Apple's familiar gold treatment.
-
-
这个步骤还没有翻译 帮忙翻译一下
-
With this first photo, we take a moment to compare the internals of the Apple Watch with that of a classic mechanical watch as old as time itself.
-
Which of these will outlast the other?
-
Although we're still dealing with a watch, this second photo makes it clear that the tools required for routine repairs have very much changed with the times.
-
You're already familiar with our friends on the left: opening pick, tweezer, driver, and tech knife.
-
On the right, the tool with the Mickey Mouse ears is none other than a pallet fork tool. To its immediate right, we've got a pin vise. Below that, a roller jewel shlacking tool...
-
...and to its right, tweezers! Some things really don't change. (Though our resident watchmaker informs us that it's perhaps more accurately called "the lazy man's screw holder.")
-
-
-
这个步骤还没有翻译 帮忙翻译一下
-
A quick flick of a plastic opening tool is all it takes to dispatch the light adhesive securing the battery.
-
This wee 3.8 V, 0.78 Wh lithium-ion battery is the power behind the 38 mm Apple Watch. No gears here! Apple claims the 205 mAh battery should provide up to 18 hours of use (which translates to 6.5 hours of audio playback, 3 hours of talk time, or 72 hours of Power Reserve mode.)
-
-
这个步骤还没有翻译 帮忙翻译一下
-
As we work our way to the S1 SiP, we encounter the tiniest tri-point screws we've ever seen.
-
No, we don't think Apple had repairability in mind when they designed her, Fixers.
-
It's rare that we don't have the right tool for the job, but even our teensiest bit isn't up to snuff. We've never been thwarted before—so it's time for some modifications.
-
-
这个步骤还没有翻译 帮忙翻译一下
-
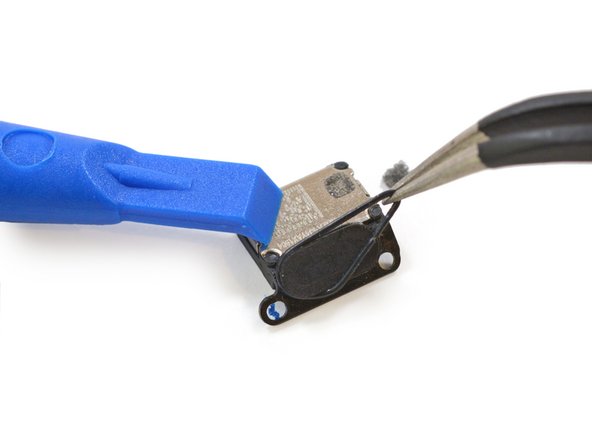
It's time to remove the Taptic Engine, which is attached at the hip to the speaker.
-
It makes sense that the Taptic Engine is attached to the speaker. When combined with subtle audio cues from the specially engineered speaker driver, the Taptic Engine is designed to output a unique motion.
-
-
这个步骤还没有翻译 帮忙翻译一下
-
The speaker comes equipped with an O-ring for water resistance. Like everything else in this device, it's tiny.
-
For the spec geeks out there, IPX7 means that the Apple Watch can withstand up to 30 minutes of full submersion in up to 1 meter of water.
-
Apple doesn't recommend testing those limits, stating that you can "...wear and use Apple Watch during exercise, in the rain, and while washing your hands, but submerging Apple Watch is not recommended."
-
-
这个步骤还没有翻译 帮忙翻译一下
-
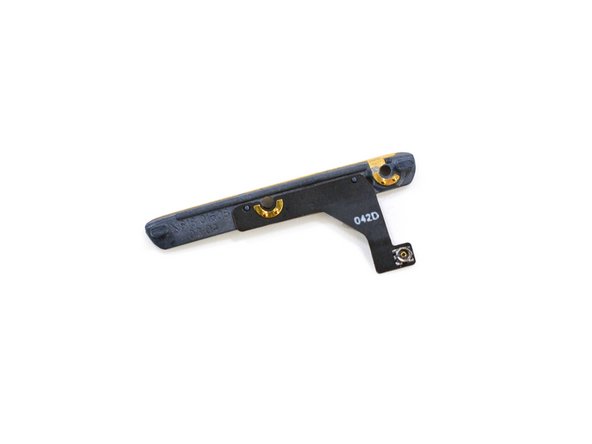
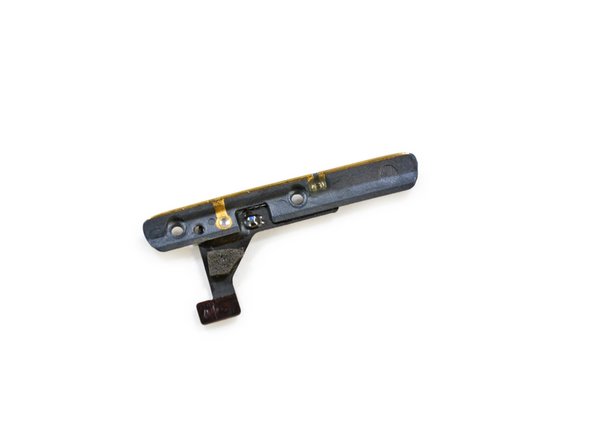
What is this? A phone for ants? Just like a miniature version of an iPhone, we find a button cable with a mechanical button.
-
The little button even comes with a little button cover and gasket.
-
-
这个步骤还没有翻译 帮忙翻译一下
-
We quickly dispatch two very small tri-point screws holding a tiny panel to the watch case.
-
Behind the tiny panel we find a set of contacts that align perfectly with the location of the hidden diagnostic port.
-
Not wanting to make contact, we quickly dispatch this little connector.
-
Still unable to remove the diagnostic port door, we resort to pushing it free through the little holes on the inside of the case.
-
-
这个步骤还没有翻译 帮忙翻译一下
-
We remove the Digital Crown bracket, the final obstacle keeping us from the S1 SiP.
-
Cue the epic rising of the monolith.
-
We can feel the power as we slowly peel the
future of humanityS1 out of the case. -
The back of the S1 isn't as pretty as the front—with ribbon cables running to every peripheral and gobs of adhesive gripping it in place, the chip leaves a nasty mess in its wake.
-
-
这个步骤还没有翻译 帮忙翻译一下
-
Pulling this mess out is a destructive procedure, but after ripping out some soldered connectors we get our first real look at the S1.
-
Despite rumors (and hopes) of an upgradable product, the difficulty of removing the S1 alone casts serious doubt on the idea of simply swapping out the internals.
-
Unfortunately, our first look is obstructed—that S1-emblazoned silver cap isn't a cap at all. It's a solid block of plasticky resin, hiding treasures deep within.
-
Update: Chipworks has identified this small IC as the STMicroelectronics C451 gyroscope + accelerometer.
-
-
这个步骤还没有翻译 帮忙翻译一下
-
After removing the S1, we go back to the future, and the display panel, to find a lonesome chip:
-
Analog Devices AD7166 ARM Cortex M3-based Touchscreen Controller
-
With some careful tweezing, we pull up what appears to be an ambient light sensor.
-
-
这个步骤还没有翻译 帮忙翻译一下
-
The Digital Crown seems to have an encoder system, like the Nest Thermostat, to read the spinning of the dial.
-
The encoder branches off of the button cable, along with the single push button and the diagnostic port contacts.
-
-
这个步骤还没有翻译 帮忙翻译一下
-
Scraping the bottom of the
barrelwatch case, we find the pulse-pounding sensor action. And lenses. -
Apple's heart rate monitor is actually a plethysmograph—it looks and acts like a pulse oximeter, but Apple isn’t claiming it can measure your blood oxygen level. Why? Beats us.
-
Nestled in the case we also find a magnet, to help seat the watch on its inductive charger. Electrifying.
-
We find a familiar looking coil of wire resting in the composite cover. We're guessing this is the inductive charging coil.
-
Update: Chipworks has identified the Texas Instruments OPA2376 Precision, low noise, low quiescent current Op Amp as part of the sensor package.
-
-
这个步骤还没有翻译 帮忙翻译一下
-
Don't touch that dial! We're not done quite yet.
-
Apple's inductive charger is a pretty big deal, and we're always itching to open their newest adapters.
-
Officially known as the Apple Watch Magnetic Charging Cable, it features a 6.7 mm thick cradle with a diameter of 28 mm.
-
After some heat, we try to pry, and end up ripping up the back case of the mag-safe-ish charger.
-
To find it filled to the brim with glue!
-
-
这个步骤还没有翻译 帮忙翻译一下
-
Apple Watch Repairability Score: 5 out of 10 (10 is easiest to repair)
-
While not an industry standard, the watch band is easily removed and swapped out for a replacement.
-
Removing the screen is difficult, but not impossible—it's the first component out, simplifying replacement.
-
Once you're inside, the battery is quite easy to remove—only mild adhesive holds it in place.
-
While not proprietary, incredibly tiny tri-point screws are a repair hinderance—especially when Torx or Phillips could have been used.
-
Removing any other component is essentially impossible—all peripheral cables are soldered onto the back of the S1.
-
The fully encased S1 system makes board-level repairs impossible.
-
-
这个步骤还没有翻译 帮忙翻译一下
-
But wait, there's more! For a limited time only, view one teardown, and get a second one free. You heard us, 100% absolutely free!
-
Meet the true Apple Watch: the Stainless Steel model.
-
Curiously enough, the standard Apple Watch has an entirely different box than the Watch Sport. This may be to accommodate the various bands that can't be laid out flat like the Sport Band.
-
-
这个步骤还没有翻译 帮忙翻译一下
-
Having perfected our pick procedure, we pop the hood on the Apple Watch Stainless Steel.
-
No surprises here. The same clips and connectors greet us inside.
-
It looks like not too much has changed. The mounting bracket for the Digital Crown looks significantly more substantial, and the bottom features gold tri-point screws.
-
For a few mysteries revealed, check out our X-ray Teardown!
-