当前版本的文档还未经巡查,您可以查看最新的已查核版本。
这个步骤还没有翻译 帮忙翻译一下
Lay the display facing down with the stand away from you.
Remove the three size 2.0 hex screws on the swing arm and remove the swing arm as well as the plastic shield under it.
Remove the size 2.5 hex screws from each corner that connects the panels to the display and remove them.
Rotate the display so the legs of the display are now facing you
Grip the top of the clear panel and lift it upwards, and pull the ADC cable through the hole.
Remove the grey back panel by lifting the bottom and pulling the ADC cable through the hole.
The next layer will be a shiny metal panel, which might have some stickers. Make sure to remove these stickers.
Now locate and remove the lone Phillips screw holding the EMI shield to the display
Now that the screw has been removed, slide the panel towards your body and lift it out.
You may need to remove the clear USB port cover to remove the metal EMI shield.
Using the spudger, remove the four black panel covers on the edges of the display.
Remove these screws under the panels.
There may be more screw holes than actual screws
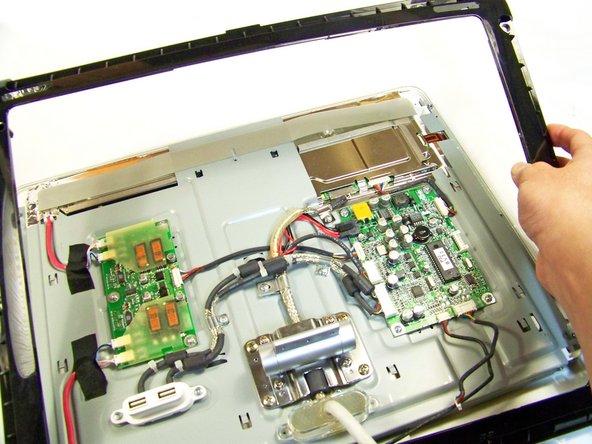
Remove the two connections that connect the buttons to the logic board
Remove the outer frame and and pull the cables through the hole. Flip the frame upside down.
The red highlighted box is the power button
The teal highlighted box is the brightness button
This guide will focus on the power button. Removal of the brightness button will follow the same instructions, but you will be working on the left button (teal box) instead of the right (red box)
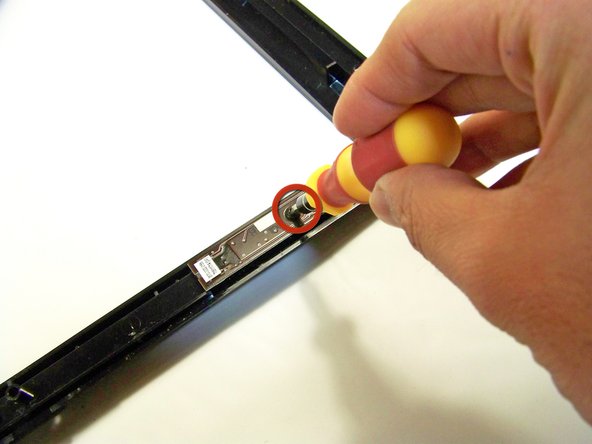
Remove the screws at the bottom holding the button(s) down
In this picture we are removing the power button
Remove and replace the button(s).
取消:我没有完成这个指南。
另外一个人完成了本指南。
与4其他贡献者
于01/19/10注册
186 声望
创作了5篇指南
徽章: 9
+ 6更多徽章
CPSU-MANESS-W10S3G20
4 名成员
创作了15篇指南
选择一个尺寸并复制下面的代码,将本指南作为一个小插件嵌入到你的网站/论坛中。
过去 24 小时: 2
过去 7 天: 12
过去 30 天: 20
总计 3,010