跳转到主内容
加入维修社区 - 创建账户

此翻译由机器生成,尚未经过人工审核。 会说这种语言吗? 查看评论

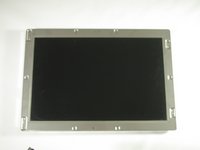
Apple Cinema Display M8149 LCD 屏幕更换

你所需要的

    1. Apple Cinema Display M8149 LCD 屏幕更换, 控制板: 步骤 1 中的图像 1,3 Apple Cinema Display M8149 LCD 屏幕更换, 控制板: 步骤 1 中的图像 2,3 Apple Cinema Display M8149 LCD 屏幕更换, 控制板: 步骤 1 中的图像 3,3
      • 开始前,请确保显示屏已拔下连接线。

      • 将 Cinema Display 正面朝下放置,使底座脚架背向你。

      • 使用六角扳手拧下连接后侧脚架与铰链的三颗螺丝(9.52 x 4.43 mm)。

      • 握住后侧脚架并向上拉,将其从铰链支架上拆下。

      添加评论

    2. Apple Cinema Display M8149 LCD 屏幕更换, 拆卸后盖: 步骤 2 中的图像 1,3 Apple Cinema Display M8149 LCD 屏幕更换, 拆卸后盖: 步骤 2 中的图像 2,3 Apple Cinema Display M8149 LCD 屏幕更换, 拆卸后盖: 步骤 2 中的图像 3,3
      • 使用六角扳手拧下后盖边缘的 18 颗 (5.25 x 4.43 mm) 螺丝。

      • 断开连接到显示屏电源按钮的小型白色连接器。

      • 轻轻将后盖从显示屏上抬起。将后盖完全取下并放在一旁。

      添加评论

    3. Apple Cinema Display M8149 LCD 屏幕更换: 步骤 3 中的图像 1,2 Apple Cinema Display M8149 LCD 屏幕更换: 步骤 3 中的图像 2,2
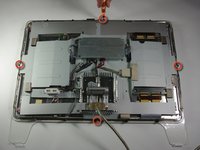
      • 使用 Phillips #2 螺丝刀拧下盖板外缘上的四颗 (9.52 x 3.43 mm) 螺丝。

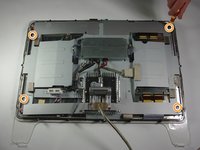
      • 接下来,使用 Phillips #2 螺丝刀拧下位于盖板四个角落的四颗 (11.91 x 2.89 mm) 螺丝。

      添加评论

    4. Apple Cinema Display M8149 LCD 屏幕更换: 步骤 4 中的图像 1,3 Apple Cinema Display M8149 LCD 屏幕更换: 步骤 4 中的图像 2,3 Apple Cinema Display M8149 LCD 屏幕更换: 步骤 4 中的图像 3,3
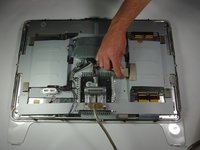
      • 拔下位于中央右侧的大型棕色插头,该插头连接着控制板与显示屏的其余部分。

      • 拔下控制板右侧的蓝色和灰色插头。左侧重复相同操作。

      添加评论

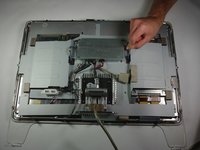
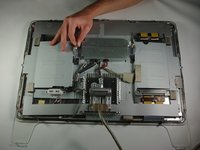
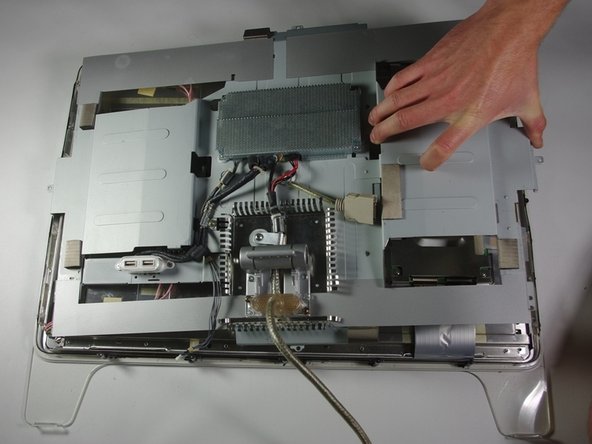
    5. Apple Cinema Display M8149 LCD 屏幕更换: 步骤 5 中的图像 1,2 Apple Cinema Display M8149 LCD 屏幕更换: 步骤 5 中的图像 2,2
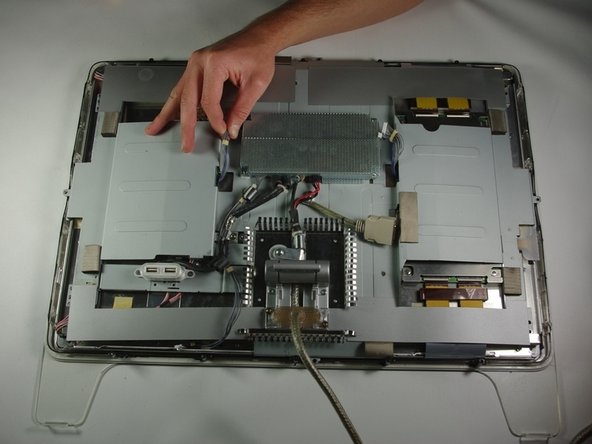
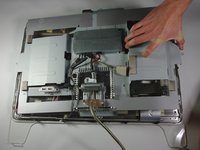
      • 轻轻掀起横跨整个显示屏背面的大块金属盖板。

      询问修复机器人
      添加评论

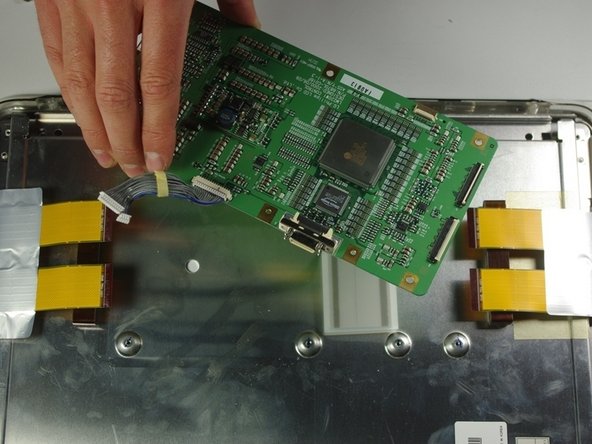
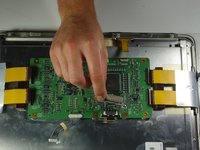
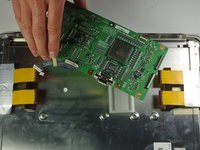
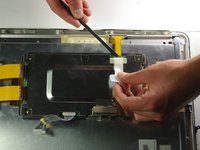
    1. Apple Cinema Display M8149 LCD 屏幕更换, LCD 控制板: 步骤 6 中的图像 1,3 Apple Cinema Display M8149 LCD 屏幕更换, LCD 控制板: 步骤 6 中的图像 2,3 Apple Cinema Display M8149 LCD 屏幕更换, LCD 控制板: 步骤 6 中的图像 3,3
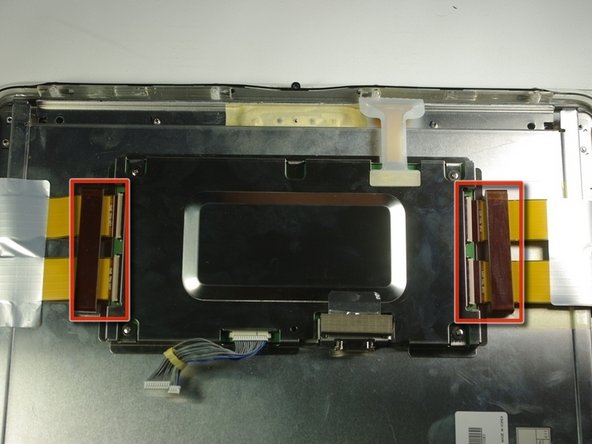
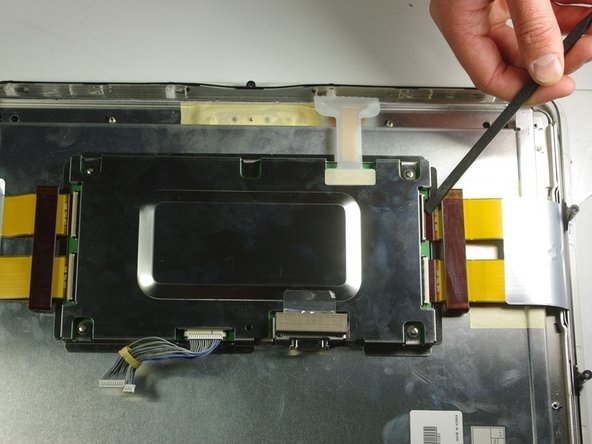
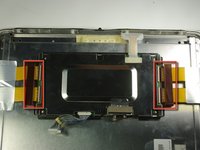
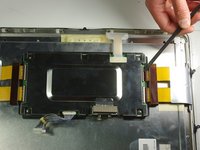
      • 使用撬棒小心地拆下控制板两侧的两个胶带塞。

      询问修复机器人

      添加评论

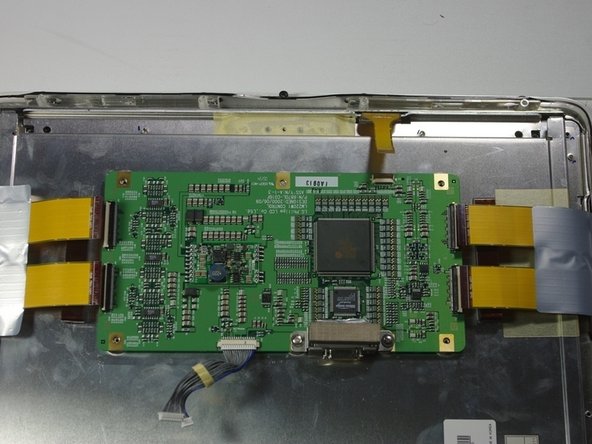
    2. Apple Cinema Display M8149 LCD 屏幕更换: 步骤 7 中的图像 1,3 Apple Cinema Display M8149 LCD 屏幕更换: 步骤 7 中的图像 2,3 Apple Cinema Display M8149 LCD 屏幕更换: 步骤 7 中的图像 3,3
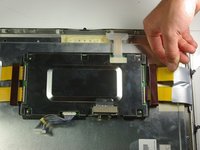
      • 用手从金属盒中拉出之前拆下的胶带。

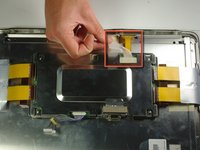
      • 揭开胶带插头上的白色塑料盖板,然后使用撬棒拔下装置右侧的胶带插头。

      询问修复机器人
      添加评论

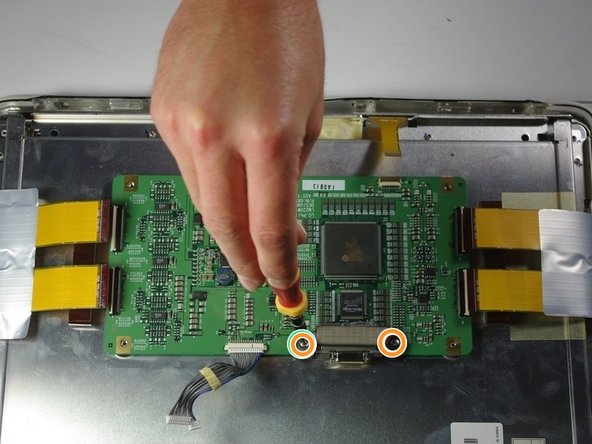
    3. Apple Cinema Display M8149 LCD 屏幕更换: 步骤 8 中的图像 1,3 Apple Cinema Display M8149 LCD 屏幕更换: 步骤 8 中的图像 2,3 Apple Cinema Display M8149 LCD 屏幕更换: 步骤 8 中的图像 3,3
      • 使用 Phillips 螺丝刀拧下金属盒上的四颗螺丝(4.79x2.33mm)。

      • 提起金属盖板,露出下面的电路板。

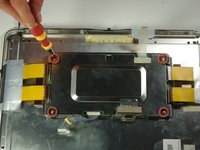
      • 使用 Phillips 螺丝刀拧下两颗接线端子螺丝(4.79x2.34mm)。

      询问修复机器人
      添加评论

    4. Apple Cinema Display M8149 LCD 屏幕更换: 步骤 9 中的图像 1,2 Apple Cinema Display M8149 LCD 屏幕更换: 步骤 9 中的图像 2,2
      • 拆下端子盖板。

      • 轻轻将其提起,从装置右侧拆下电路板。

      询问修复机器人
      添加评论

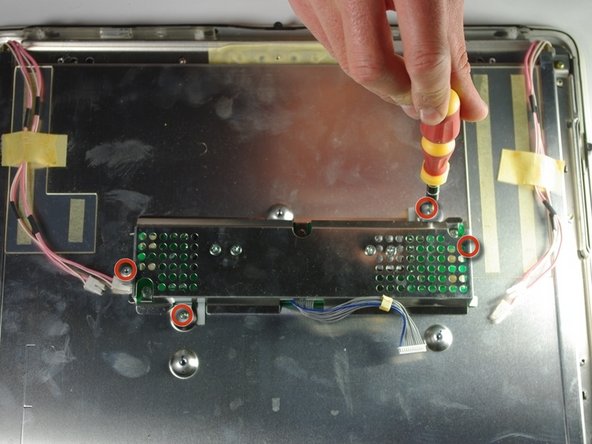
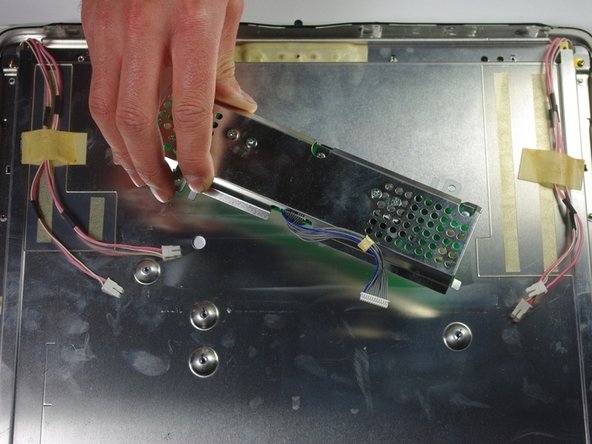
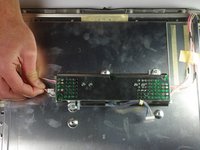
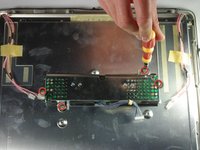
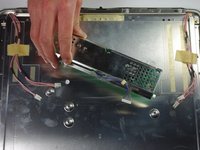
    1. Apple Cinema Display M8149 LCD 屏幕更换, 电压逆变器: 步骤 10 中的图像 1,3 Apple Cinema Display M8149 LCD 屏幕更换, 电压逆变器: 步骤 10 中的图像 2,3 Apple Cinema Display M8149 LCD 屏幕更换, 电压逆变器: 步骤 10 中的图像 3,3
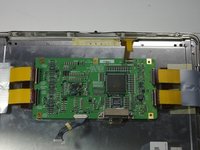
      • 将注意力转向影院显示屏的左侧。

      • 用手指拔下电路板顶部和底部的带有粉色布线的白色小插头。

      • 使用 PH 2 螺丝刀,拧下固定电路板的四颗螺丝(6.9 x 2.55 mm)。

      • 轻轻地从显示屏上提起电路板,将其取下。

      询问修复机器人
      添加评论

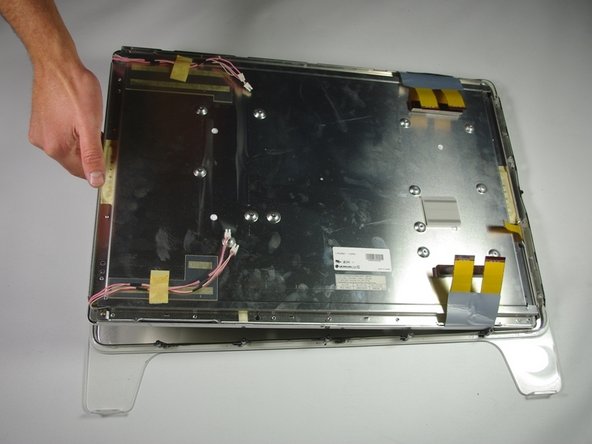
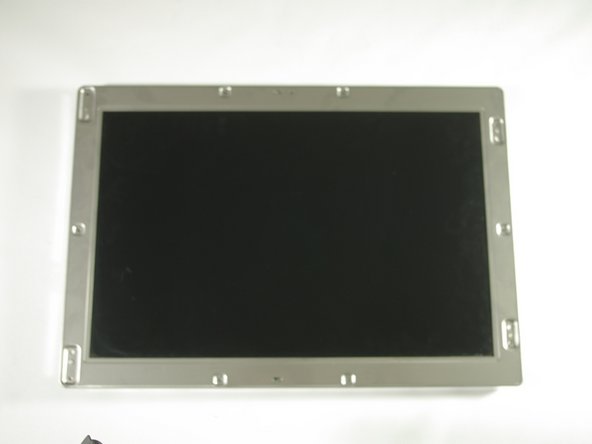
    1. Apple Cinema Display M8149 LCD 屏幕更换, LCD 屏幕: 步骤 11 中的图像 1,3 Apple Cinema Display M8149 LCD 屏幕更换, LCD 屏幕: 步骤 11 中的图像 2,3 Apple Cinema Display M8149 LCD 屏幕更换, LCD 屏幕: 步骤 11 中的图像 3,3
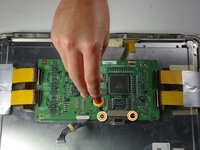
      • 将手指插入屏幕与周边前盖板之间,向上提拉,将屏幕从前盖板上拆下。

      询问修复机器人
      添加评论

结论

要重新组装设备,请按相反顺序执行这些说明。

取消:我没有完成这个指南。

3等其他人完成本指南。

团队

Cal Poly, Team 10-41, Forte Spring 2011 Cal Poly, Team 10-41, Forte Spring 2011 的会员

CPSU-FORTE-S11S10G41

5 名成员

创作了48篇指南

2指南评论

hello! where can i buy lcd screen for m8149?

jgill1971 - 回复 分享

Does anyone know where to get an inexpensive LCD replacement. Mine went primarily magneta except for the outer edges after zapping the pram?! Totally bummed as I bought a DVI to ADC power source and now the monitor is useless in it’s current state. C’est la vie!

le_grand - 回复 分享

添加评论

浏览统计数据:

过去 24 小时: 3

过去 7 天: 13

过去 30 天: 52

总计 9,564