你所需要的
-
这个步骤还没有翻译 帮忙翻译一下
-
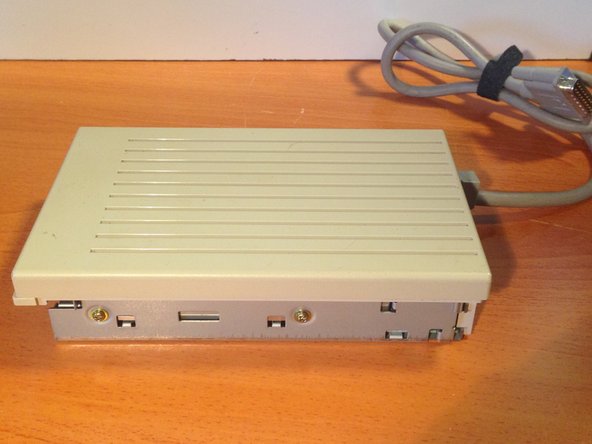
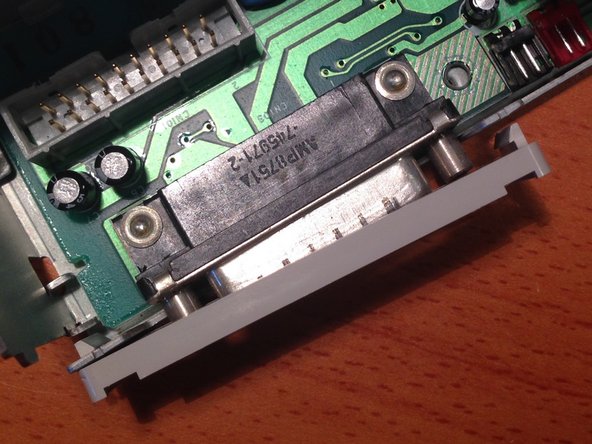
On front from left to right it has an Activity LED, the floppy slot, and a soft eject button to engage the electronic eject function of the floppy drive.
-
The eject button has a hole at its center through which the user can insert a paperclip to manual eject a stuck floppy.
-
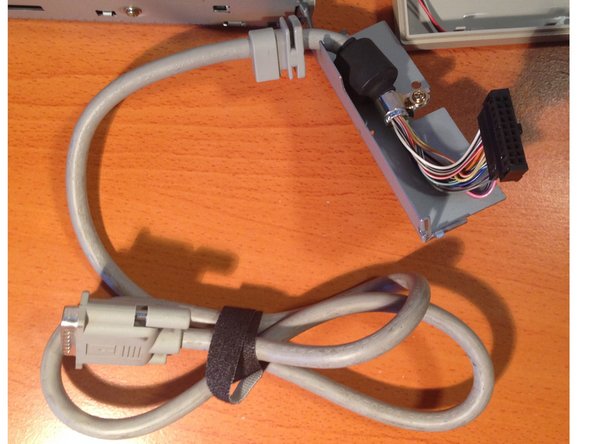
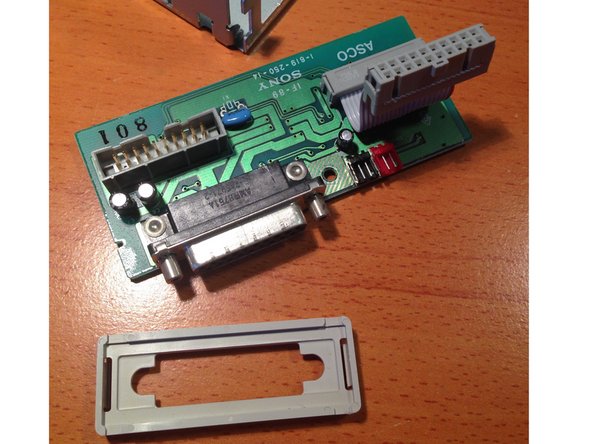
At back from left to right is the pass through 19-pin connector for daisy-chaining more drives, a plastic loop for a kensington lock, and the hardwired cable for plugging into the computer or earlier drive in the chain.
-
When new this drive came with a plastic cover over the daisy-chain port. It is very rare to find a drive that still has this cover, though if one is present it can be removed with a flat tip screw driver.
-
[IMPORTANT]Apple floppy drives should never be connected or disconnected while the computer is on as it can damage the floppy controller on the computer's logic board.
-
-
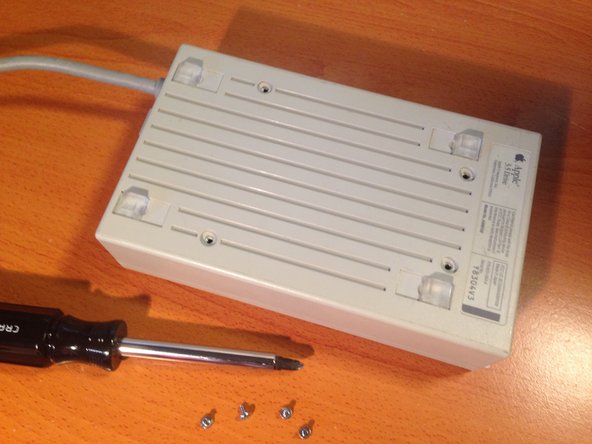
这个步骤还没有翻译 帮忙翻译一下
-
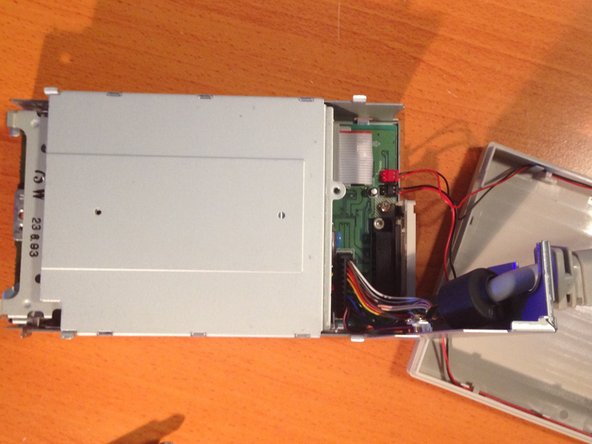
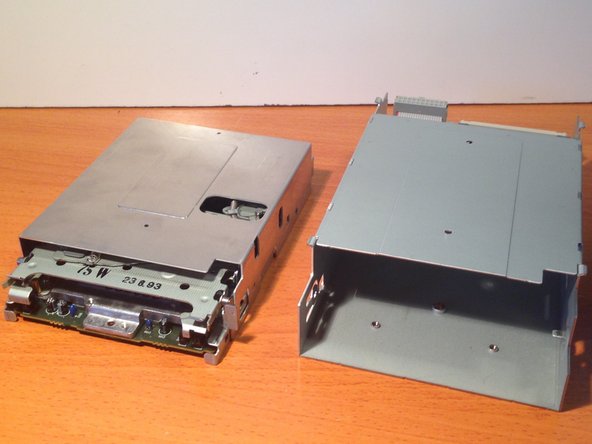
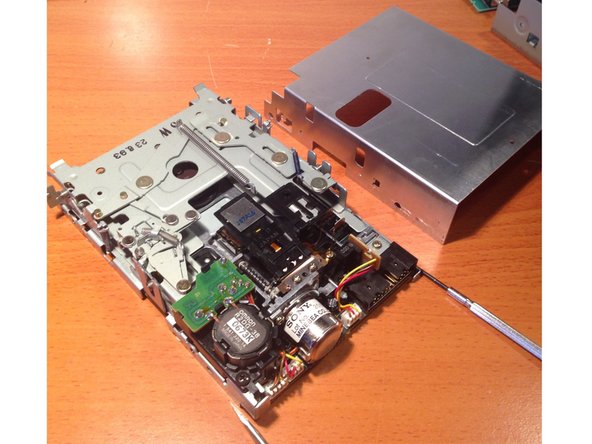
Take the metal chassis in one hand and the case top in the other and slide the top forward to release the chassis from the tabs on the case top.
-
Place the case top next to the metal chassis.
-
Be careful not to strain the wires leading to the activity LED and the soft eject button. Do not attempt to disconnect these wires yet.
-
-
-
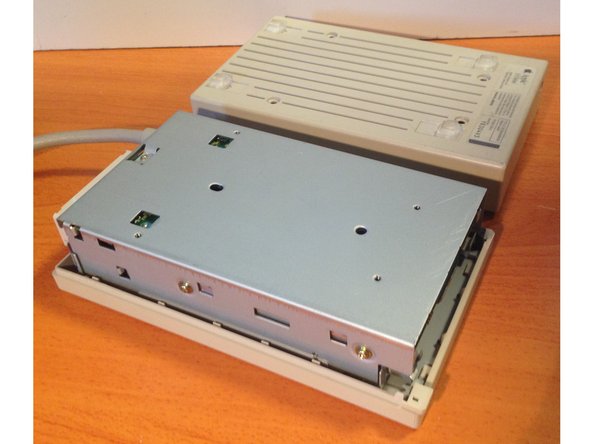
这个步骤还没有翻译 帮忙翻译一下
-
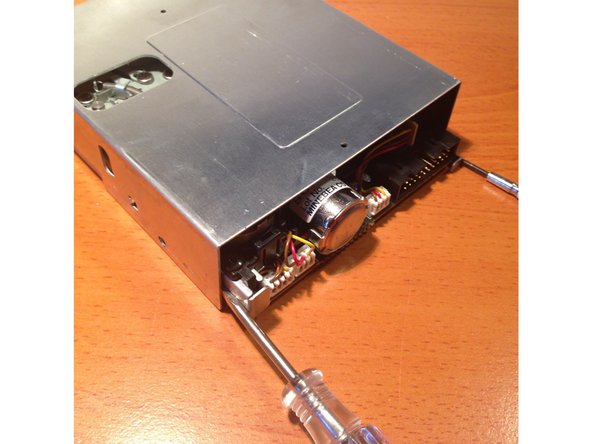
Insert a small Jewelers flat tip into the two slots on top of the internal floppy connector to gently pry the cable from the connector.
-
You can lean the screw driver against the metal chassis for leverage.
-
Be sure to alternate the screw driver from end to end of the connector while prying it out to avoid damaging the connector header.
-
-
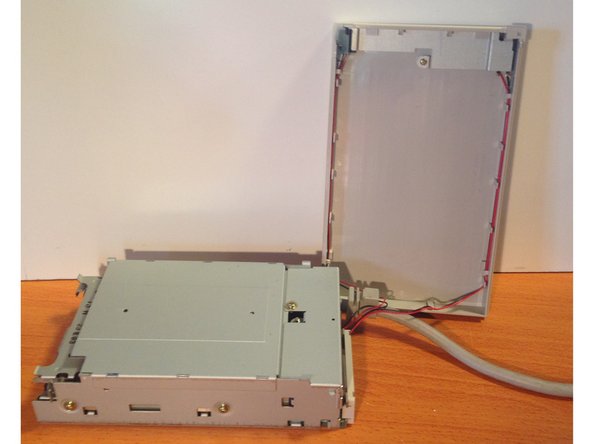
这个步骤还没有翻译 帮忙翻译一下
-
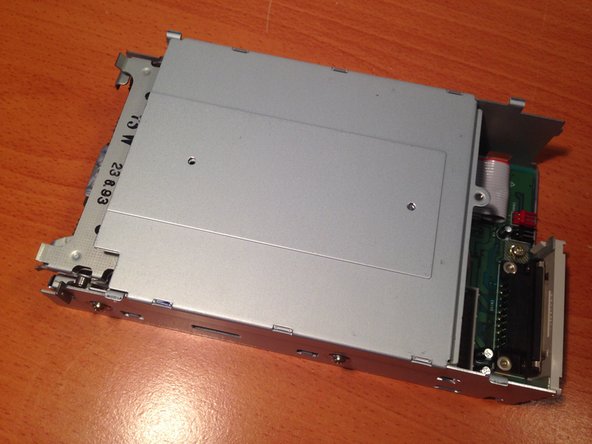
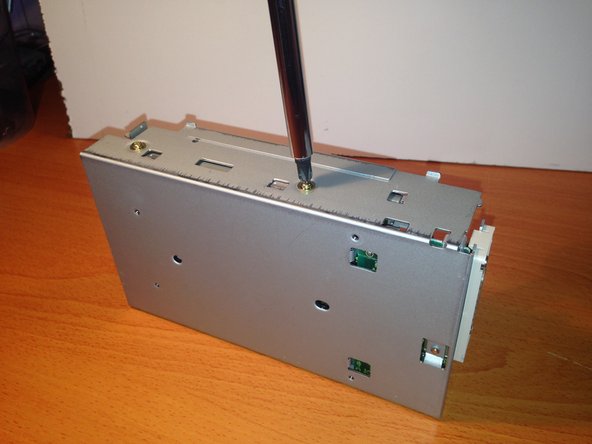
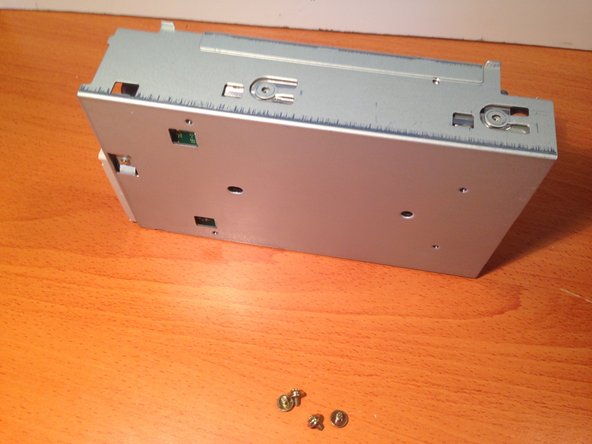
Insert a flat tip jewelers screw between the drive and top cover on either side of the rear of the mechanism.
-
Lift the rear of the top cover up and pull the top cover back, off the drive.
-
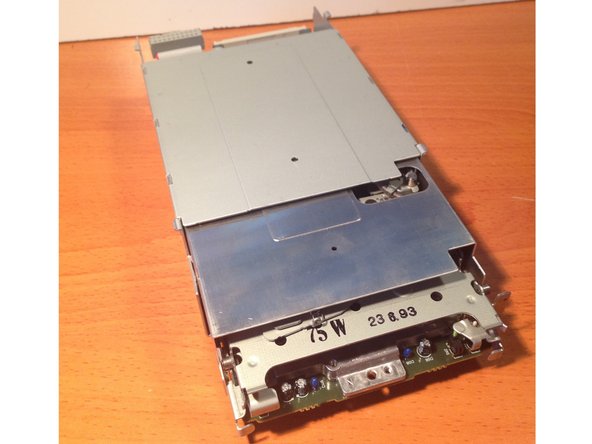
This Apple 3.5 drive had its original Double Density 800K mechanism replaced with the later High Density 2.0MB/1.44MB mechanism, so yours may appear slightly different.
-
-
这个步骤还没有翻译 帮忙翻译一下
-
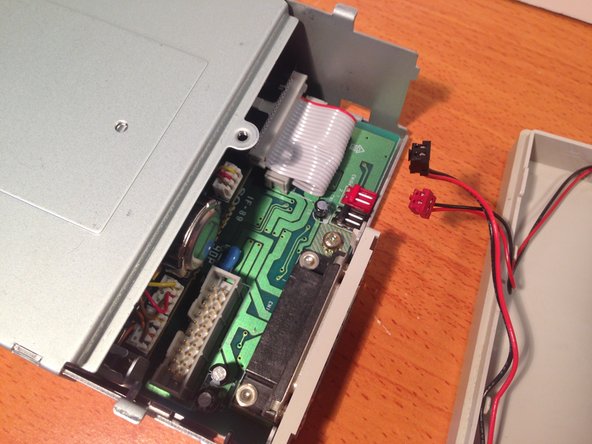
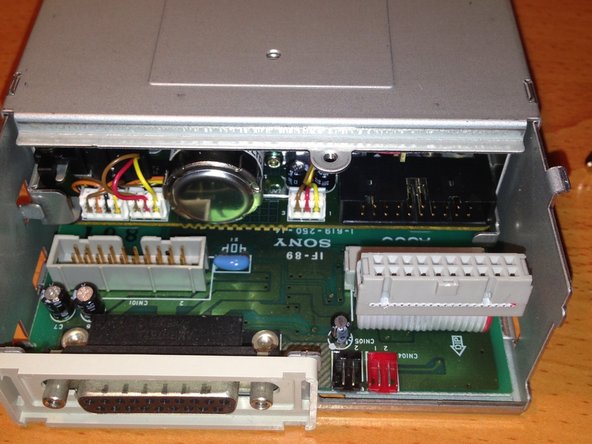
The floppy mechanism consists of a PCB with drive rotating motor, stepper motor for the read/write head, motor for drive eject/auto insertion, chassis, and floppy sled/eject/insertion/ mechanism.
-
[IMPORTANT]Attempting to remove the read/write head from the drive mechanism chassis will ruin alignment and it is not possible to correct without special equipment.
-
The drive can fail to insert or eject floppies if the grease/lubricant on the tray and it's moving parts has become caked up with dust or hardened over time.
-
Old lubricant can be loosened up and removed using lighter fluid as a solvent, dripping it into the joints of moving parts being careful not to drip it inside onto the PCB and wiping away what can be reached. Tooth picks and cotton swabs can be used to clear out tight spaces.
-
Afterward, a lubricant like white lithium grease can be used to moving parts with a toothpick and a cotton swab, being careful not to get excess anywhere but where it is absolutely needed.
-
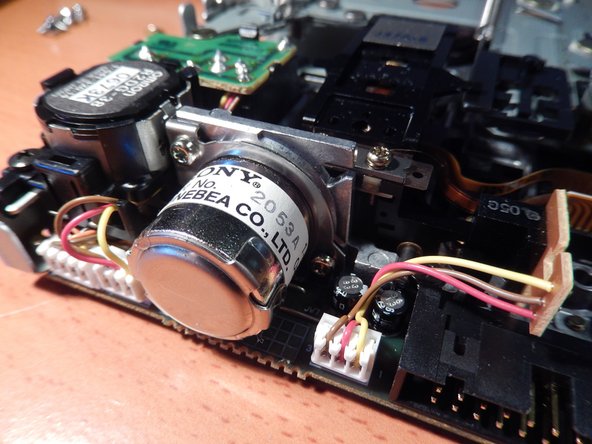
At the right rear of the drive is the Omron branded eject/insert motor and an assembly of gears related to it. This can fail if gears connected to it have cracked or the lubricant has hardened. If further disassembled, it can be cleaned out, and 3D printed replacement gears for this are available online for order. Teardown author has no affiliation with seller.
-
The screw gear which moves the read/write heads forward and backward can have its threads blocked by hardened lubricant. This can be cleaned up and relubricated much in the same way as the drive tray parts.
-
If the main PCB of the mechanism is to be removed for repair/recap it is important to make sure all connector headers and flex circuit cables are disconnected. It is important to be especially careful when disconnecting flex circuit cables for the read/write head as they can be easily cracked.
-


8条评论
i bought 2 of thes off ebay . it seems to try to work on my lle but i dont think i have the right controller card
does any 1 know what drive controller cards will work with this drive???
You most likely have the Apple 5.25 Drive Controller card in your IIe if you haven’t gone out of your way to get anything special to put in it since most all 8-bit Apple II software was released on 5.25 for the most part.
You’ll want to get a compatible controller for your 3.5 drive and put it in slot five:
From A2Wiki:
You need to have one of the following controller cards to use with your 3.5 drive:
Apple II UniDisk 3.5 controller, otherwise known as the Liron Card
Apple II 3.5 Disk controller, otherwise known as the SuperDrive Card. (as a bonus this card will work with HD floppy drives)
UDC / Universal Disk Controller (which will work with both 5.25 and 3.5 drives, DO NOT use this card with a ‘UniDisk’ 3.5” on this card, you’ll fry the card, just make sure your drive does not say “unidisk” on the underside)
Apple II Universal Controller
These cards can be difficult to find and costly. Personally, I’d get some Apple 5.25 drives and put that cash toward a CFFA3000 first as you can use it to load from disk images.
For some reason, I was awarded “-100 A comment was marked inappropriate by the community and deleted. “ for further information which included a repair guide along with part numbers.
I have fixed hundreds of these things - so I DO KNOW what I am talking about.
30 years of APPLE ACCREDITATION gave me this knowledge on this particular item.
Weird… maybe contact iFixit? I think that would fall under account issues? https://help.ifixit.com/article/136-emai...