简介
Use this guide to replace your Aorus X7 v2 Motherboard.
When it comes to motherboards, there are lots of different types available - like AT, ATX, LPX, BTX, Pico BTX, and Mini ITX motherboards. For gamers out there, we recommend the Asus ROG Maximus Z690 Hero for an epic gaming experience. And if you're looking for a cheaper option, try the Asus TUF Gaming X570-Plus (WI-FI).
Its recommended to replace your motherboard every 6 months to keep up with new CPU generations. But if you're not worried about the latest trends or speed, your motherboard could last you for up to a decade or more!
你所需要的
-
-
Use the T5 Torx Screwdriver to remove the twelve screws on the bottom of the laptop. Once the screws are removed, lift off the bottom panel.
-
Use the Phillips #0 Screwdriver to remove the twelve screws holding the heatsink in place.
-
Carefully pull the two black tabs on either side of the black ribbon to disconnect them from the board.
-
Gently pull off the inner black ribbon to remove it from the board.
-
Use the Phillips #0 Screwdriver to remove the two screws holding the mSATA.
-
With a gently tug, disconnect the four white plugs.
-
Use the Phillips #0 Screwdriver to remove the two screws holding the wireless card.
-
-
-
-
Use the Phillips #0 Screwdriver to remove the two screws that hold the right speaker in place.
-
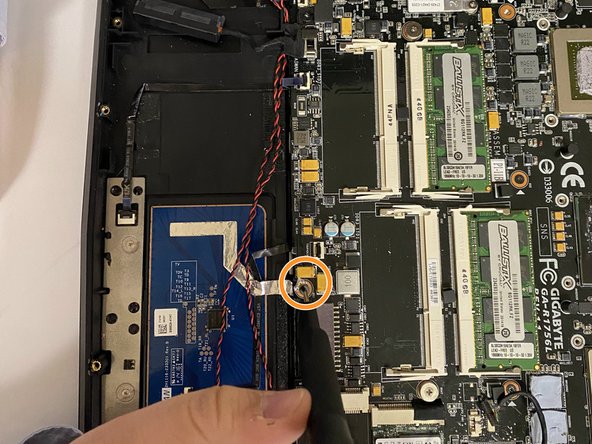
Use the Phillips #0 Screwdriver to remove the screw that holds the trackpad in place.
-
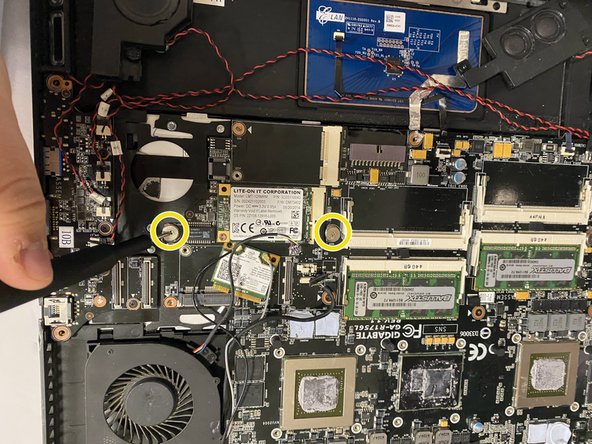
Use the Phillips #0 Screwdriver to remove the two screws that hold the motherboard in place.
-
-
-
Use the Phillips #0 Screwdriver to remove the three screws on the left speaker.
-
Lift the motherboard slightly near the parallel speaker screws to find the orange ribbon underneath. Use the Blunt Nose Tweezer to gently pull it off.
-
In the same area as the blue ribbon, find the orange ribbon and gently pull it off using a pair of needle nose pliers for access to remove the motherboard.
-


Complete these steps in reverse order to install your new motherboard.
Complete these steps in reverse order to install your new motherboard.
另外一个人完成了本指南。
团队
