跳转到主内容

Anne Pro 1 Mechanical Keyboard Switch Replacement

你所需要的

  1. Anne Pro 1 Mechanical Keyboard Switch Replacement, Keyboard Diagnosis: 步骤 1 中的图像 1,1
  2. Anne Pro 1 Mechanical Keyboard Switch Replacement, Keycap Removal: 步骤 2 中的图像 1,2 Anne Pro 1 Mechanical Keyboard Switch Replacement, Keycap Removal: 步骤 2 中的图像 2,2
    • Take a photo of the keyboard to use as reference for the keyboard layout.

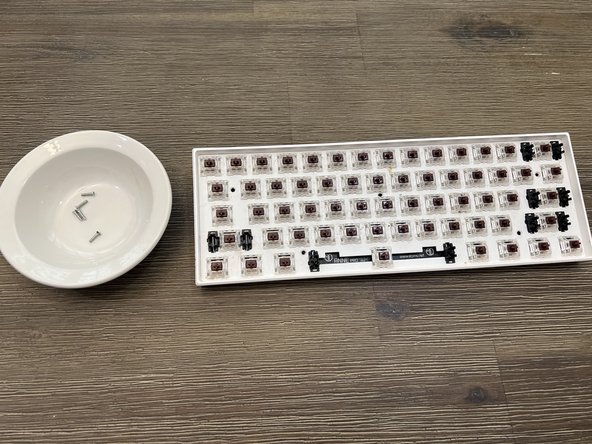
    • Place your keyboard on top of a flat and clean table to prevent parts from going missing.

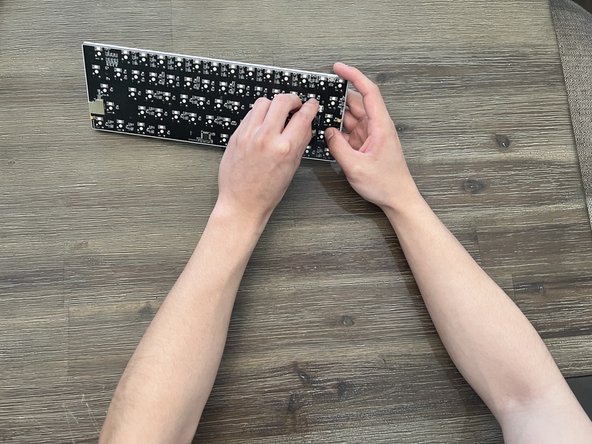
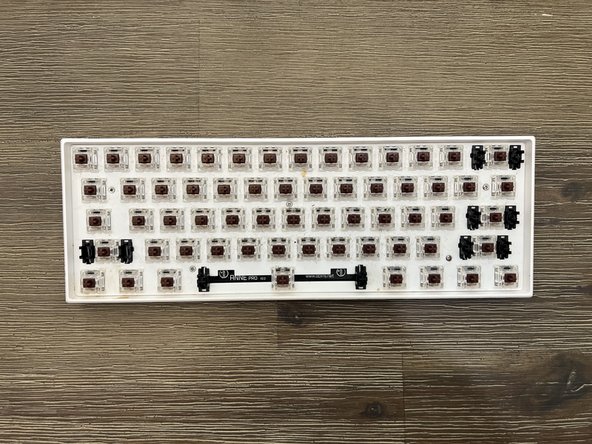
    • Remove the keycaps by hand or with a key cap puller if one is available to you.

  3. Anne Pro 1 Mechanical Keyboard Switch Replacement, Screw Removal: 步骤 3 中的图像 1,3 Anne Pro 1 Mechanical Keyboard Switch Replacement, Screw Removal: 步骤 3 中的图像 2,3 Anne Pro 1 Mechanical Keyboard Switch Replacement, Screw Removal: 步骤 3 中的图像 3,3
    • Locate and remove the five screws mounting the keyboard onto the keyboard case.

    • Secure the screws in a container for later use.

  4. Anne Pro 1 Mechanical Keyboard Switch Replacement, Removing keyboard plate: 步骤 4 中的图像 1,1
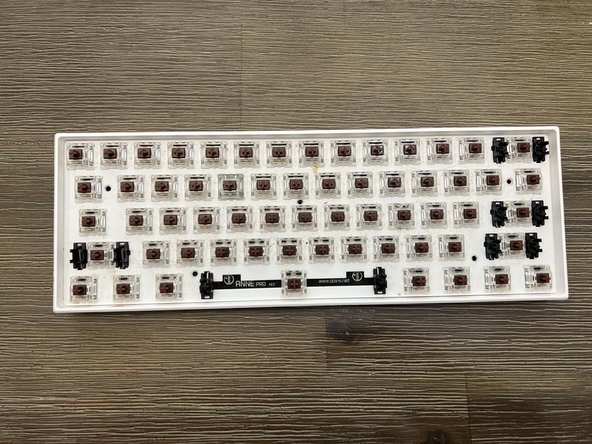
    • With the screwdriver, carefully pry the keyboard plate out of the case from the spacebar gap located at the bottom of the plate.

    • This will require some force to pry open.

  5. Anne Pro 1 Mechanical Keyboard Switch Replacement, Removing the Keyboard Battery: 步骤 5 中的图像 1,1
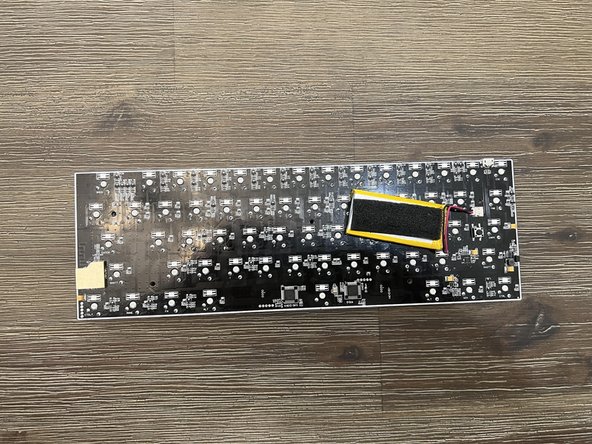
    • On the back of the keyboard plate you will find the PCB.

    • Carefully remove the battery attached to the PCB.

  6. Anne Pro 1 Mechanical Keyboard Switch Replacement, Safety Precautions: 步骤 6 中的图像 1,1
    • Make sure your workspace is well ventilated.

    • Set up a portable fan or a fume extractor nearby.

  7. Anne Pro 1 Mechanical Keyboard Switch Replacement, Desoldering Parameters: 步骤 7 中的图像 1,1
    • For desoldering, set the solder station to 400℃.

    • Allow the soldering iron enough time to completely heat up.

  8. Anne Pro 1 Mechanical Keyboard Switch Replacement, Desoldering: 步骤 8 中的图像 1,3 Anne Pro 1 Mechanical Keyboard Switch Replacement, Desoldering: 步骤 8 中的图像 2,3 Anne Pro 1 Mechanical Keyboard Switch Replacement, Desoldering: 步骤 8 中的图像 3,3
    在这个步骤中使用的工具:
    Desoldering Pump
    $3.99
    购买
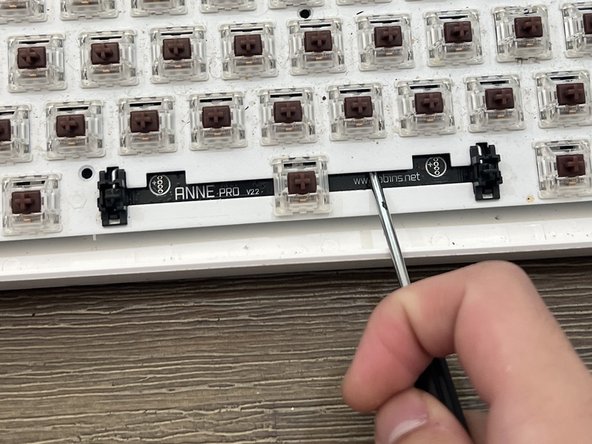
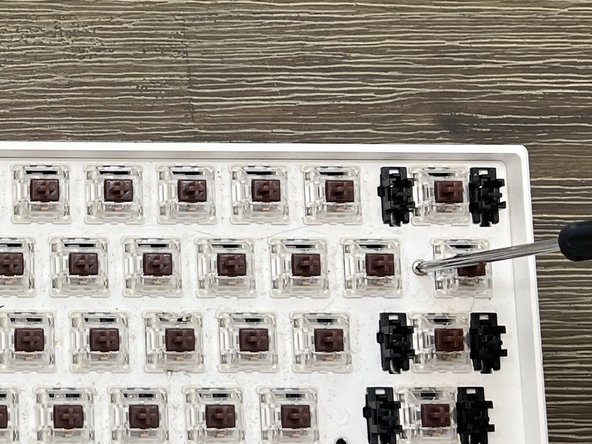
    • Using the labels on the back of the PCB locate your faulty switch.

    • Begin desoldering by carefully applying the hot iron onto the two solder joints surrounding the key label.

    • Use the solder pump when the solder visibly melts. Continue this process until the switch pins are visibly unsoldered from the PCB.

    • Warning: Do Not Breathe in the soldering fumes.

    • Warning: Do Not Touch the hot tip of the soldering iron.

  9. Anne Pro 1 Mechanical Keyboard Switch Replacement, Removing the Faulty Switch: 步骤 9 中的图像 1,1
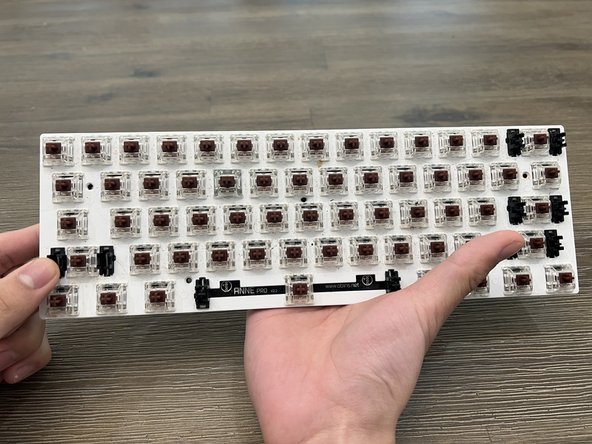
    • After the switch is visibly de-soldered, carefully remove the faulty switch with a key switch puller.

    • Note: This may be difficult to do by hand.

  10. Anne Pro 1 Mechanical Keyboard Switch Replacement, Inserting the replacement switch: 步骤 10 中的图像 1,2 Anne Pro 1 Mechanical Keyboard Switch Replacement, Inserting the replacement switch: 步骤 10 中的图像 2,2
    • With the replacement switch, line up the key switch pins with the corresponding holes on the PCB.

    • Carefully insert the switch into the PCB, making sure to avoid bending the switch pins.

  11. Anne Pro 1 Mechanical Keyboard Switch Replacement, Soldering Parameters: 步骤 11 中的图像 1,1
    • Decrease the heat on the solder station to 350℃ and allow it to cool.

    • Using a lower heat when soldering the switch back on is recommended to avoid over-soldering the switch joint.

  12. Anne Pro 1 Mechanical Keyboard Switch Replacement, Resoldering: 步骤 12 中的图像 1,2 Anne Pro 1 Mechanical Keyboard Switch Replacement, Resoldering: 步骤 12 中的图像 2,2
    • Resolder the switchback onto the PCB by carefully heating the metal rings with the soldering iron, and then applying the solder wire onto the heated surface, keeping the iron in place.

    • Apply solder to the switch pin until a small mound conceals the pin, resembling the factory solder job on the board. Allow the solder to cool and solidify.

    • Try to be conservative with the amount of solder that is used. Less is more!
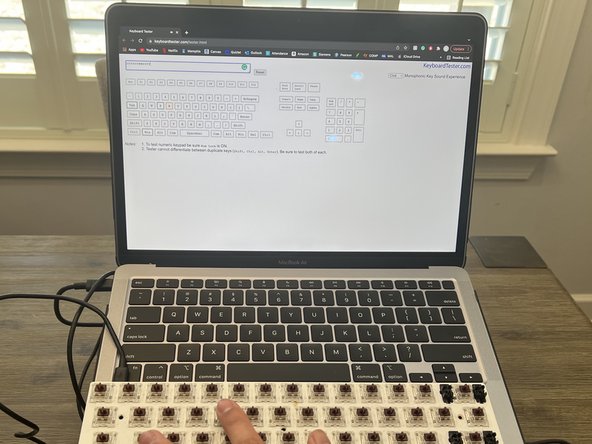
  13. Anne Pro 1 Mechanical Keyboard Switch Replacement, Testing the Solder Connection: 步骤 13 中的图像 1,1
  14. Anne Pro 1 Mechanical Keyboard Switch Replacement, Reattaching the Battery: 步骤 14 中的图像 1,2 Anne Pro 1 Mechanical Keyboard Switch Replacement, Reattaching the Battery: 步骤 14 中的图像 2,2
    • Reattach the battery onto the keyboard PCB.

    • Be sure it is connected properly and is not loose.

  15. Anne Pro 1 Mechanical Keyboard Switch Replacement, Reassembling the Keyboard: 步骤 15 中的图像 1,3 Anne Pro 1 Mechanical Keyboard Switch Replacement, Reassembling the Keyboard: 步骤 15 中的图像 2,3 Anne Pro 1 Mechanical Keyboard Switch Replacement, Reassembling the Keyboard: 步骤 15 中的图像 3,3
    • Replace the keyboard plate in the case and screw it back in.

    • Be sure to screw it in securely.

  16. Anne Pro 1 Mechanical Keyboard Switch Replacement, Reinstalling the Keycaps: 步骤 16 中的图像 1,1
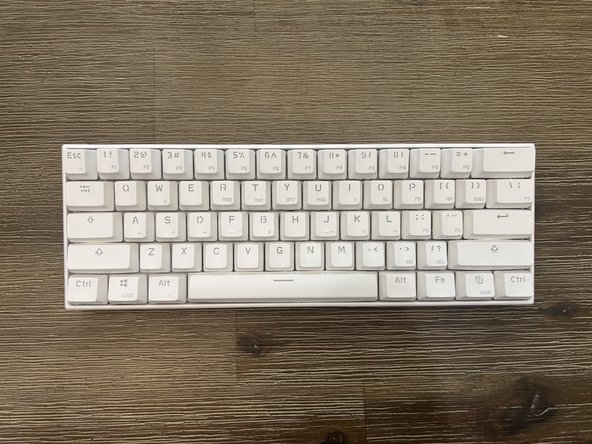
    • Reinstall the keycaps on the keyboard, referencing the previously taken photo of its layout.

结论

To reassemble your device, follow these instructions in reverse order.

另外一个人完成了本指南。

Austin Aguilar

于04/04/22注册

271 声望

撰写一个指南

0条评论

添加评论

浏览统计数据:

过去 24 小时: 0

过去 7 天: 2

过去 30 天: 9

总计 812