简介
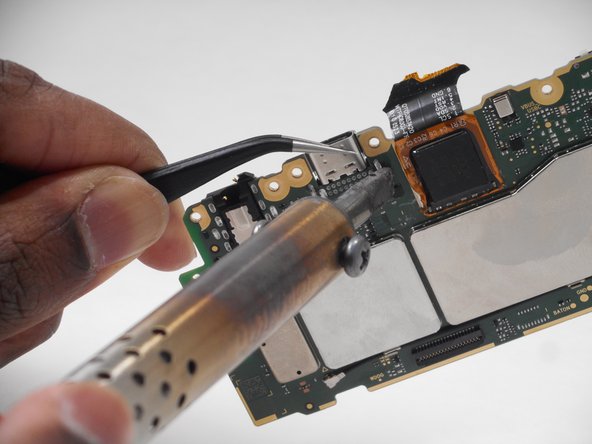
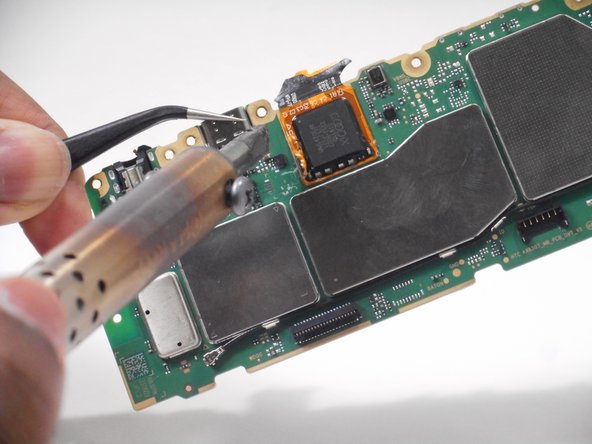
If your Amazon Fire HD 8 12th gen USB port is malfunctioning or damaged, use this guide to replace the USB port. This guide gives instructions on how to access the motherboard, which contains the USB port. The USB port allows you to charge your tablet, along with other compatibility purposes. Use caution when removing the parts of the motherboard, as they are very fragile and hard to replace if done incorrectly. Make sure your battery is unplugged before working on the mother board.
你所需要的
-
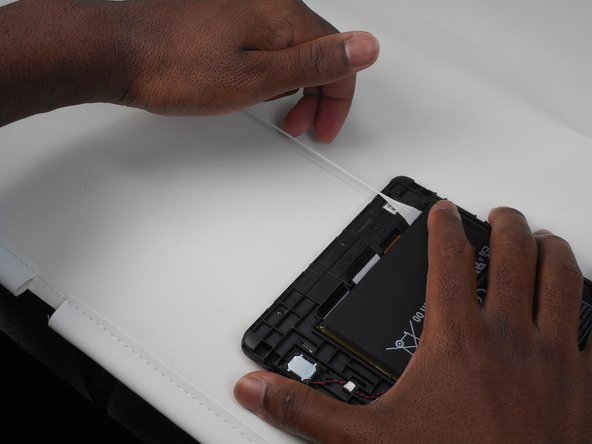
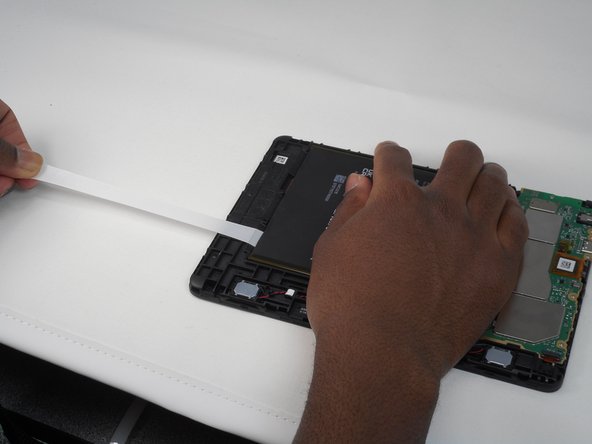
步骤 1 Buttons
注意:步骤 1-2 源自标记为进行中的 指南。
-
Put picks around the corner and move them along the edge to pry the case off.
-
Once there is separation between the case and the screen, place a pick in between the screen and on the corner of the back case.
-
-
-
-
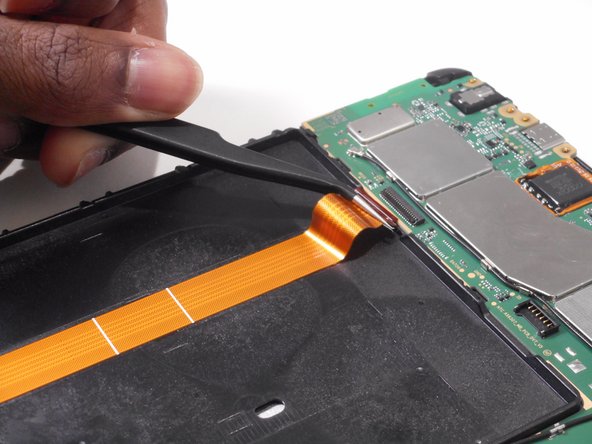
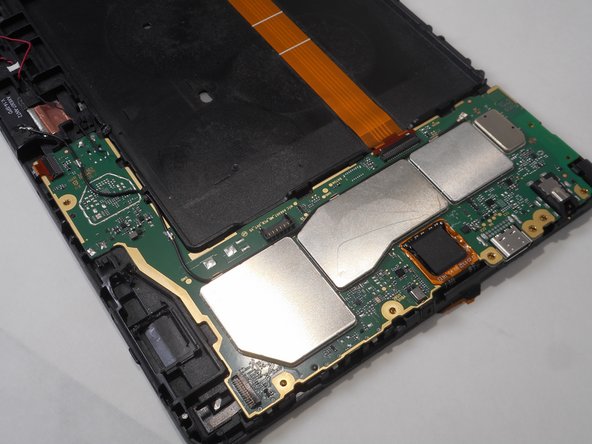
Remove the yellow-orange strip from the back of the device by disconnecting it from the motherboard.
-
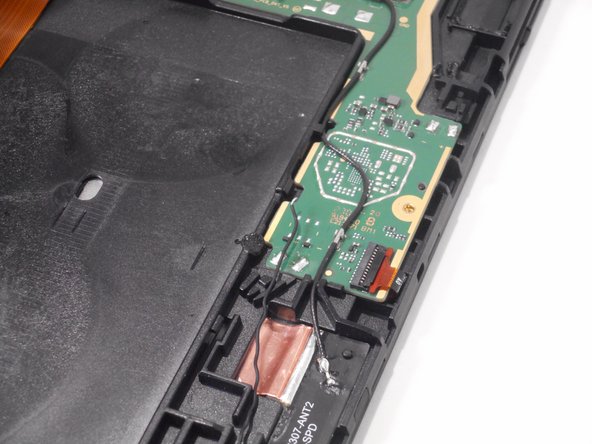
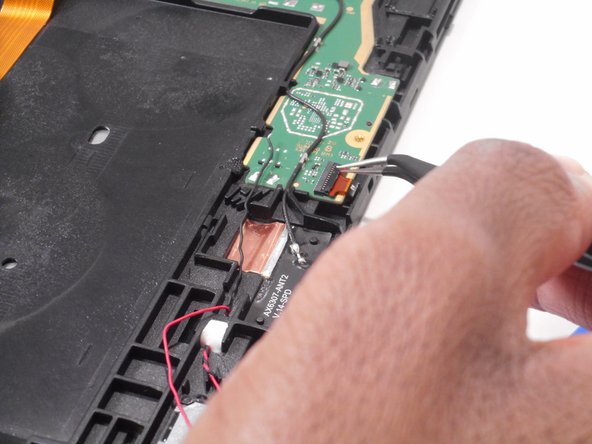
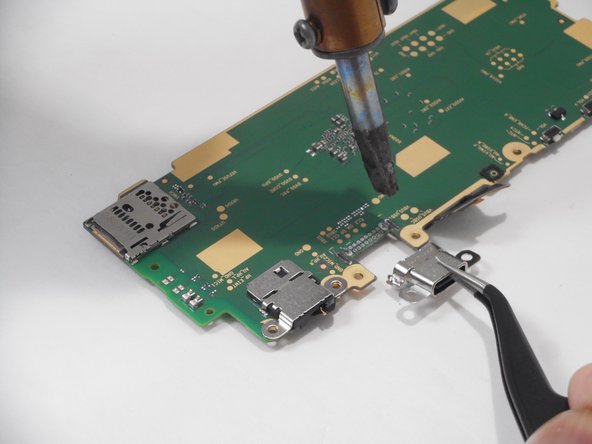
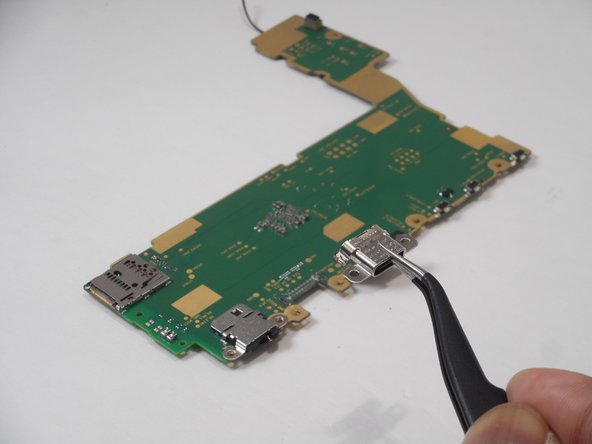
Disconnect the black wiring on the motherboard.
-


To reassemble your device, follow these instructions in reverse order.
To reassemble your device, follow these instructions in reverse order.

团队

University of Memphis, Team 1-1, Sneed Fall 2023 University of Memphis, Team 1-1, Sneed Fall 2023 的会员
UM-SNEED-F23S1G1
4 名成员
创作了7篇指南