当前版本的文档还未经巡查,您可以查看最新的已查核版本。
你所需要的
-
这个步骤还没有翻译 帮忙翻译一下
-
While holding the device firmly, wedge the iFixit Opening Tool into the crease along the outer edge of the device (as shown in the image).
-
Slowly, grind the iFixit Opening Tool into the crease along the outer edges of the device until the entire back cover loosens.
-
Then, remove the back cover from the device.
-
-
-
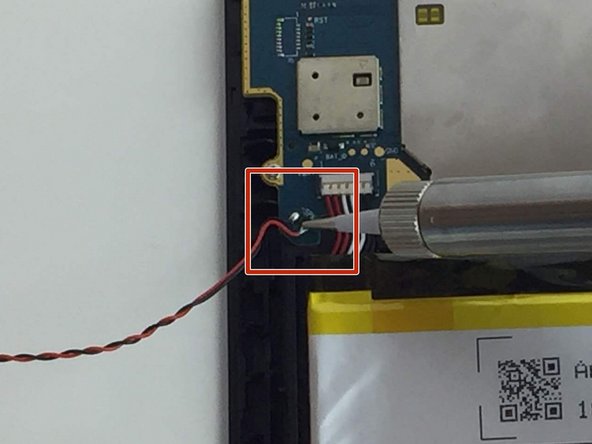
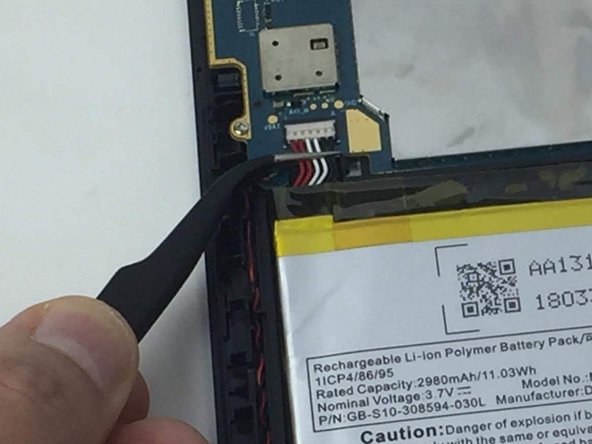
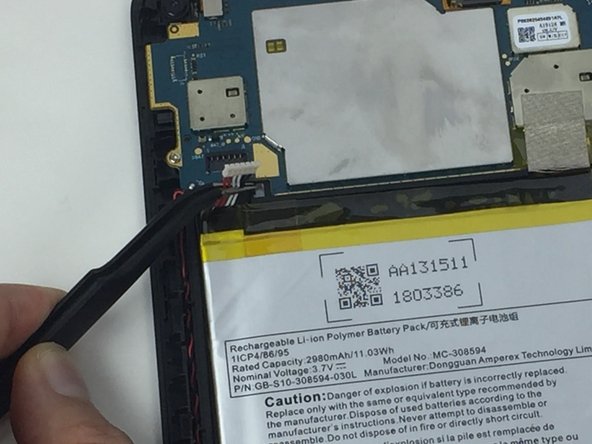
这个步骤还没有翻译 帮忙翻译一下
-
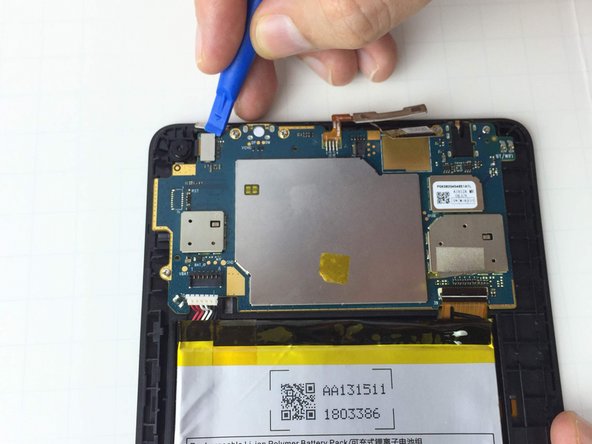
The LCD Digitizer on the Amazon Fire tablet has a locking cable connector that holds it in place on the motherboard.
-
To remove the cable, use the iFixit Opening Tool to unlock the LCD Digitizer cable connector.
-
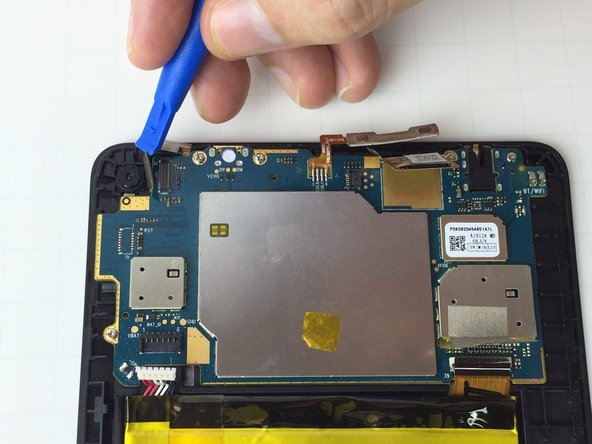
Once the wire connector is removed, use the iFixit Opening Tool to pry the entire LCD Digitizer away from the motherboard.
-


22等其他人完成本指南。
团队

USF Tampa, Team 1-2, Nance Spring 2016 USF Tampa, Team 1-2, Nance Spring 2016 的会员
USFT-NANCE-S16S1G2
3 名成员
创作了13篇指南
5条评论
where can i get a motherboard from for a 5th gen 2015 ??
Great manual!!!!!!!
Where is the hard drive? I need to replace that
It doesn't use a hard drive, it has a flash chip underneath the big shield on the board which can be pried off with a screwdriver but to remove the chip you will need a heat gun.
Donde puedo conseguir ese touch de esa table