跳转到主内容

AlphaSmart Pro Front Panel Replacement

你所需要的

  1. AlphaSmart Pro Front Panel Replacement, Separating Panels: 步骤 1 中的图像 1,3 AlphaSmart Pro Front Panel Replacement, Separating Panels: 步骤 1 中的图像 2,3 AlphaSmart Pro Front Panel Replacement, Separating Panels: 步骤 1 中的图像 3,3
    • Power off your AlphaSmart Pro device and remove the batteries before beginning disassembly.

    • Remove all eight 1 cm Phillips head screws from the back panel of the AlphaSmart Pro with the Phillips #00 Screwdriver.

    • Carefully separate the front panel from the back panel.

    • Notice that the front and back panels are still connected by a ribbon cable.

  2. AlphaSmart Pro Front Panel Replacement, Detaching Ribbon Cable: 步骤 2 中的图像 1,2 AlphaSmart Pro Front Panel Replacement, Detaching Ribbon Cable: 步骤 2 中的图像 2,2
    • To remove the ribbon cable, use the spudger to lift each side of the connector from the socket.

    • Gently pull up on the connector to completely remove the connector from the socket.

    • You are now able to separate the front panel from the back panel.

  3. AlphaSmart Pro Front Panel Replacement, Removing Display Screen: 步骤 3 中的图像 1,3 AlphaSmart Pro Front Panel Replacement, Removing Display Screen: 步骤 3 中的图像 2,3 AlphaSmart Pro Front Panel Replacement, Removing Display Screen: 步骤 3 中的图像 3,3
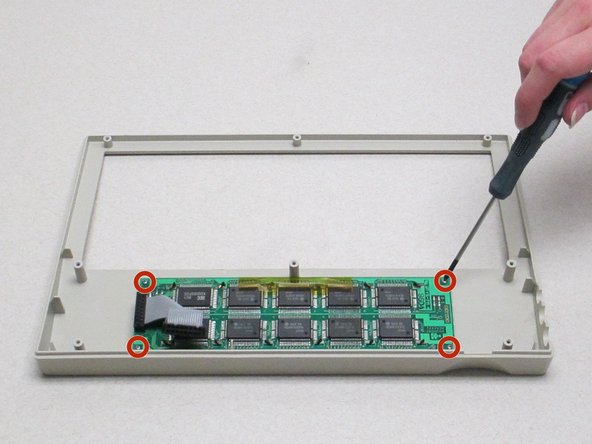
    • Looking at the front panel, use the Phillips #00 screwdriver to remove the four Phillips head 0.8 cm screws from each corner of the display motherboard.

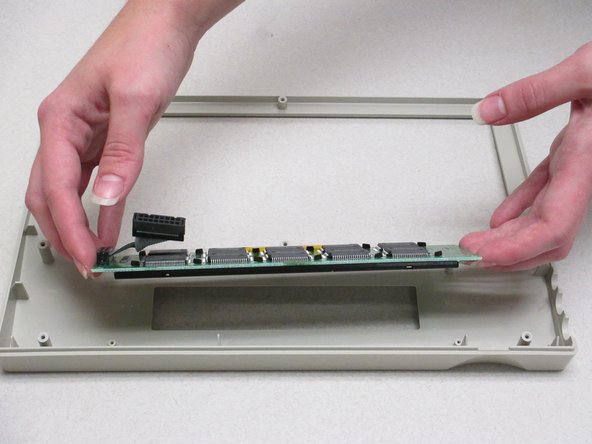
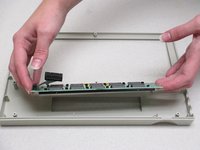
    • Lift the display screen and motherboard from the plastic front panel to separate the two pieces.

结论

To reassemble your device, follow these instructions in reverse order.

Nathan Smith

于10/13/14注册

22 声望

创作了2篇指南

团队

Clemson, Team 1-1, Benson Fall 2014 Clemson, Team 1-1, Benson Fall 2014 的会员

CLEM-BENSON-F14S1G1

4 名成员

创作了16篇指南

0条评论

添加评论

浏览统计数据:

过去 24 小时: 0

过去 7 天: 1

过去 30 天: 3

总计 249