跳转到主内容
加入维修社区 - 创建账户

Afterglow Wireless PS3 Controller Button Replacement

你所需要的

    1. Afterglow Wireless PS3 Controller Button Replacement, Back Cover: 步骤 1 中的图像 1,2 Afterglow Wireless PS3 Controller Button Replacement, Back Cover: 步骤 1 中的图像 2,2
      • Lay the controller face down on a flat surface and remove the seven 9mm Phillips #0 screws on the back of the controller.

      • Lift up and remove the controller back plate.

      添加评论

    1. Afterglow Wireless PS3 Controller Button Replacement, Button: 步骤 2 中的图像 1,2 Afterglow Wireless PS3 Controller Button Replacement, Button: 步骤 2 中的图像 2,2
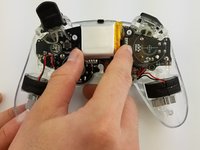
      • Carefully remove the battery by lifting it straight up from its place.

      • Keep in mind that the red and black battery wires are attached to the motherboard. Handle these with care.

      询问修复机器人

      添加评论

    2. Afterglow Wireless PS3 Controller Button Replacement: 步骤 3 中的图像 1,1
      • Unscrew the four 9mm Phillips #0 screws that are attached to both joy stick control mini-motherboards. There are two screws for each mini-motherboard.

      询问修复机器人

      添加评论

    3. Afterglow Wireless PS3 Controller Button Replacement: 步骤 4 中的图像 1,2 Afterglow Wireless PS3 Controller Button Replacement: 步骤 4 中的图像 2,2
      • Jiggle both joy stick control mini-motherboards out of their holding place.

      • Set aside the mini-motherboards so you can access the main motherboard.

      询问修复机器人

      添加评论

    4. Afterglow Wireless PS3 Controller Button Replacement: 步骤 5 中的图像 1,2 Afterglow Wireless PS3 Controller Button Replacement: 步骤 5 中的图像 2,2
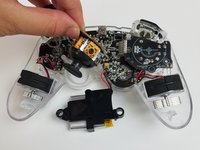
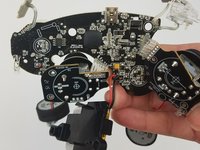
      • Pull both vibration motors straight up from their holding place.

      询问修复机器人

      添加评论

    5. Afterglow Wireless PS3 Controller Button Replacement: 步骤 6 中的图像 1,2 Afterglow Wireless PS3 Controller Button Replacement: 步骤 6 中的图像 2,2
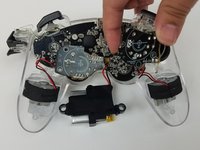
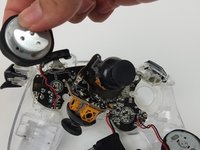
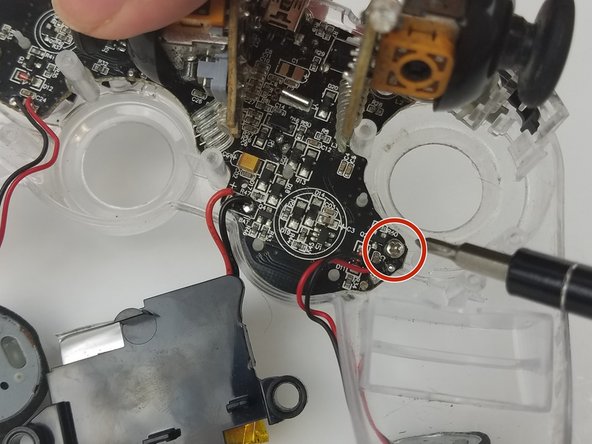
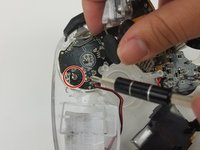
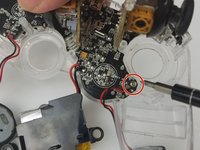
      • Unscrew the two 9mm Phillips #0 screws holding the motherboard to the controller front plate.

      询问修复机器人

      添加评论

    6. Afterglow Wireless PS3 Controller Button Replacement: 步骤 7 中的图像 1,2 Afterglow Wireless PS3 Controller Button Replacement: 步骤 7 中的图像 2,2
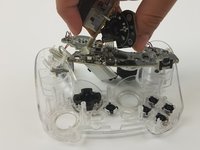
      • Detach the main motherboard fom the front pate by carefully pulling it off.

      • Be careful of the trigger buttons when pulling out the motherboard. The buttons have mini-motherboards secured in place on the front plate. Carefully pull these out.

      询问修复机器人

      添加评论

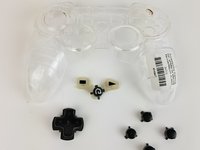
    7. Afterglow Wireless PS3 Controller Button Replacement: 步骤 8 中的图像 1,3 Afterglow Wireless PS3 Controller Button Replacement: 步骤 8 中的图像 2,3 Afterglow Wireless PS3 Controller Button Replacement: 步骤 8 中的图像 3,3
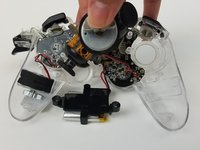
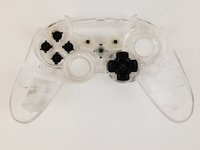
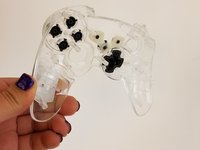
      • Pick up the controller front plate and carefully turn it over so that the buttons left in it will fall out.

      • You may want to flip it while holding it over a container so the buttons do not go bouncing away from your work space.

      询问修复机器人

      添加评论

结论

To reassemble your device, follow these instructions in reverse order.

取消:我没有完成这个指南。

5等其他人完成本指南。

Aj Coello

于02/17/17注册

1,164 声望

创作了6篇指南

团队

USF Tampa, Team S19-G5, Hoffman Spring 2017 USF Tampa, Team S19-G5, Hoffman Spring 2017 的会员

USFT-HOFFMAN-S17S19G5

4 名成员

创作了96篇指南

0指南评论

添加评论

浏览统计数据:

过去 24 小时: 1

过去 7 天: 12

过去 30 天: 76

总计 2,739