跳转到主内容

Acer One 10 S1002 145-A Screen Replacement

你所需要的

  1. Acer One 10 S1002 145-A Screen Replacement, Motherboard: 步骤 1 中的图像 1,1
    • Make sure that the tablet is turned off and disconnected from any power source.

    • Disconnect the tablet from the keyboard attachment.

    • If you have a Micro SD card in the tablet, remove it now.

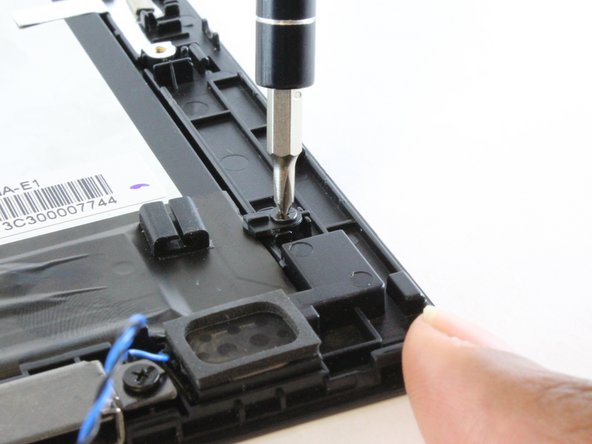
    • Remove the two 3.5 mm Phillips #0 screws on either side the keyboard connection.

  2. Acer One 10 S1002 145-A Screen Replacement: 步骤 2 中的图像 1,2 Acer One 10 S1002 145-A Screen Replacement: 步骤 2 中的图像 2,2
    • Starting from a corner of the tablet, use the plastic opening tool to create a gap between the screen and the back covering.

    • Slowly maneuver the plastic opening tool along the perimeter of the tablet to pry the screen and back covering apart.

    • Separate the back covering from the screen.

  3. Acer One 10 S1002 145-A Screen Replacement: 步骤 3 中的图像 1,3 Acer One 10 S1002 145-A Screen Replacement: 步骤 3 中的图像 2,3 Acer One 10 S1002 145-A Screen Replacement: 步骤 3 中的图像 3,3
    • Peel off all of the Polyimide tape (yellow tape).

    • Remove the metallic tape covering the keyboard connection.

  4. Acer One 10 S1002 145-A Screen Replacement: 步骤 4 中的图像 1,2 Acer One 10 S1002 145-A Screen Replacement: 步骤 4 中的图像 2,2
    • Unscrew the two 3.5mm Phillips #0 screws and open the ZIF latch.

    • Gently remove the silver part covering the battery and set it aside.

  5. Acer One 10 S1002 145-A Screen Replacement: 步骤 5 中的图像 1,3 Acer One 10 S1002 145-A Screen Replacement: 步骤 5 中的图像 2,3 Acer One 10 S1002 145-A Screen Replacement: 步骤 5 中的图像 3,3
  6. Acer One 10 S1002 145-A Screen Replacement: 步骤 6 中的图像 1,2 Acer One 10 S1002 145-A Screen Replacement: 步骤 6 中的图像 2,2
    • Remove the four 4mm screws at the corners of the motherboard with the Phillips#0 bit screw.

    • The screw beneath the metallic tape also needs to be removed.

  7. Acer One 10 S1002 145-A Screen Replacement: 步骤 7 中的图像 1,3 Acer One 10 S1002 145-A Screen Replacement: 步骤 7 中的图像 2,3 Acer One 10 S1002 145-A Screen Replacement: 步骤 7 中的图像 3,3
    • Disconnect the three cables on the motherboard closest to the battery.

    • These cables require some extra prying power to be removed.

  8. Acer One 10 S1002 145-A Screen Replacement: 步骤 8 中的图像 1,1
    • Slide out the motherboard and put it aside.

  9. Acer One 10 S1002 145-A Screen Replacement, Battery: 步骤 9 中的图像 1,3 Acer One 10 S1002 145-A Screen Replacement, Battery: 步骤 9 中的图像 2,3 Acer One 10 S1002 145-A Screen Replacement, Battery: 步骤 9 中的图像 3,3
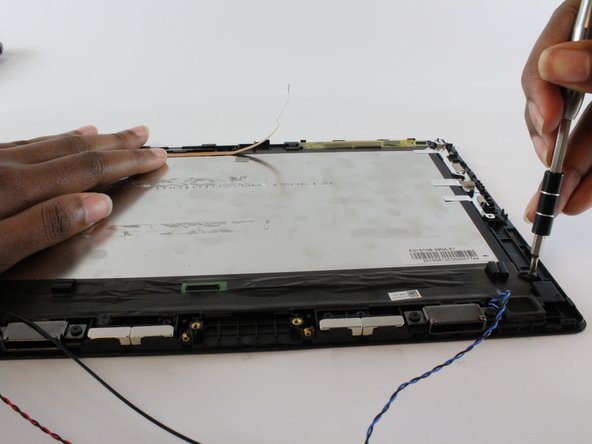
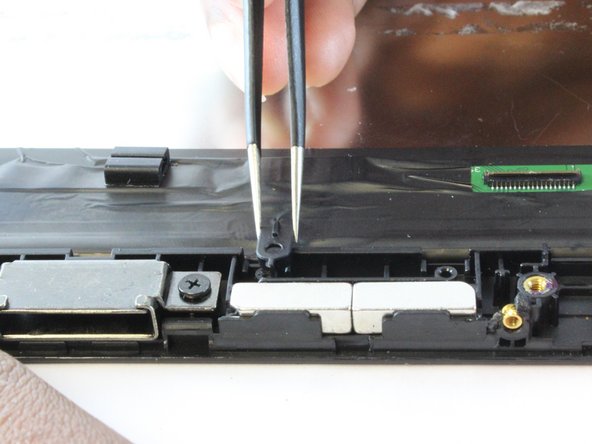
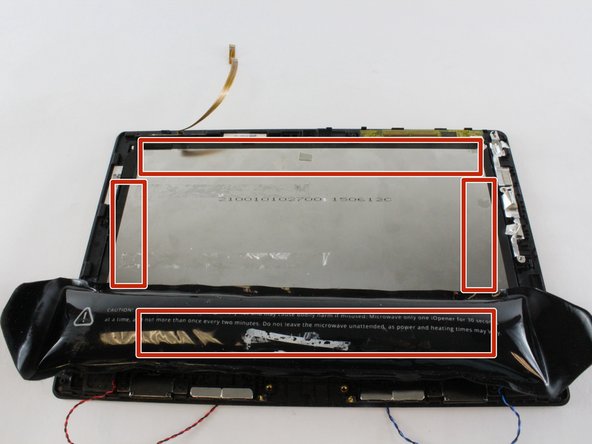
    • Use the plastic opening tool to separate the glue that holds the battery to the screen.

    • Avoid putting pressure on the glass while separating the battery from the screen.

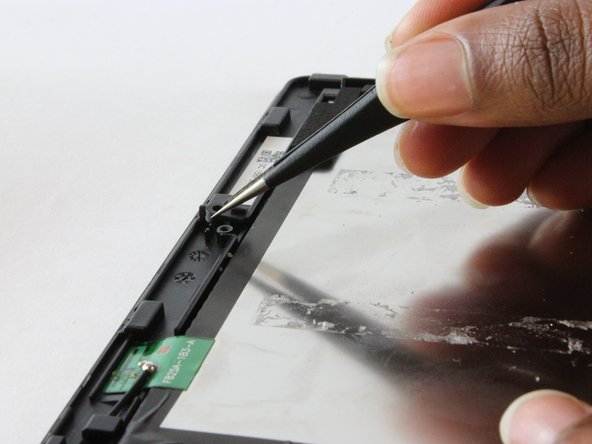
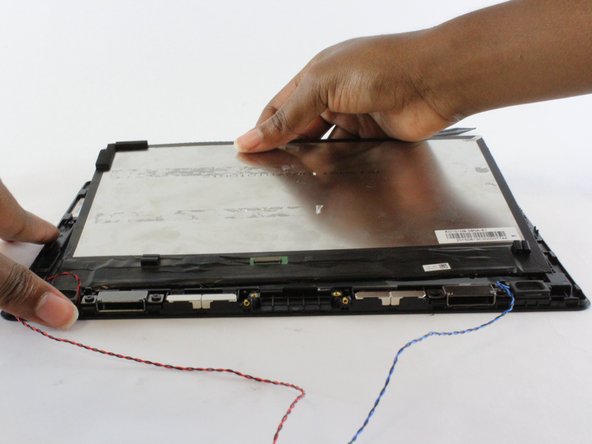
    • Remove the battery and set it aside.

  10. Acer One 10 S1002 145-A Screen Replacement, Camera: 步骤 10 中的图像 1,3 Acer One 10 S1002 145-A Screen Replacement, Camera: 步骤 10 中的图像 2,3 Acer One 10 S1002 145-A Screen Replacement, Camera: 步骤 10 中的图像 3,3
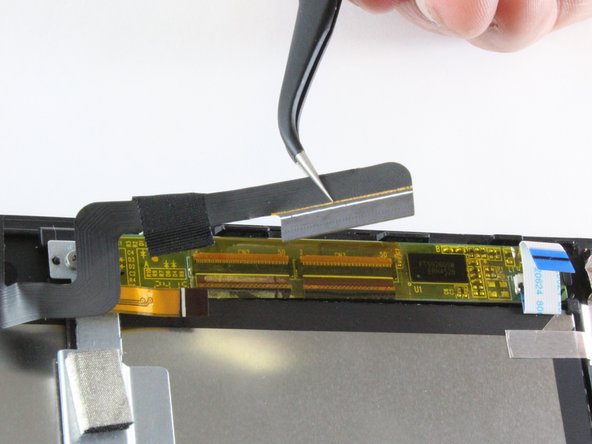
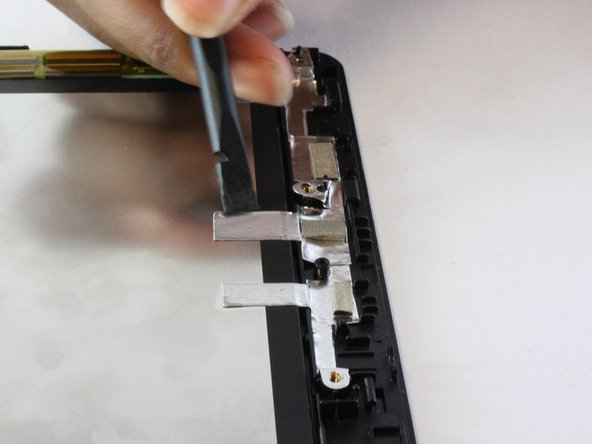
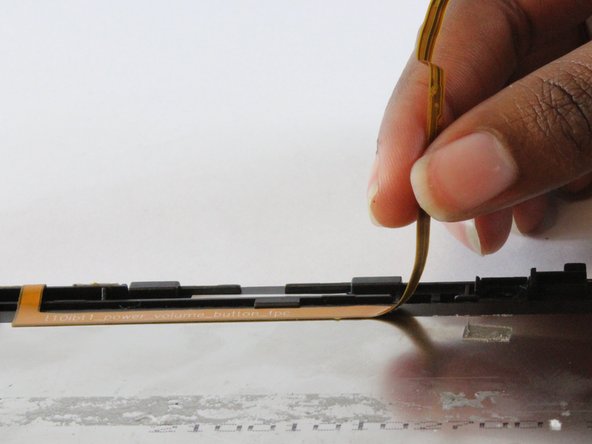
    • Separate the adhesive cable from the underlying copper ribbon cable.

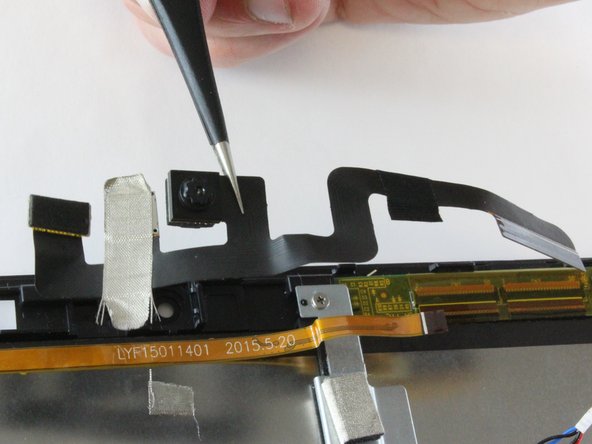
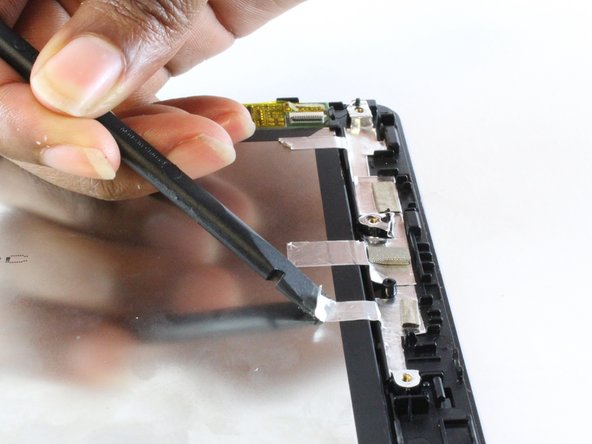
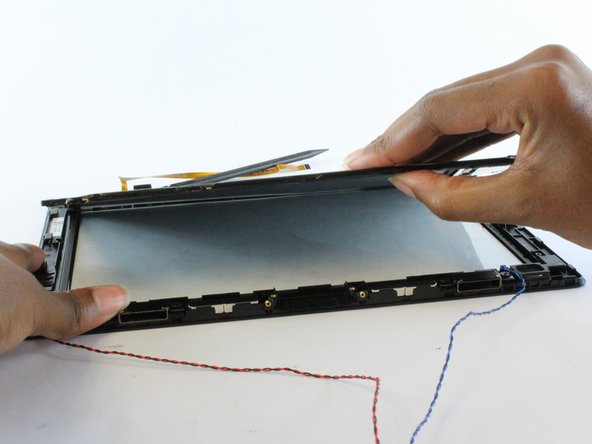
    • Gently pry off the camera from from tablet backing.

    • Remove the camera and set it aside.

  11. Acer One 10 S1002 145-A Screen Replacement, Screen: 步骤 11 中的图像 1,2 Acer One 10 S1002 145-A Screen Replacement, Screen: 步骤 11 中的图像 2,2
    • Open the latch on the copper connector and remove it from the tablet.

  12. Acer One 10 S1002 145-A Screen Replacement: 步骤 12 中的图像 1,3 Acer One 10 S1002 145-A Screen Replacement: 步骤 12 中的图像 2,3 Acer One 10 S1002 145-A Screen Replacement: 步骤 12 中的图像 3,3
    • Remove the three 3.5mm screws from the outside perimeter of the tablet.

  13. Acer One 10 S1002 145-A Screen Replacement: 步骤 13 中的图像 1,3 Acer One 10 S1002 145-A Screen Replacement: 步骤 13 中的图像 2,3 Acer One 10 S1002 145-A Screen Replacement: 步骤 13 中的图像 3,3
    • Remove the three small latches that are underneath the screws.

  14. Acer One 10 S1002 145-A Screen Replacement: 步骤 14 中的图像 1,3 Acer One 10 S1002 145-A Screen Replacement: 步骤 14 中的图像 2,3 Acer One 10 S1002 145-A Screen Replacement: 步骤 14 中的图像 3,3
    • Peel the silver tape on the side of the tablet using the nylon spudger. Do not completely remove the tape.

    • Peel the gold tape gently. Do not completely remove the tape.

  15. Acer One 10 S1002 145-A Screen Replacement: 步骤 15 中的图像 1,2 Acer One 10 S1002 145-A Screen Replacement: 步骤 15 中的图像 2,2
    • Locate the small green connector with the black cable attached.

    • Disconnect the black cable from the small green connector using the precision tweezers.

  16. Acer One 10 S1002 145-A Screen Replacement: 步骤 16 中的图像 1,1
    在这个步骤中使用的工具:
    iOpener
    $12.99
    购买
    • Use a heating pack (iOpener), a hair dryer, or heat gun, and place it over the highlighted glue areas.

    • This will heat up the glue beneath the tape in order to separate the LCD from the screen.

  17. Acer One 10 S1002 145-A Screen Replacement: 步骤 17 中的图像 1,3 Acer One 10 S1002 145-A Screen Replacement: 步骤 17 中的图像 2,3 Acer One 10 S1002 145-A Screen Replacement: 步骤 17 中的图像 3,3
    • Using the nylon spudger, gently pry the LCD from the screen.

    • Once separated, gently lift away the LCD from the screen.

    • Place tablet screen to the side.

结论

To reassemble your device, follow these instructions in reverse order.

3等其他人完成本指南。

Shannon Griffin

于10/03/16注册

1,372 声望

创作了5篇指南

团队

USF Tampa, Team 1-3, Sullivan Fall 2016 USF Tampa, Team 1-3, Sullivan Fall 2016 的会员

USFT-SULLIVAN-F16S1G3

4 名成员

创作了5篇指南

0条评论

添加评论

浏览统计数据:

过去 24 小时: 0

过去 7 天: 7

过去 30 天: 18

总计 9,290