跳转到主内容

Acer Iconia B1-710 Screen Replacement

你所需要的

  1. Acer Iconia B1-710 Screen Replacement, Battery: 步骤 1 中的图像 1,3 Acer Iconia B1-710 Screen Replacement, Battery: 步骤 1 中的图像 2,3 Acer Iconia B1-710 Screen Replacement, Battery: 步骤 1 中的图像 3,3
    • Open the back cover by prying the casing off with an opening tool.

    • Be careful to not pull pieces apart aggressively. There is a wire that could break.

  2. Acer Iconia B1-710 Screen Replacement: 步骤 2 中的图像 1,3 Acer Iconia B1-710 Screen Replacement: 步骤 2 中的图像 2,3 Acer Iconia B1-710 Screen Replacement: 步骤 2 中的图像 3,3
    • Unplug the battery from the motherboard.

  3. Acer Iconia B1-710 Screen Replacement: 步骤 3 中的图像 1,1
    • Remove the battery.

    • The battery is lightly glued in, so there may be some difficulty getting it out.

  4. Acer Iconia B1-710 Screen Replacement, Screen: 步骤 4 中的图像 1,2 Acer Iconia B1-710 Screen Replacement, Screen: 步骤 4 中的图像 2,2
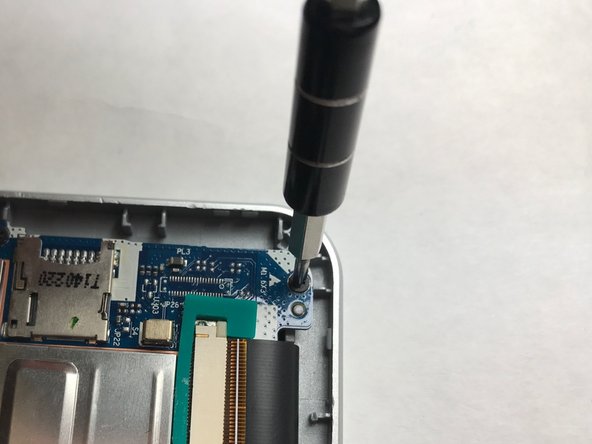
    • Unscrew all five 3 mm #000 Phillips screws.

  5. Acer Iconia B1-710 Screen Replacement: 步骤 5 中的图像 1,2 Acer Iconia B1-710 Screen Replacement: 步骤 5 中的图像 2,2
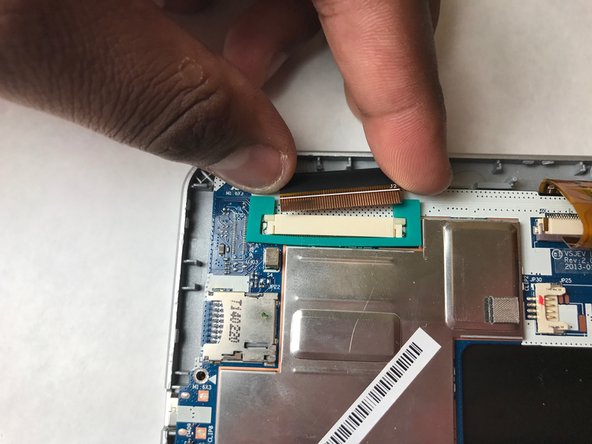
    • Unplug the LCD ribbon.

  6. Acer Iconia B1-710 Screen Replacement: 步骤 6 中的图像 1,2 Acer Iconia B1-710 Screen Replacement: 步骤 6 中的图像 2,2
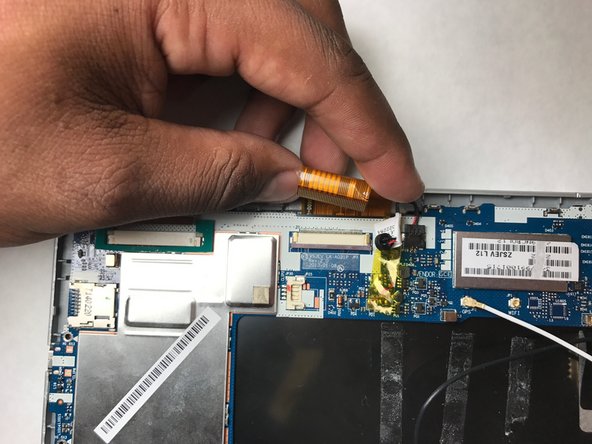
    • Unplug the orange ribbon.

  7. Acer Iconia B1-710 Screen Replacement: 步骤 7 中的图像 1,3 Acer Iconia B1-710 Screen Replacement: 步骤 7 中的图像 2,3 Acer Iconia B1-710 Screen Replacement: 步骤 7 中的图像 3,3
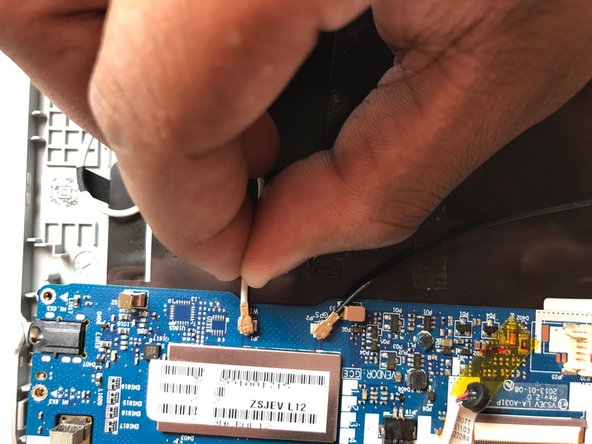
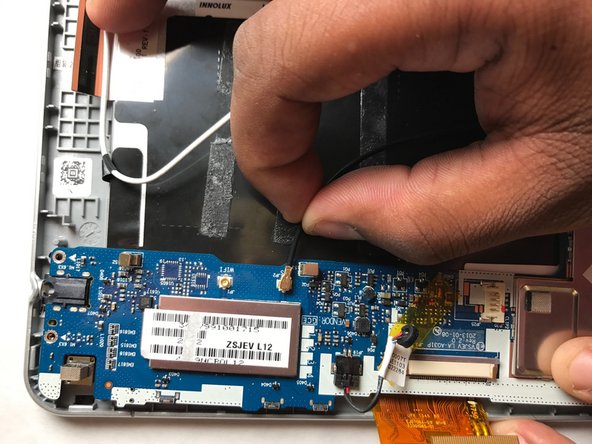
    • Unplug the white wire from the motherboard.

    • Unplug the black wire from the motherboard.

  8. Acer Iconia B1-710 Screen Replacement: 步骤 8 中的图像 1,1
    • Pull the motherboard off of the tablet.

  9. Acer Iconia B1-710 Screen Replacement: 步骤 9 中的图像 1,1
    • Use a blow dryer to melt the glue holding the LCD display in place.

    • Patience is key. It will take a few minutes to melt the glue.

  10. Acer Iconia B1-710 Screen Replacement: 步骤 10 中的图像 1,3 Acer Iconia B1-710 Screen Replacement: 步骤 10 中的图像 2,3 Acer Iconia B1-710 Screen Replacement: 步骤 10 中的图像 3,3
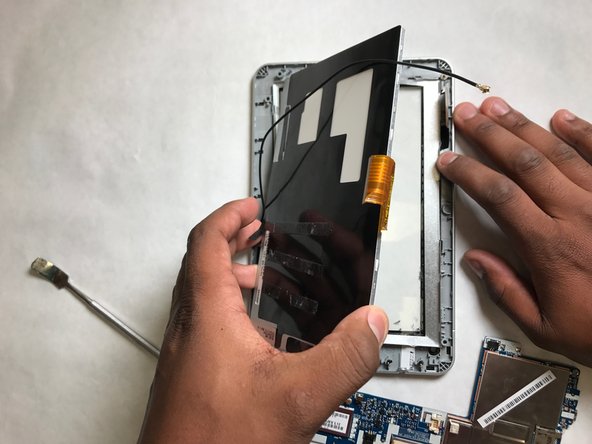
    • Peel the LCD display.

    • This piece is fragile and needs to be peeled with care.

    • Parts may be hot.

  11. Acer Iconia B1-710 Screen Replacement: 步骤 11 中的图像 1,1
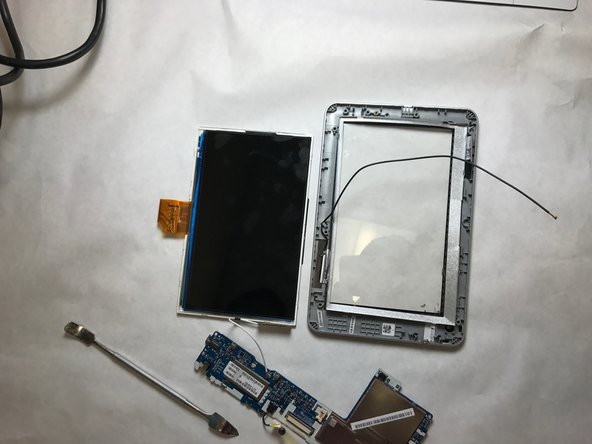
    • Use a blow dryer to melt the glue from the thin metal frame.

    • This piece is metal and will become hot during this process.

  12. Acer Iconia B1-710 Screen Replacement: 步骤 12 中的图像 1,2 Acer Iconia B1-710 Screen Replacement: 步骤 12 中的图像 2,2
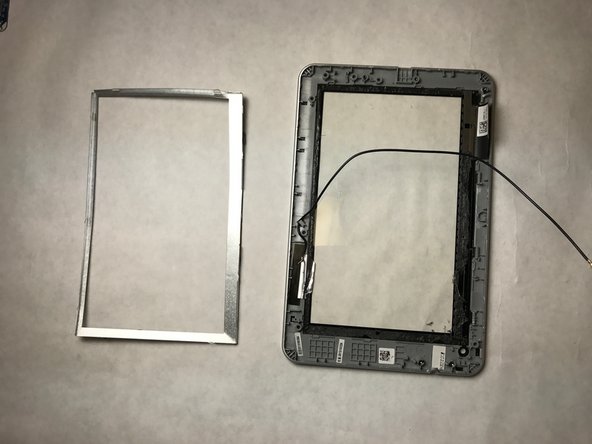
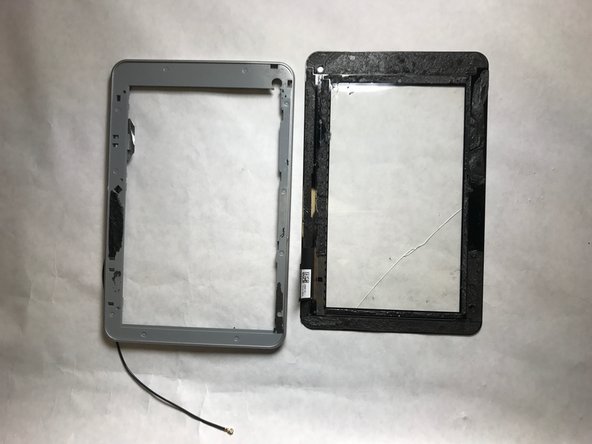
    • Peel off the thin metal frame.

    • Be careful not to bend the frame as it is very thin.

  13. Acer Iconia B1-710 Screen Replacement: 步骤 13 中的图像 1,1
    • Use a blow dryer to melt the glue between the metal frame and the screen.

    • The frame will get hot.

  14. Acer Iconia B1-710 Screen Replacement: 步骤 14 中的图像 1,2 Acer Iconia B1-710 Screen Replacement: 步骤 14 中的图像 2,2
    • Peel the frame from the screen.

    • Be careful when peeling the screen or it may sustain further damage.

结论

To reassemble your device, follow these instructions in reverse order.

另外一个人完成了本指南。

Ryan Weber

于03/26/17注册

358 声望

创作了3篇指南

团队

IUPUI, Team S3-G5, Baechle Spring 2017 IUPUI, Team S3-G5, Baechle Spring 2017 的会员

IUPUI-BAECHLE-S17S3G5

4 名成员

创作了3篇指南

0条评论

添加评论

浏览统计数据:

过去 24 小时: 0

过去 7 天: 0

过去 30 天: 2

总计 925