简介
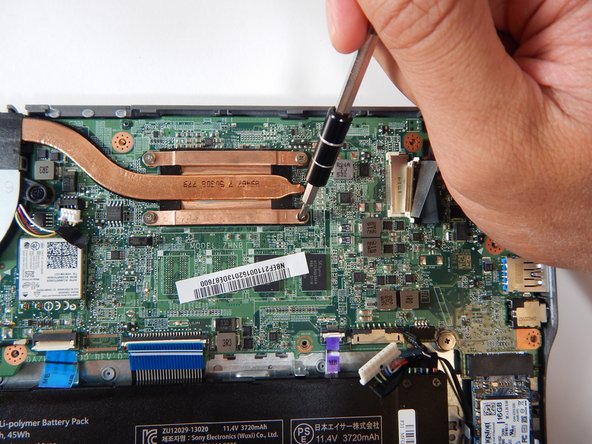
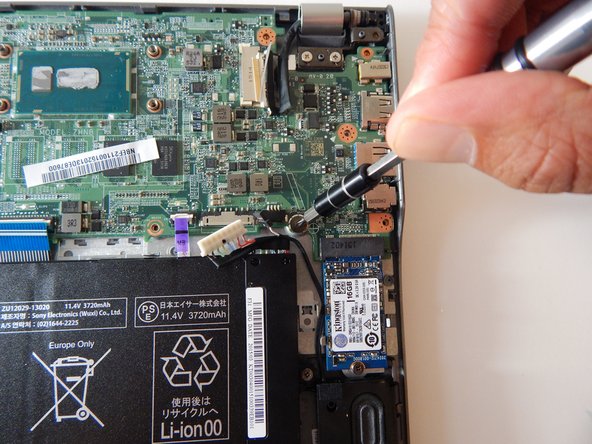
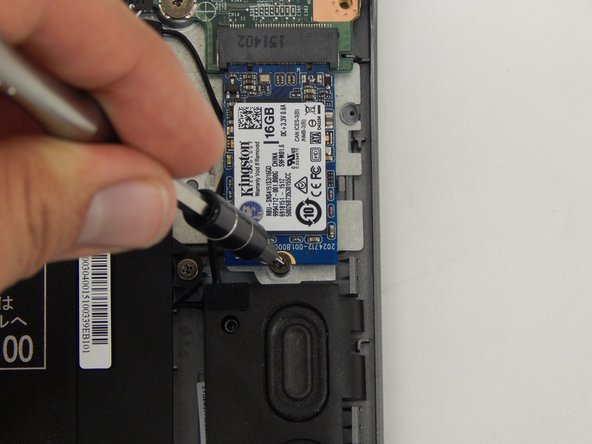
The motherboard replacement for the Acer Chromebook C740 requires removing the back panel, unplugging several connectors, and removing several screws. The motherboard is the main circuity for the laptop.
你所需要的
-
-
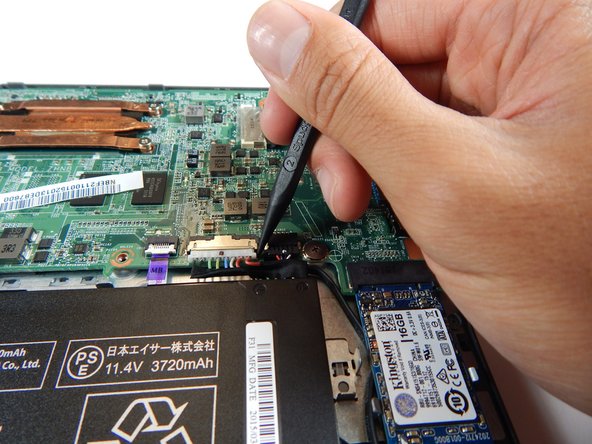
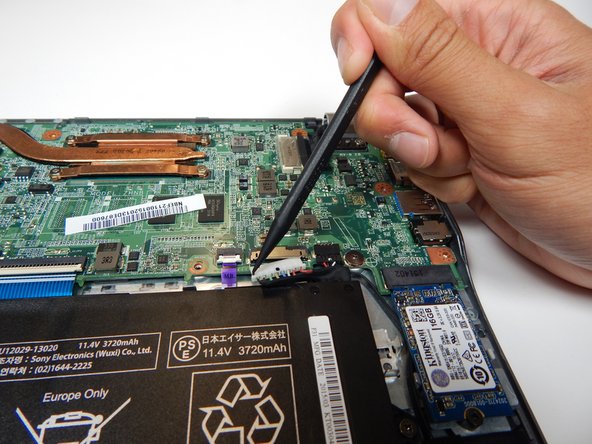
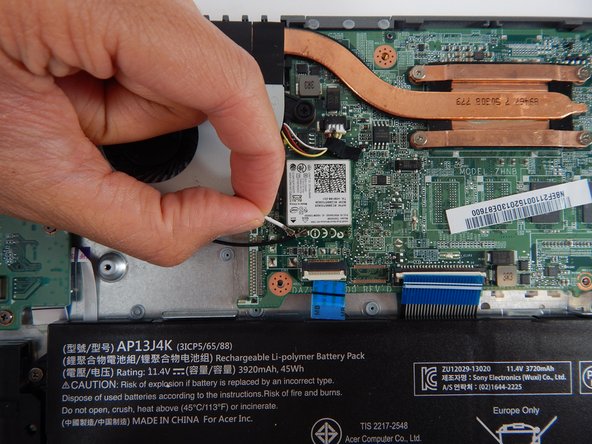
Flip up the clip holding down the white cable using the spudger.
-
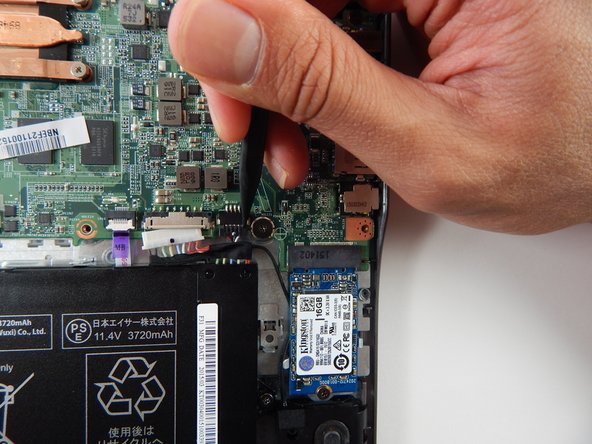
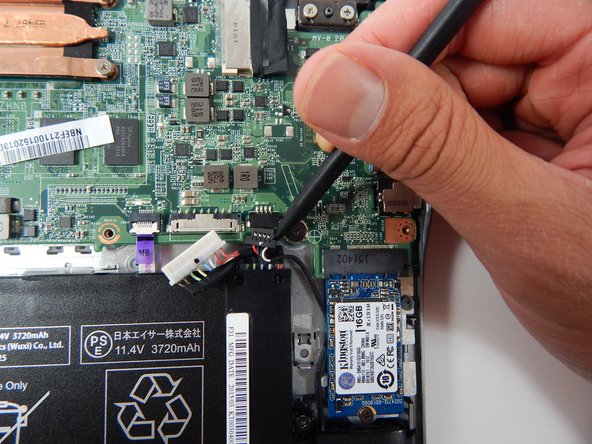
Pull the cable outwards towards the battery.
-
-


To reassemble your device, follow these instructions in reverse order.
To reassemble your device, follow these instructions in reverse order.
4等其他人完成本指南。
团队

Cal Poly, Team S22-G2, Livingston Spring 2017 Cal Poly, Team S22-G2, Livingston Spring 2017 的会员
CPSU-LIVINGSTON-S17S22G2
4 名成员
创作了12篇指南