跳转到主内容

Acer Aspire R5-471T-52EE Screen Replacement

你所需要的

  1. Acer Aspire R5-471T-52EE Screen Replacement, Back Cover: 步骤 1 中的图像 1,2 Acer Aspire R5-471T-52EE Screen Replacement, Back Cover: 步骤 1 中的图像 2,2
    • Unplug the laptop and turn it off.

    • Remove the twelve 3mm screws using the Phillips #1 screwdriver.

  2. Acer Aspire R5-471T-52EE Screen Replacement: 步骤 2 中的图像 1,1
    • With the hinges of the laptop pointing away from you, gently begin to pull on the portion between the two hinges towards yourself until you feel the cover pop off.

    • Remove the back cover from the device.

  3. Acer Aspire R5-471T-52EE Screen Replacement, Screen: 步骤 3 中的图像 1,1
    • Disconnect the three wires from the motherboard that connect to the screen.

    • Be very gentle when removing these wires as the connections with the motherboard are delicate.

  4. Acer Aspire R5-471T-52EE Screen Replacement: 步骤 4 中的图像 1,1
    • Remove the eight 3mm screws on the hinges using the Phillips #1 screwdriver.

    • Now that the hinges have been unfastened, carefully separate the screen and screen casing from the other half of the computer.

  5. Acer Aspire R5-471T-52EE Screen Replacement: 步骤 5 中的图像 1,2 Acer Aspire R5-471T-52EE Screen Replacement: 步骤 5 中的图像 2,2
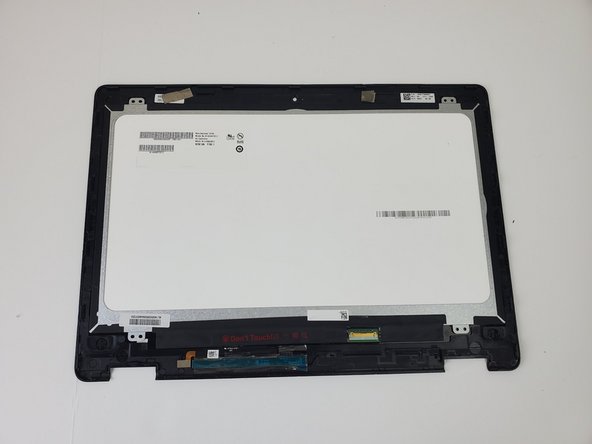
    • Using a spudger or an opening pick, pop open the case holding the screen. Follow the line where the two pieces of the case meet all around the screen.

    • Remove the display assembly from the device.

结论

To install the screen and reassemble your device, follow these instructions in reverse order.

0条评论

添加评论

浏览统计数据:

过去 24 小时: 0

过去 7 天: 6

过去 30 天: 12

总计 354