简介
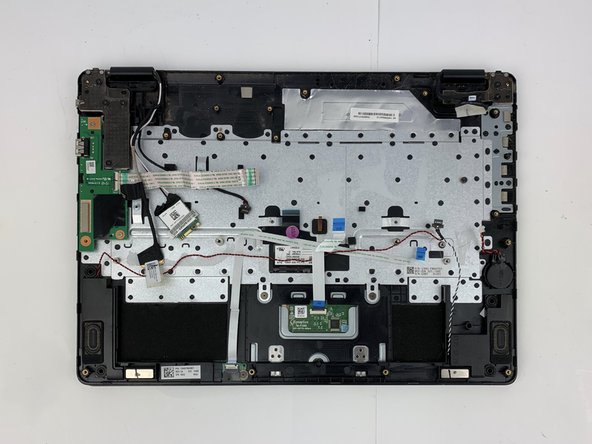
If you ever need to replace your Acer Aspire R (model R5-471T-51UN) keyboard, use this guide to help you navigate across the different elements connecting your keyboard. The instructions prepare you to unplug certain connections using tools like the Phillips #0 screwdriver and a spudger.
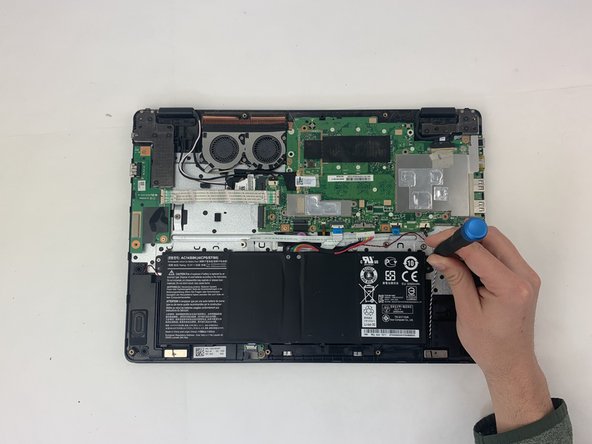
Step 5 asks you to be cautious in gently removing the battery of the laptop. From there, you will be asked to remove the motherboard, the fan, and finally the display brackets.
Before getting started, power off your device and disconnect from any other external connections.
你所需要的
-
-
Flip your laptop over so the bottom is facing you.
-
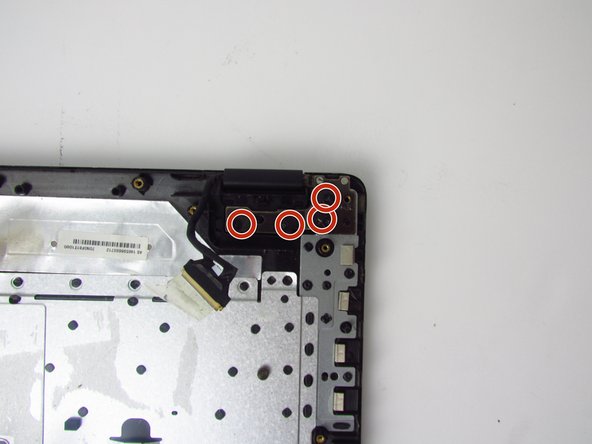
Remove the twelve 5 mm screws with a Phillips #0 screwdriver.
-
-
-
-
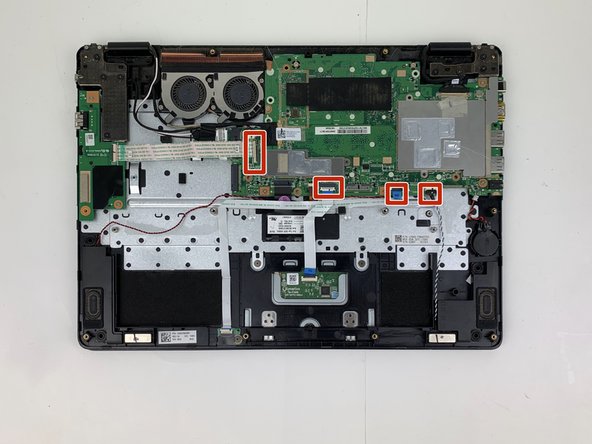
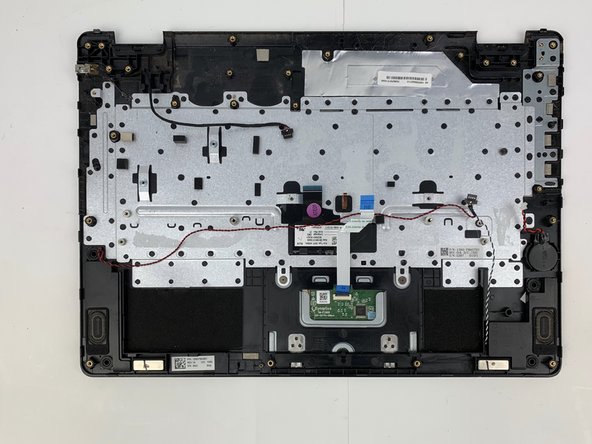
Use the spudger to flip up the locking tabs on each of the four ZIF cable connectors.
-
Remove each of the ribbon cables from their connectors.
-


To reassemble your device, follow these instructions in reverse order.
To reassemble your device, follow these instructions in reverse order.
团队

Embry-Riddle Aeronautical University, Team S3-G3, Watkins Spring 2020 Embry-Riddle Aeronautical University, Team S3-G3, Watkins Spring 2020 的会员
ERAU-WATKINS-S20S3G3
4 名成员
创作了5篇指南