跳转到主内容
加入维修社区 - 创建账户

Acer Aspire One 722 Screen Replacement

你所需要的

    1. Acer Aspire One 722 Screen Replacement, Battery: 步骤 1 中的图像 1,1
      • Power down the netbook by pressing the power button on the top left corner.

      询问修复机器人
      添加评论

    2. Acer Aspire One 722 Screen Replacement: 步骤 2 中的图像 1,1
      • Close the netbook and flip it over so that the back is facing up.

      询问修复机器人
      添加评论

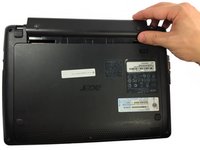
    3. Acer Aspire One 722 Screen Replacement: 步骤 3 中的图像 1,1
      • Slide the button below the battery to the right while simultaneously pulling the battery out.

      询问修复机器人

      添加评论

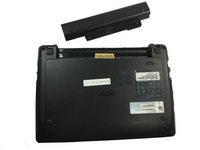
    4. Acer Aspire One 722 Screen Replacement: 步骤 4 中的图像 1,2 Acer Aspire One 722 Screen Replacement: 步骤 4 中的图像 2,2
      • If necessary, remove the old battery and replace it with a new one.

      询问修复机器人
      添加评论

    5. Acer Aspire One 722 Screen Replacement: 步骤 5 中的图像 1,1
      • Check the thin grooves on the side of the battery entry and line the replacement battery up to the grooves.

      添加评论

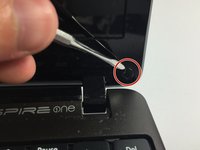
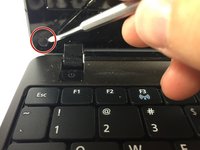
    1. Acer Aspire One 722 Screen Replacement, Screen: 步骤 6 中的图像 1,2 Acer Aspire One 722 Screen Replacement, Screen: 步骤 6 中的图像 2,2
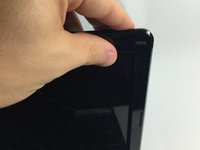
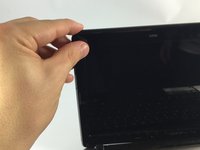
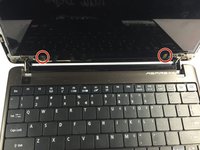
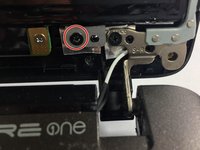
      • Remove the black rubber clips from the bottom right and left of the netbook screen.

      询问修复机器人
      添加评论

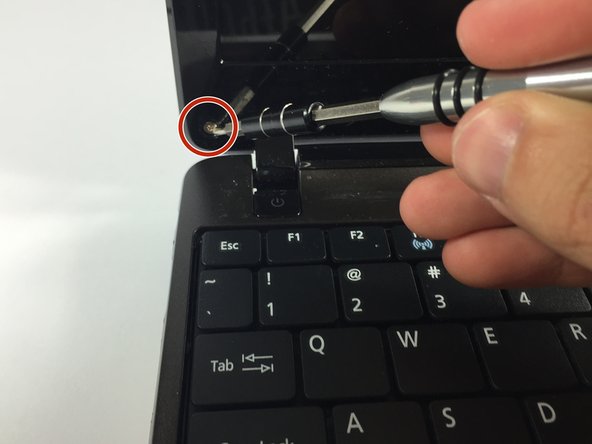
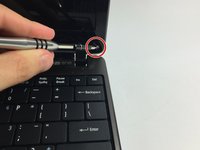
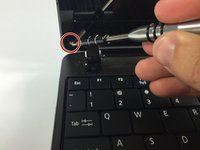
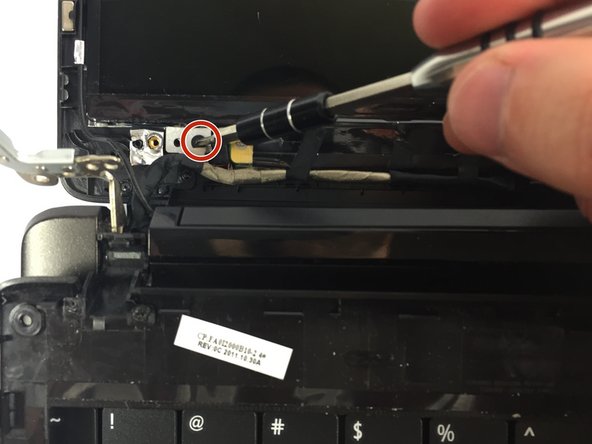
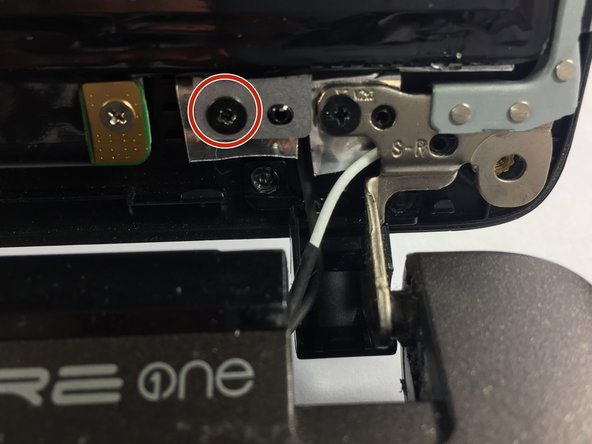
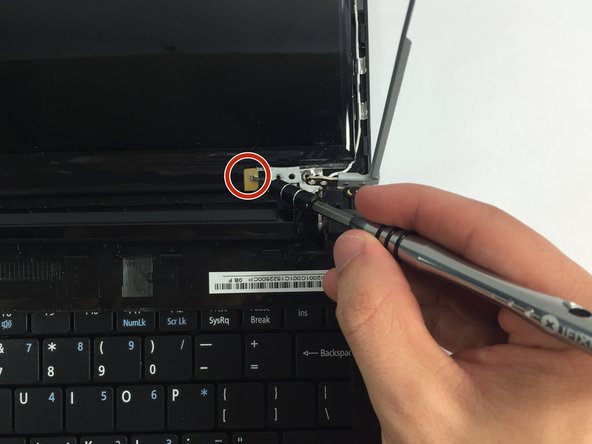
    2. Acer Aspire One 722 Screen Replacement: 步骤 7 中的图像 1,2 Acer Aspire One 722 Screen Replacement: 步骤 7 中的图像 2,2
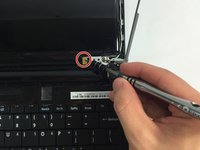
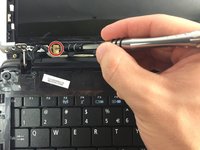
      • Remove the screws under the black caps.

      询问修复机器人
      添加评论

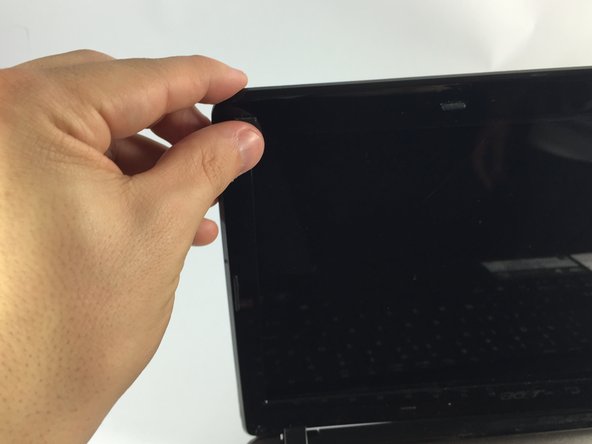
    3. Acer Aspire One 722 Screen Replacement: 步骤 8 中的图像 1,3 Acer Aspire One 722 Screen Replacement: 步骤 8 中的图像 2,3 Acer Aspire One 722 Screen Replacement: 步骤 8 中的图像 3,3
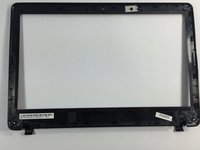
      • Slowly separate the screen casing from the screen.

      • Potential for device damage: Be careful when detaching the screen casing from the screen. If not done slowly, it can break.

      添加评论

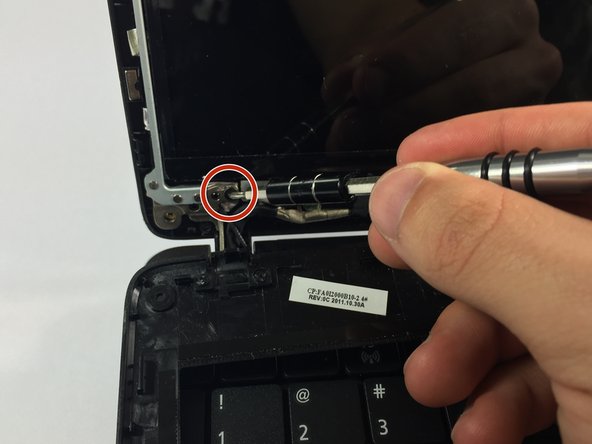
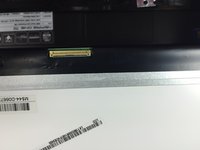
    4. Acer Aspire One 722 Screen Replacement: 步骤 9 中的图像 1,3 Acer Aspire One 722 Screen Replacement: 步骤 9 中的图像 2,3 Acer Aspire One 722 Screen Replacement: 步骤 9 中的图像 3,3
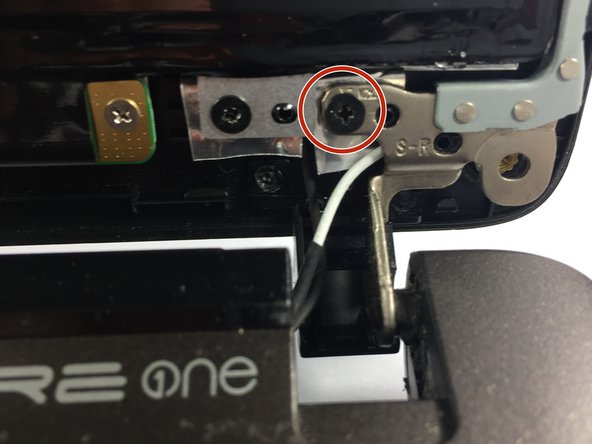
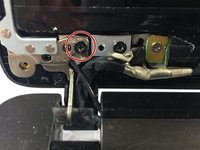
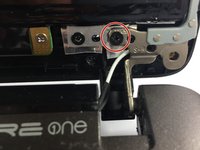
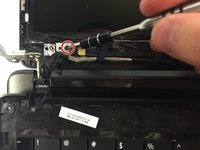
      • Remove the screws located on the four corners of the screen.

      询问修复机器人
      添加评论

    5. Acer Aspire One 722 Screen Replacement: 步骤 10 中的图像 1,3 Acer Aspire One 722 Screen Replacement: 步骤 10 中的图像 2,3 Acer Aspire One 722 Screen Replacement: 步骤 10 中的图像 3,3
      • Remove the two bottom screws.

      • Taking out these screws will allow you to remove the screen from its attachment.

      询问修复机器人
      添加评论

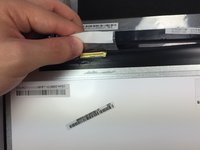
    6. Acer Aspire One 722 Screen Replacement: 步骤 11 中的图像 1,3 Acer Aspire One 722 Screen Replacement: 步骤 11 中的图像 2,3 Acer Aspire One 722 Screen Replacement: 步骤 11 中的图像 3,3
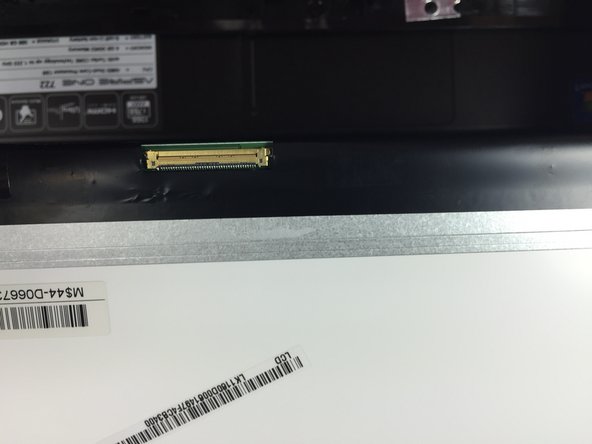
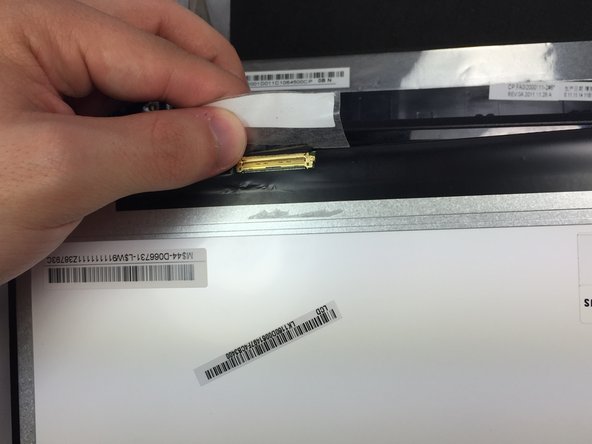
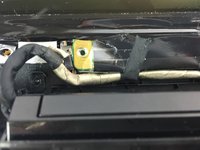
      • On the bottom left of the screen there is a cord attached. Remove the tape that is attached to the screen.

      询问修复机器人

      添加评论

    7. Acer Aspire One 722 Screen Replacement: 步骤 12 中的图像 1,3 Acer Aspire One 722 Screen Replacement: 步骤 12 中的图像 2,3 Acer Aspire One 722 Screen Replacement: 步骤 12 中的图像 3,3
      • On the green board, remove the two screws.

      • Remove the board.

      询问修复机器人

      添加评论

结论

To reassemble your device, follow these instructions in reverse order.

取消:我没有完成这个指南。

4等其他人完成本指南。

团队

UMass Dartmouth, Team 5-6, Gulbrandsen Fall 2015 UMass Dartmouth, Team 5-6, Gulbrandsen Fall 2015 的会员

UMASSD-GULBRANDSEN-F15S5G6

3 名成员

创作了35篇指南

0指南评论

添加评论

浏览统计数据:

过去 24 小时: 1

过去 7 天: 7

过去 30 天: 40

总计 3,801