简介
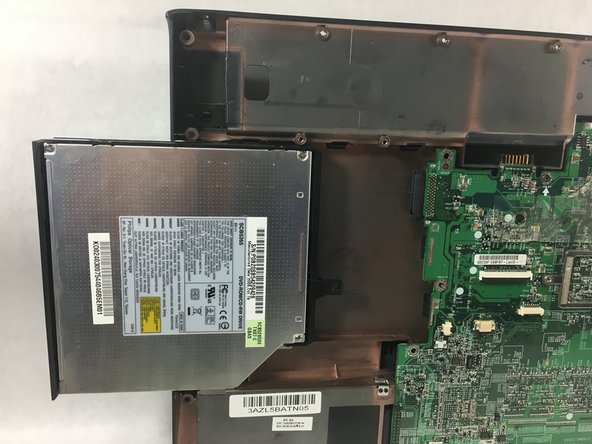
In this guide, you will be instructed on how to replace the optical drive in your laptop. Your optical drive allows for your computer to read CD ROMs.
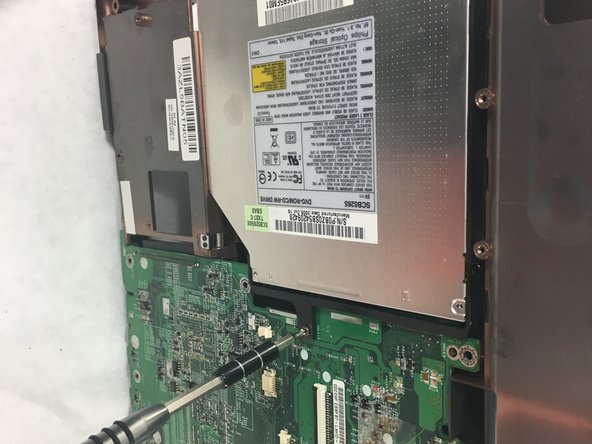
This replacement is a bit difficult, and will take you 9 steps to complete. However, you must remove the hard drive, internal fan, and battery first.
你所需要的
-
-
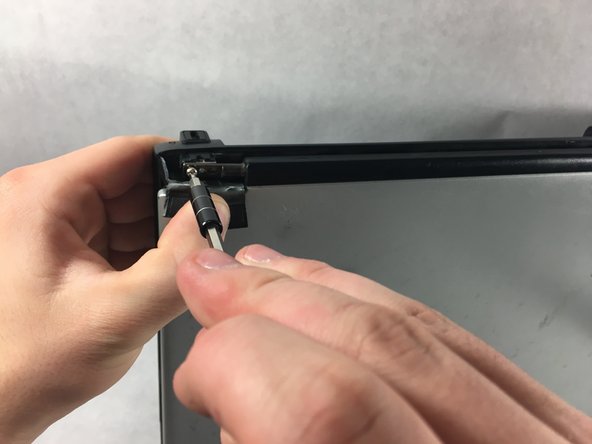
Turn the Acer Aspire 3003WLCi so that the bottom of the laptop is facing up. Orient it so that the battery is on your left.
-
-
-
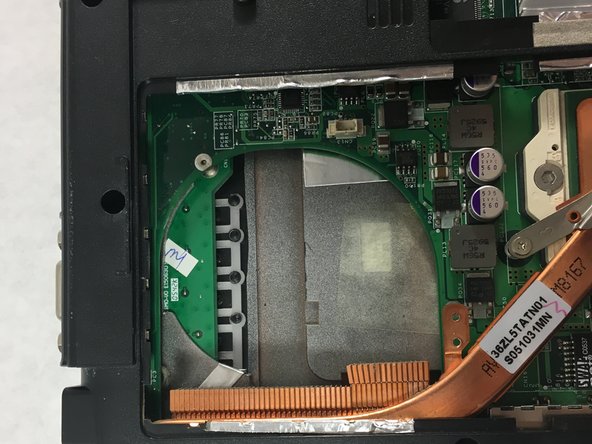
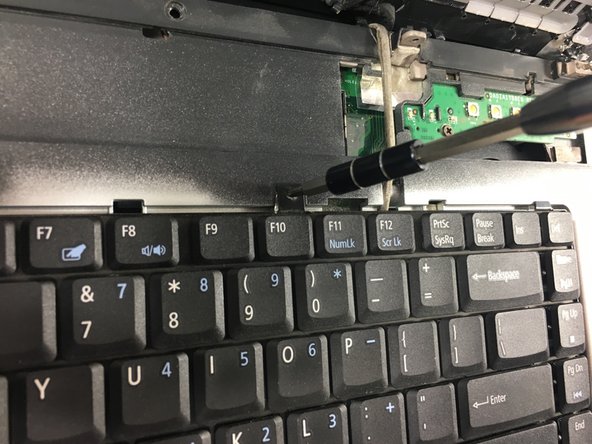
The panel you will be removing to access the internal fan is located at the bottom of the laptop.
-
-
-
-
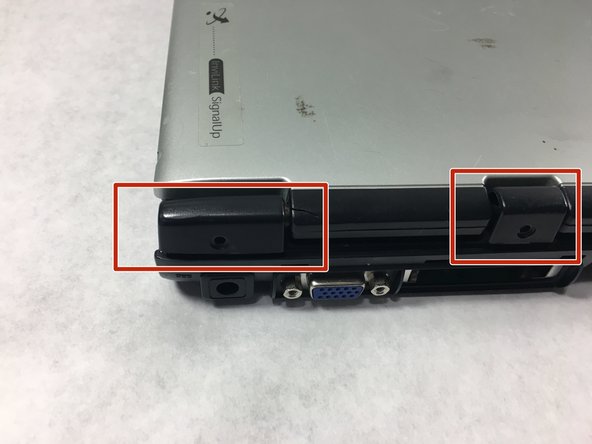
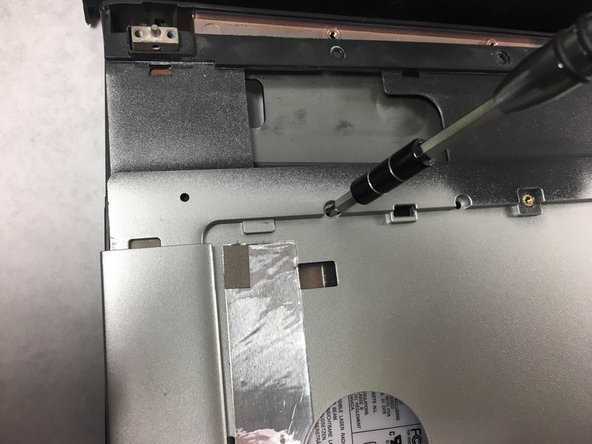
Turn the Acer Aspire 3003WLCi so that the back of the laptop is facing towards you.
-
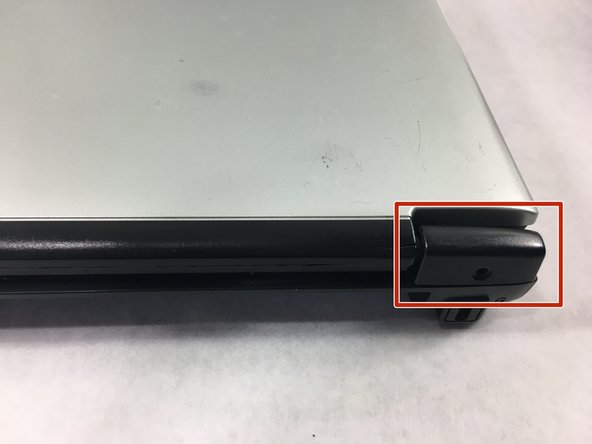
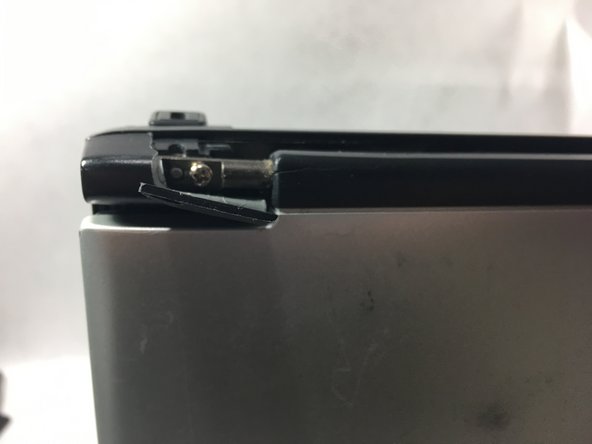
You will be opening the tabs on the back of the laptop in order to access the internal components.
-


To reassemble your device, follow these instructions in reverse order.
To reassemble your device, follow these instructions in reverse order.
团队

UMass Dartmouth, Team S2-G2, Bailey Spring 2019 UMass Dartmouth, Team S2-G2, Bailey Spring 2019 的会员
UMASSD-BAILEY-S19S2G2
4 名成员
创作了5篇指南