简介
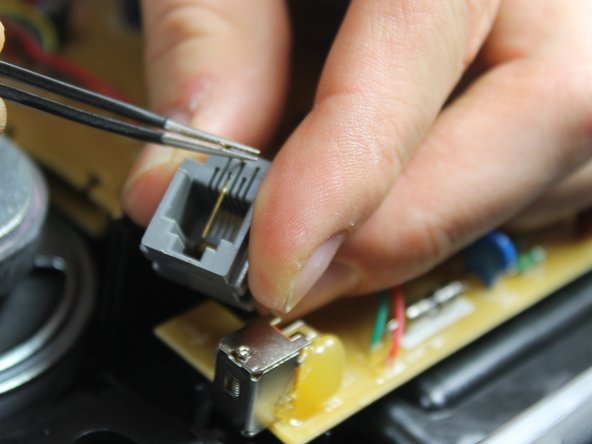
Over time and excessive use, the internal phone jack of the ATT CL2940 may become damaged. This can cause poor connection between the phone and the handset. Replacing the damaged internal phone jack will solve this problem.
Before beginning this project, it is always important to make sure you have the correct tools for the job. The tools that are needed are the pro tech tool kit, precision tweezers set and the metal spudger set. Once all these are acquired just follow the directions for an easy fix.
你所需要的
-
-
-
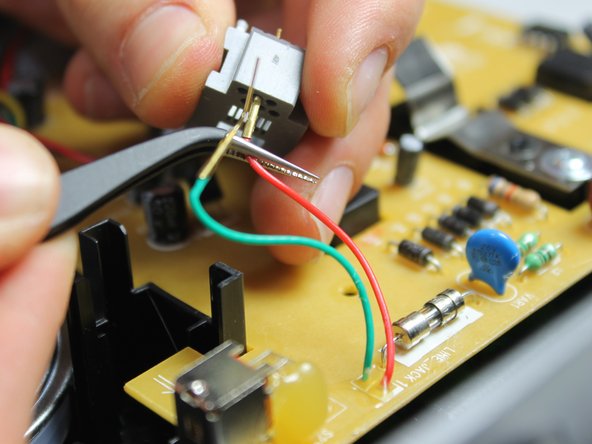
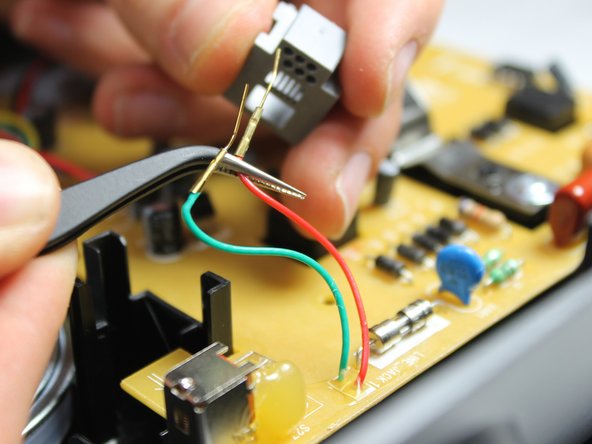
Using the precision tweezers, bend the golden tips of the green and red wires upward.
-
Bend the wires slowly and gently to avoid breaking them.
-


To reassemble your device, follow these instructions in reverse order.
To reassemble your device, follow these instructions in reverse order.
另外一个人完成了本指南。
团队

IUPUI, Team 1-1, Harley Spring 2016 IUPUI, Team 1-1, Harley Spring 2016 的会员
IUPUI-HARLEY-S16S1G1
4 名成员
创作了13篇指南