简介
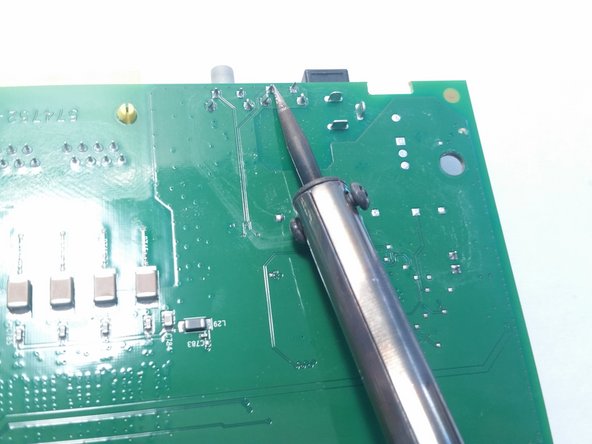
This guide will show you how to locate, remove, and replace the buttons on the AT&T NVG510 modem. In the event that a button becomes stuck or your router becomes unresponsive when you press a button, you may need to replace it. This guide does require you to be able to operate a soldering iron carefully.
你所需要的
-
-
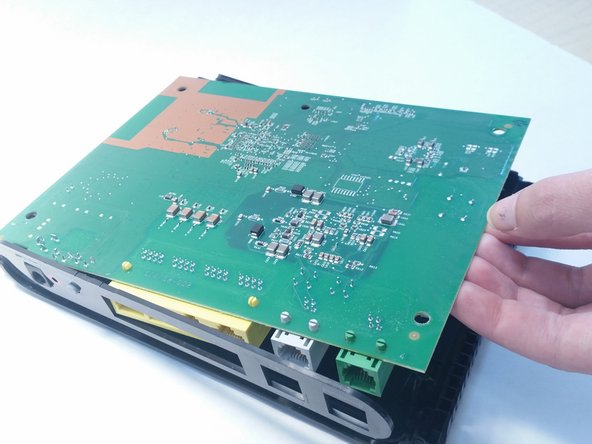
Place the router on one side so that the rubber stands are facing upward.
-
Remove the stands from the left corners only, relative to the AT&T logo if facing upright.
-
-
-
Remove two screws using a 2.0 flathead screwdriver.
-
-


To reassemble your device, follow these instructions in reverse order.
To reassemble your device, follow these instructions in reverse order.
3等其他人完成本指南。
团队

Central Coast New Tech High, Team 7-4, Rushing Spring 2016 Central Coast New Tech High, Team 7-4, Rushing Spring 2016 的会员
CCNTH-RUSHING-S16S7G4
2 名成员
创作了2篇指南