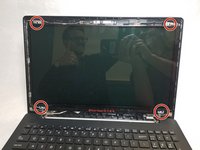
简介
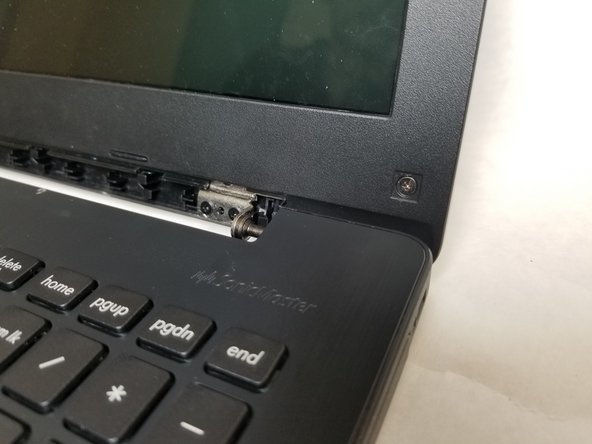
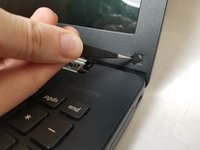
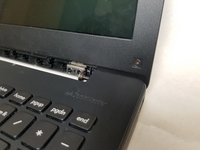
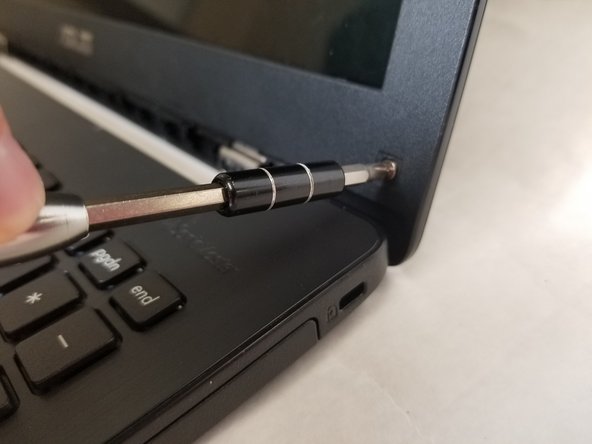
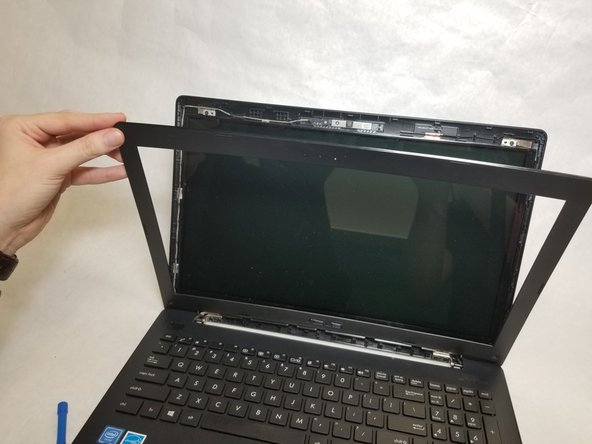
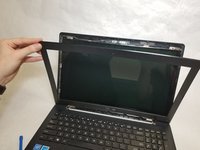
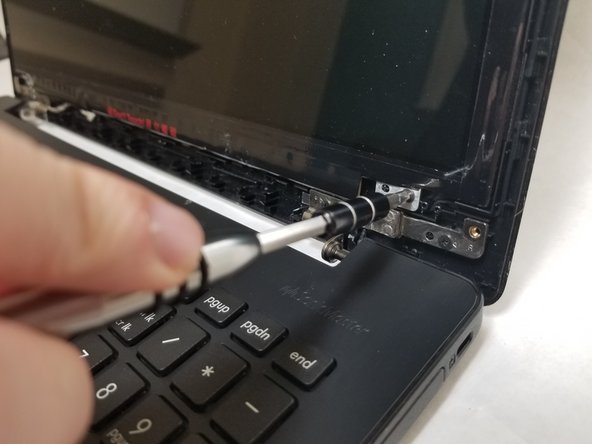
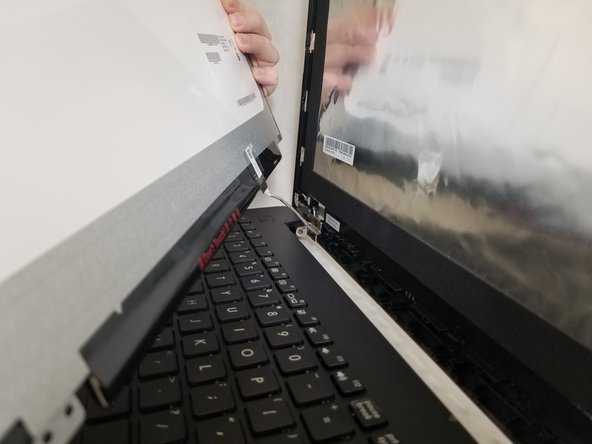
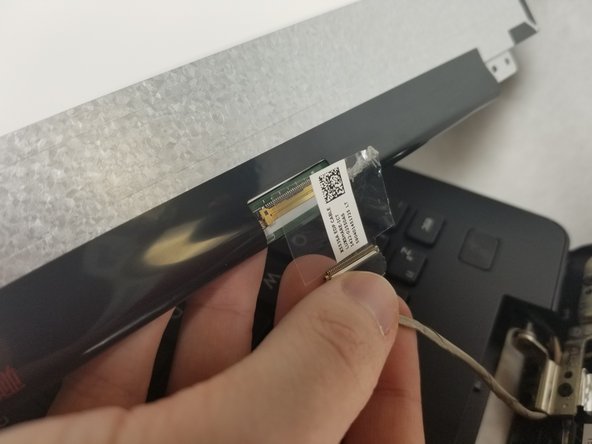
Be sure to follow all steps carefully, keep track of screws, and be gentle with ribbon cables/ plastic clips to successfully repair the LCD screen.
你所需要的
视频概述
-
-
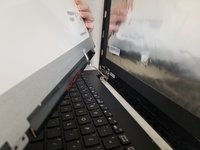
Power off laptop.
-
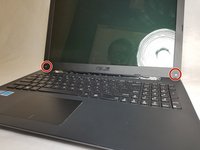
Flip over the laptop so the model stickers are pointing towards the ceiling, and the back of the laptop is facing you.
-
-


结论
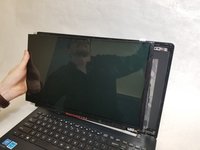
To reassemble your device, follow these instructions in reverse order.
团队

IUPUI, Team S2-G4, Harley Fall 2018 IUPUI, Team S2-G4, Harley Fall 2018 的会员
IUPUI-HARLEY-F18S2G4
3 名成员
创作了2篇指南