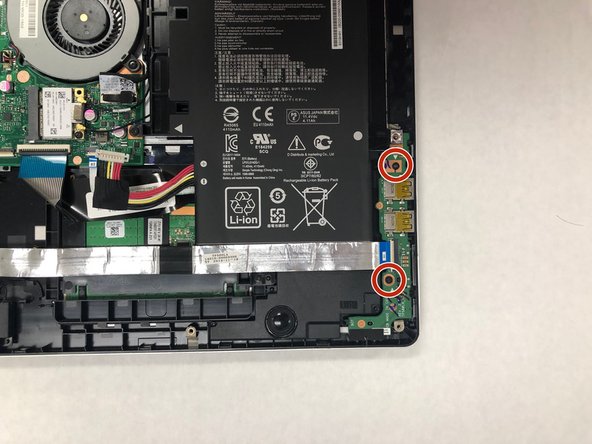
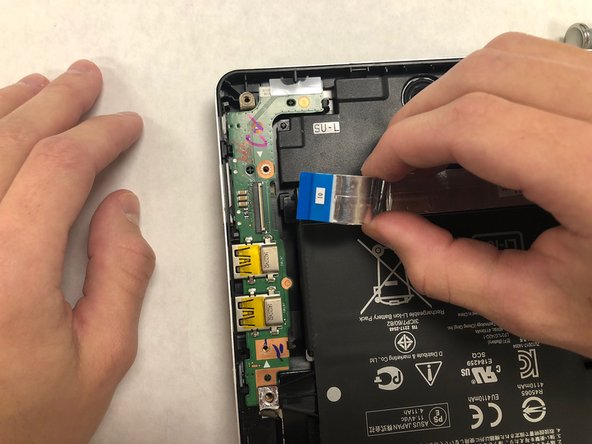
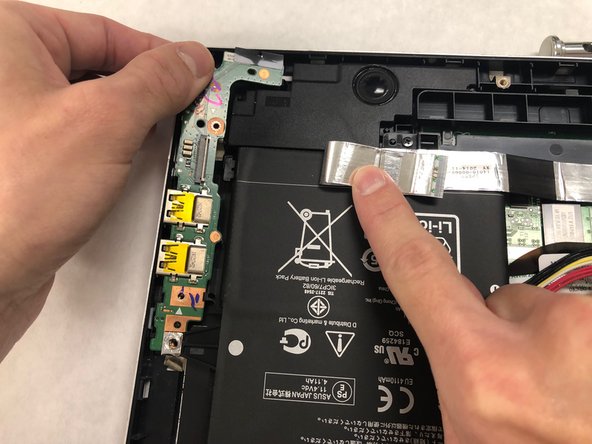
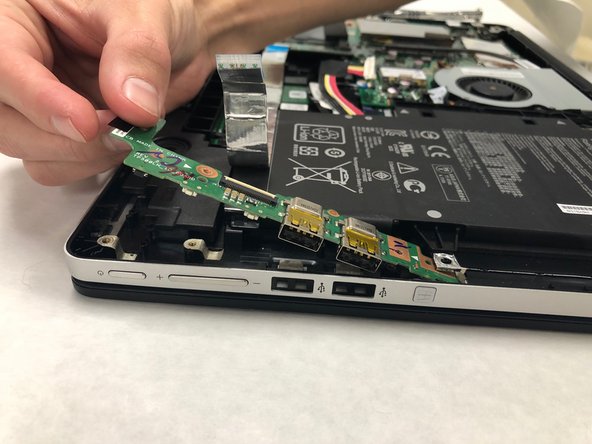
跳转到主内容

ASUS Transformer Book Flip TP500LA USB and Power Circuit Board Replacement

你所需要的

  1. ASUS Transformer Book Flip TP500LA USB and Power Circuit Board Replacement, USB and Power Circuit Board: 步骤 1 中的图像 1,2 ASUS Transformer Book Flip TP500LA USB and Power Circuit Board Replacement, USB and Power Circuit Board: 步骤 1 中的图像 2,2
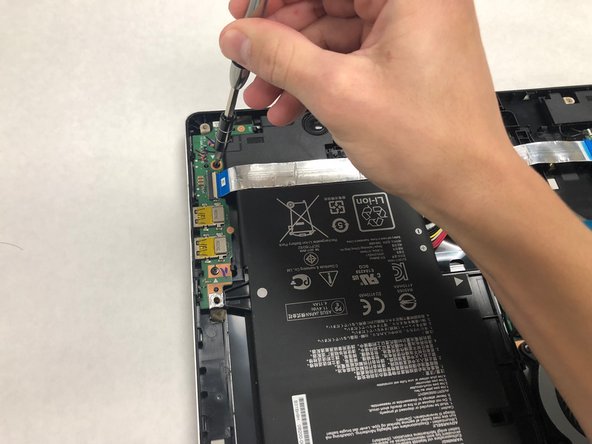
    • Remove the ten 10.7 mm screws using a Phillips #0 screwdriver from the back of the laptop.

  2. ASUS Transformer Book Flip TP500LA USB and Power Circuit Board Replacement: 步骤 2 中的图像 1,2 ASUS Transformer Book Flip TP500LA USB and Power Circuit Board Replacement: 步骤 2 中的图像 2,2
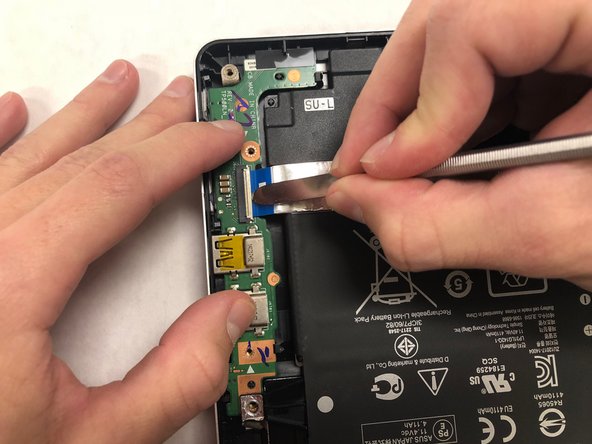
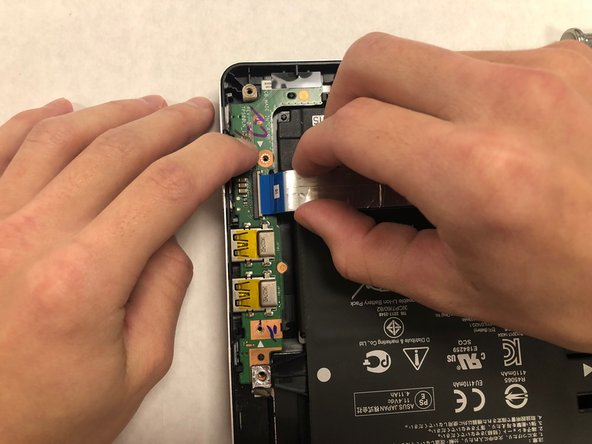
    • Using a heavy-duty spudger, pry the back cover up from the frame and completely remove.

  3. ASUS Transformer Book Flip TP500LA USB and Power Circuit Board Replacement: 步骤 3 中的图像 1,2 ASUS Transformer Book Flip TP500LA USB and Power Circuit Board Replacement: 步骤 3 中的图像 2,2
    • Remove the two 4.7 mm screws with the Phillips #0 screwdriver.

  4. ASUS Transformer Book Flip TP500LA USB and Power Circuit Board Replacement: 步骤 4 中的图像 1,3 ASUS Transformer Book Flip TP500LA USB and Power Circuit Board Replacement: 步骤 4 中的图像 2,3 ASUS Transformer Book Flip TP500LA USB and Power Circuit Board Replacement: 步骤 4 中的图像 3,3
    • Using a spudger or fingernail, flip up the white plastic latch securing the ribbon cable.

    • After the latch is released remove the ribbon cable and clear it from the board.

  5. ASUS Transformer Book Flip TP500LA USB and Power Circuit Board Replacement: 步骤 5 中的图像 1,2 ASUS Transformer Book Flip TP500LA USB and Power Circuit Board Replacement: 步骤 5 中的图像 2,2
    • Remove the board itself by carefully pulling the board up then away from the rest of the computer.

结论

To reassemble your device, follow these instructions in reverse order.

Wyatt Scott

于11/01/18注册

136 声望

撰写一个指南

团队

IUPUI, Team S2-G3, Harley Fall 2018 IUPUI, Team S2-G3, Harley Fall 2018 的会员

IUPUI-HARLEY-F18S2G3

3 名成员

创作了2篇指南

0条评论

添加评论

浏览统计数据:

过去 24 小时: 0

过去 7 天: 0

过去 30 天: 4

总计 976