简介
This guide is for replacing the charging port of the ASUS TUF Gaming FX505DY.
The ASUS TUF Gaming FX505DY accepts power from a 120v AC adapter through a charging port on the left side of the device. Charging ports generally do not contain advanced microelectronics or moving parts, and are susceptible to physical damage, electrical overload, and dirt.
A faulty charging port will not supply power to the device or will not fit the AC adapter plug. Before using this guide, visually inspect the charging port for any obstructions or damage. If the computer was charging from a non-surge-protected outlet and there was a power outage, lightning storm, or other electrical event, this may have caused the issue. If nothing seems wrong with the charging port, the problem is likely to be found in another part of the charging process. Use this troubleshooting section to check.
Make sure to fully shut down the device and unplug any chargers and peripherals before beginning.
你所需要的
-
-
Turn off the laptop.
-
Disconnect the charging cable.
-
Flip the laptop so the back is facing up.
-
-
-
-
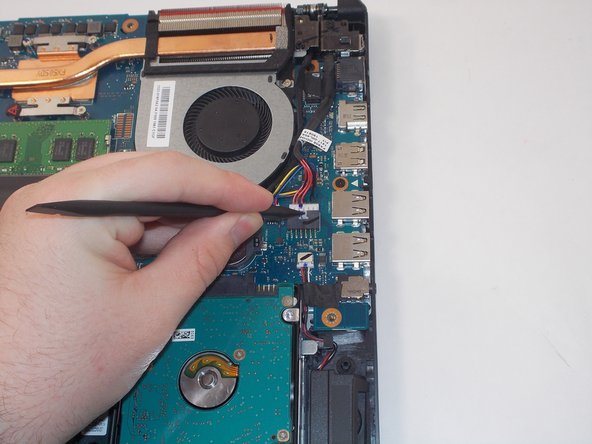
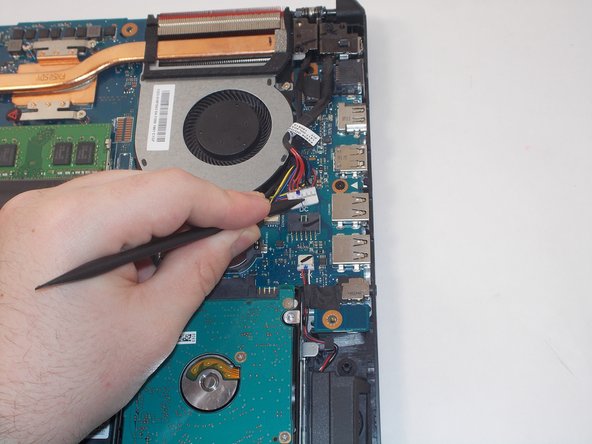
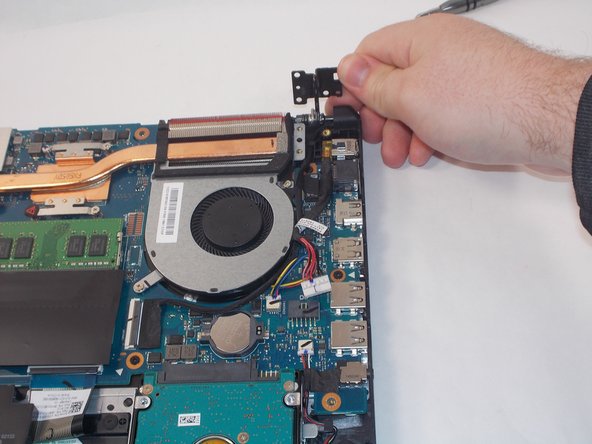
Using an ESD-safe spudger, disconnect the charging port connector by pulling the plug away from its port.
-


To reassemble your device, follow these instructions in reverse order.
To reassemble your device, follow these instructions in reverse order.

团队

UMass Dartmouth, Team 2-4, Mellen Spring 2022 UMass Dartmouth, Team 2-4, Mellen Spring 2022 的会员
UMASSD-MELLEN-S22S2G4
4 名成员
创作了8篇指南