跳转到主内容

ASUS Q536F Fan Replacement

你所需要的

  1. ASUS Q536F Fan Replacement, Back Panel: 步骤 1 中的图像 1,2 ASUS Q536F Fan Replacement, Back Panel: 步骤 1 中的图像 2,2
    • Remove ten 2 mm screws using a Phillips #0 screwdriver.

    • Remove the screw in the center using a T4 Torx screwdriver.

    • Use an iFixit opening tool to pry open the back panel.

    • It's normal to hear some cracking, but proceed with caution.

  2. ASUS Q536F Fan Replacement, Fan: 步骤 2 中的图像 1,2 ASUS Q536F Fan Replacement, Fan: 步骤 2 中的图像 2,2
    • Use a Phillips #0 screwdriver to remove the six 2 mm fan screws.

    • Use a Phillips #0 screwdriver to remove the five 2 mm heatsink screws.

    • Warped Screw

    • Heatsink shown has warped screw, so unable to remove

  3. ASUS Q536F Fan Replacement: 步骤 3 中的图像 1,1
    在这个步骤中使用的工具:
    Tweezers
    $4.99
    购买
    • Disconnect white and black antennae cables.

    • Using tweezers for this would be helpful.

  4. ASUS Q536F Fan Replacement: 步骤 4 中的图像 1,2 ASUS Q536F Fan Replacement: 步骤 4 中的图像 2,2
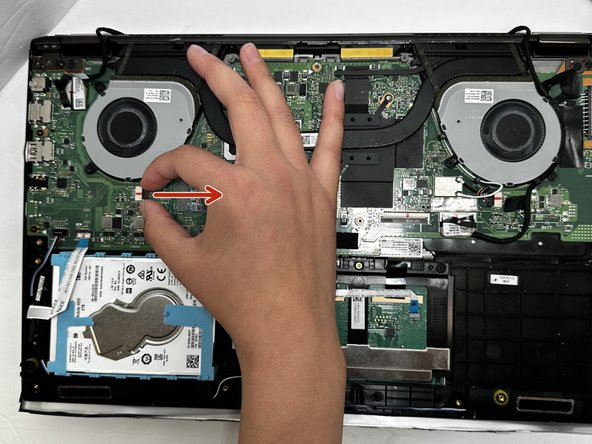
    • Disconnect fan cables pulling outwards as shown.

  5. ASUS Q536F Fan Replacement: 步骤 5 中的图像 1,3 ASUS Q536F Fan Replacement: 步骤 5 中的图像 2,3 ASUS Q536F Fan Replacement: 步骤 5 中的图像 3,3
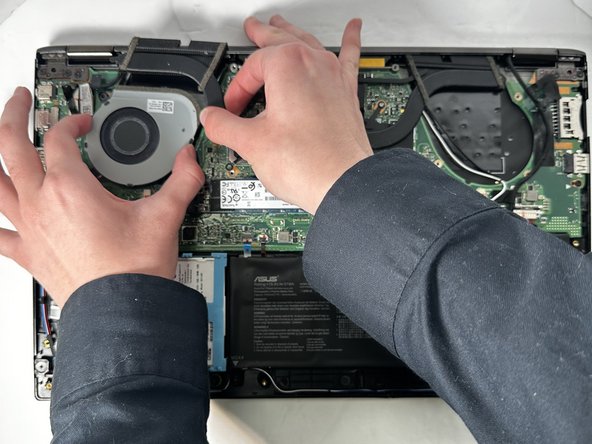
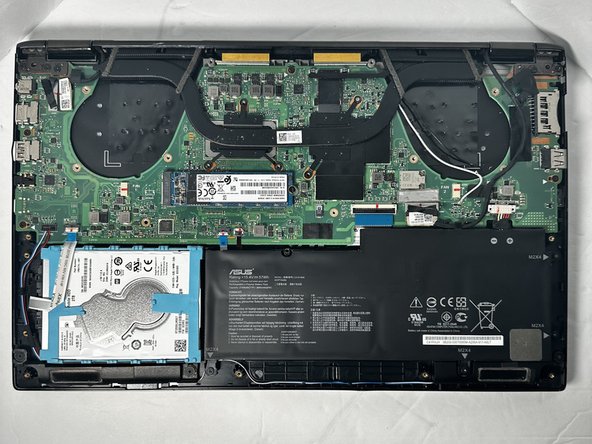
    • Carefully lift heatsink upward using a Ifixit opening tool or Fingers pull fan out from under the heat sink.

    • The fan can be removed without removing the heatsink, although it may be easier to remove.

结论

To reassemble your device, follow these instructions in reverse order.

Adra Ledward

于09/07/23注册

557 声望

创作了5篇指南

团队

Gateway, Team 88-8, Gonzalez Fall 2023 Gateway, Team 88-8, Gonzalez Fall 2023 的会员

GCC-GONZALEZ-F23S88G8

5 名成员

创作了6篇指南

0条评论

添加评论

浏览统计数据:

过去 24 小时: 1

过去 7 天: 1

过去 30 天: 17

总计 98