简介
The wifi card is what lets you connect to the world wide web, and there are plenty of people who would find a computer without one to be absolutely useless. That’s why if there is ever a problem with it, it’s important to get it fixed, wifi troubles tend to be very annoying for most users such as when the computer’s connection is slow, or it can’t even recognize nearby networks. This guide will take you step by step on how to replace the Wifi Card of your ASUS Q405U
你所需要的
-
-
Using the Phillips #1 screwdriver, remove eleven (11) 1.5 mm screws from the back cover.
-
-
-
-
Using the Phillips #1 screwdriver, remove the four 1.5 mm screws securing the battery to the device.
-
-
-
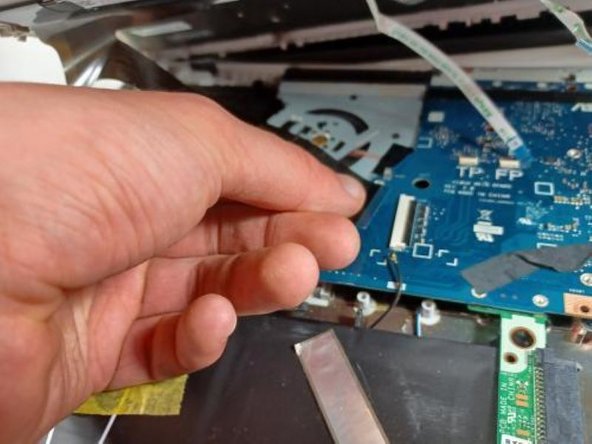
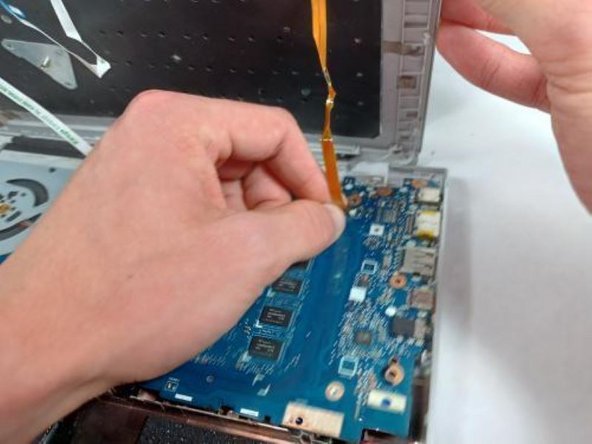
Using the Phillips #1 screwdriver, remove the 0.8 mm screw securing the Wi-Fi card to the device.
-
To reassemble your device, follow these instructions in reverse order.
To reassemble your device, follow these instructions in reverse order.


