简介
Reset the CMOS memory when the laptop cannot power on: the power led is on and the fan initially starts but stops after few seconds, leaving the screen dead black. This usually happens after a failed attempt to upgrade/replace the RAM-module.
你所需要的
-
-
Remove the external battery after pulling the unlock buttons outward.
-
Open the lid at the center and remove the RAM module by pulling the enclosing sides outward.
-
Remove the screw in the bottom-right corner.
-
-
-
Remove the keyboard using a bit with a flat head or something like a bank card. Start from the left and then continue towards the right prying it open. Be extra-careful to not damage the keyboard.
-
-
-
-
Disconnect the black flexible flat cable by using the tip of a spudger or your fingernail.
-
Do the same with the touchbap blue cable to the left.
-
-
-
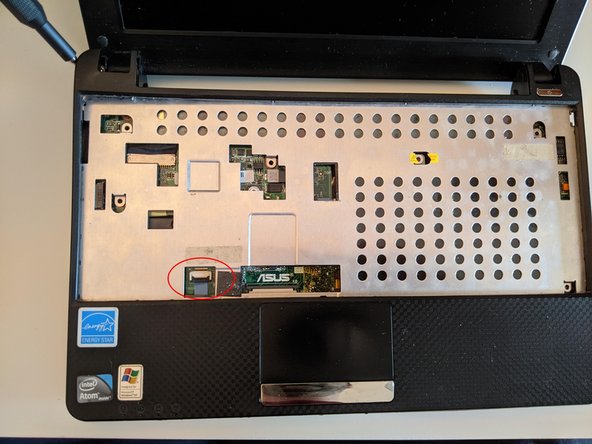
Remove all the circled screws in the base panel.
-
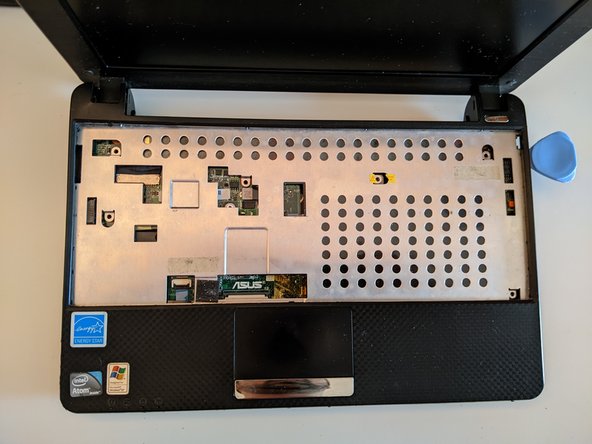
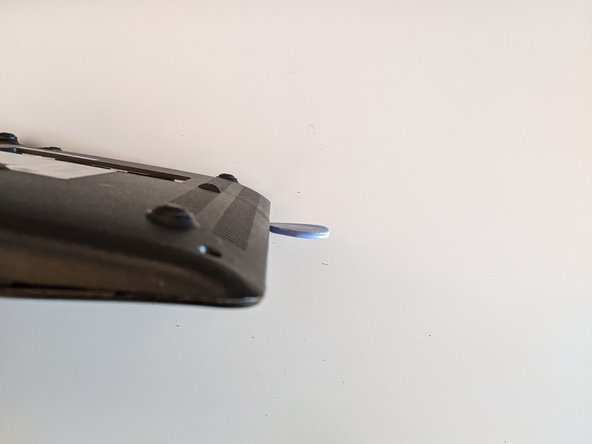
Use a spudger or an opening pick to pry it open. Start from one of the two sides and then follow the laptop perimeter.
-
-
-
Disconnect the red and black wires of the CMOS battery and leave it so for at least 1 minute (it depends on accumulated charge) before reconnecting it.
-
Draining the battery will cause the CMOS memory to lose the last persisted BIOS settings.
-


Once done, reconnect the wires and follow the previous steps in reverse order.
Restarting the PC now, you should see the typical POST/splash screen.
另外一个人完成了本指南。