跳转到主内容
加入维修社区 - 创建账户

APS Tech 101629 SCSI Connections Replacement

你所需要的

    1. APS Tech 101629 SCSI Connections Replacement, External Casing: 步骤 1 中的图像 1,3 APS Tech 101629 SCSI Connections Replacement, External Casing: 步骤 1 中的图像 2,3 APS Tech 101629 SCSI Connections Replacement, External Casing: 步骤 1 中的图像 3,3
      • Pry all four of the plastic feet off the bottom of the enclosure using the iPod opening tool.

      询问修复机器人

      添加评论

    2. APS Tech 101629 SCSI Connections Replacement: 步骤 2 中的图像 1,2 APS Tech 101629 SCSI Connections Replacement: 步骤 2 中的图像 2,2
      • Unscrew the four screws previously covered by the feet with a Phillips #1 screwdriver.

      询问修复机器人

      添加评论

    3. APS Tech 101629 SCSI Connections Replacement: 步骤 3 中的图像 1,2 APS Tech 101629 SCSI Connections Replacement: 步骤 3 中的图像 2,2
      • Flip the device right side up.

      • Gently slide the casing upwards and off the hard drive.

      询问修复机器人

      添加评论

    4. APS Tech 101629 SCSI Connections Replacement: 步骤 4 中的图像 1,1
      • Flip device upside down again.

      • Gently pry the bottom gray casing away from the device.

      询问修复机器人

      添加评论

    5. APS Tech 101629 SCSI Connections Replacement: 步骤 5 中的图像 1,2 APS Tech 101629 SCSI Connections Replacement: 步骤 5 中的图像 2,2
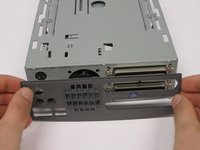
      • Rotate so the back of the device is facing you.

      • Gently pry the back casing away.

      • When the back casing is removed, the fan will become loose.

      询问修复机器人

      添加评论

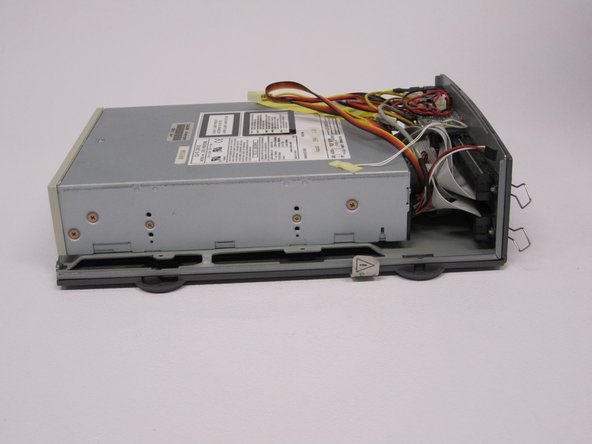
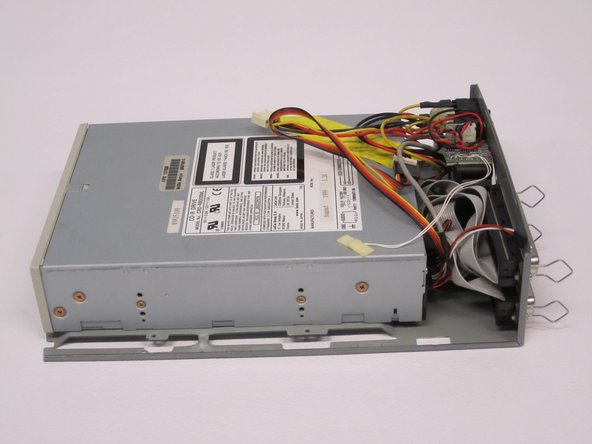
    1. APS Tech 101629 SCSI Connections Replacement, Internal Drive Component: 步骤 6 中的图像 1,2 APS Tech 101629 SCSI Connections Replacement, Internal Drive Component: 步骤 6 中的图像 2,2
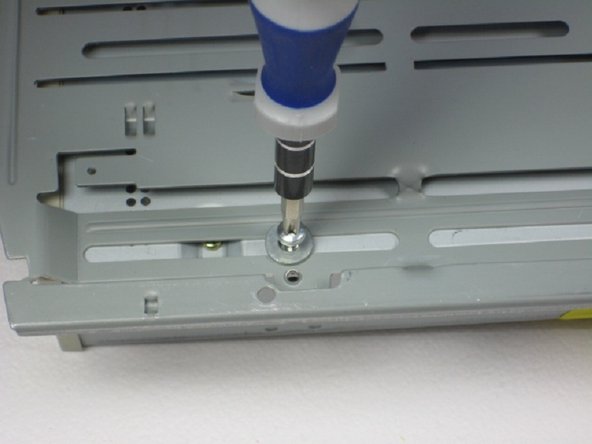
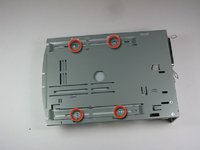
      • Flip so device is upside down.

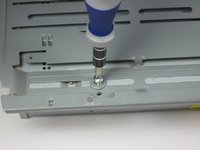
      • Remove 4 screws with Phillips #1 screw driver.

      • Be sure to save the washers that seperate the screws from the baseplate for reassembly.

      询问修复机器人

      添加评论

    2. APS Tech 101629 SCSI Connections Replacement: 步骤 7 中的图像 1,2 APS Tech 101629 SCSI Connections Replacement: 步骤 7 中的图像 2,2
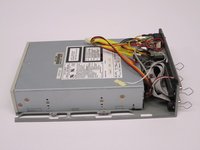
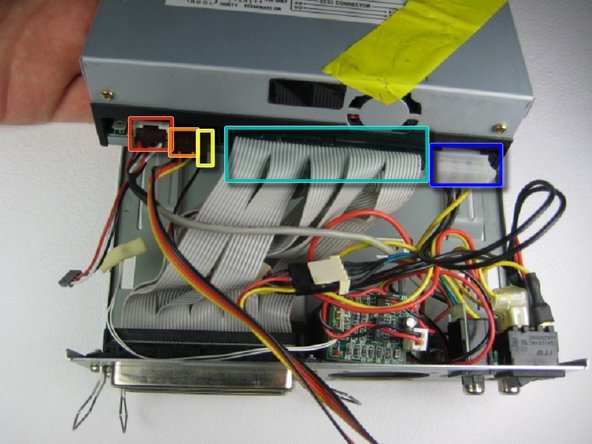
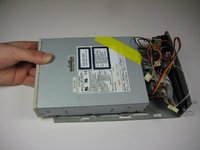
      • Slide the internal drive component away from the back of the device.

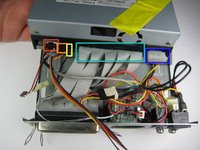
      • Remove the connections from the back of the internal component in the order of your choosing, we suggest left to right. The connections are:

      • Audio Connection

      • SCSI ID

      • Terminate On

      • SCSI Connection

      • DC Input (power)

      询问修复机器人

      添加评论

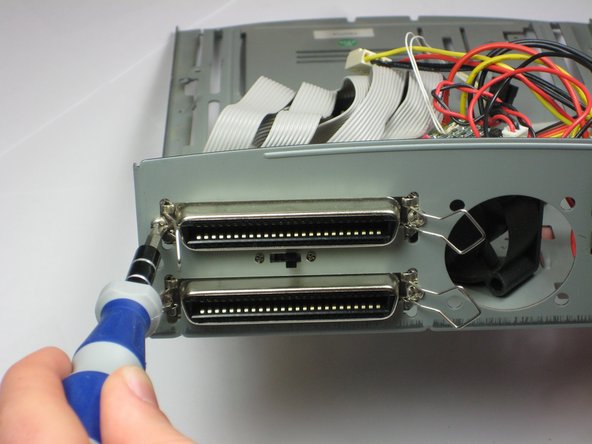
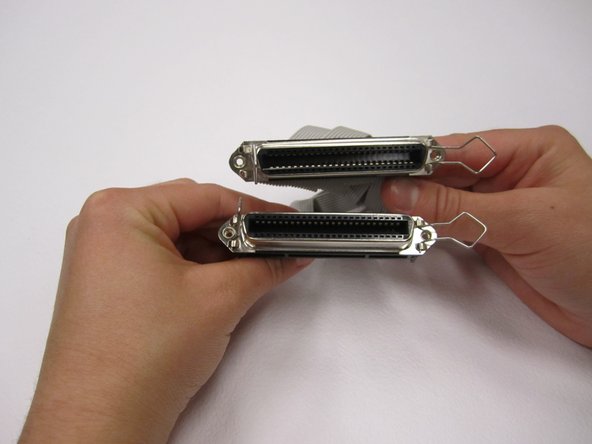
    1. APS Tech 101629 SCSI Connections Replacement, SCSI Connections: 步骤 8 中的图像 1,3 APS Tech 101629 SCSI Connections Replacement, SCSI Connections: 步骤 8 中的图像 2,3 APS Tech 101629 SCSI Connections Replacement, SCSI Connections: 步骤 8 中的图像 3,3
      • Remove the four Phillips #1 Screws from back panel.

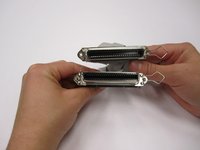
      • Once the screws are removed, the two connections are easily removed from the body.

      询问修复机器人

      添加评论

结论

To reassemble your device, follow these instructions in reverse order.

取消:我没有完成这个指南。

团队

Cal Poly, Team 24-60, Amido Spring 2011 Cal Poly, Team 24-60, Amido Spring 2011 的会员

CPSU-AMIDO-S11S24G60

5 名成员

创作了18篇指南

0指南评论

添加评论

浏览统计数据:

过去 24 小时: 0

过去 7 天: 6

过去 30 天: 40

总计 1,342