简介
This repair guide will walk you through the steps to removing and replacing the fan of your APS Tech 101629 CD-Drive. Fans are easily replaced and the process for removing this fan is fairly simple.
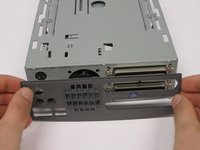
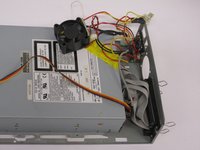
First the casing, channel switch, and power switch will need to be removed.
你所需要的
-
-
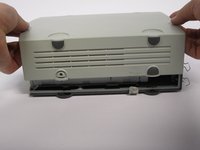
Pry all four of the plastic feet off the bottom of the enclosure using the iPod opening tool.
 询问修复机器人
-
-
-
-
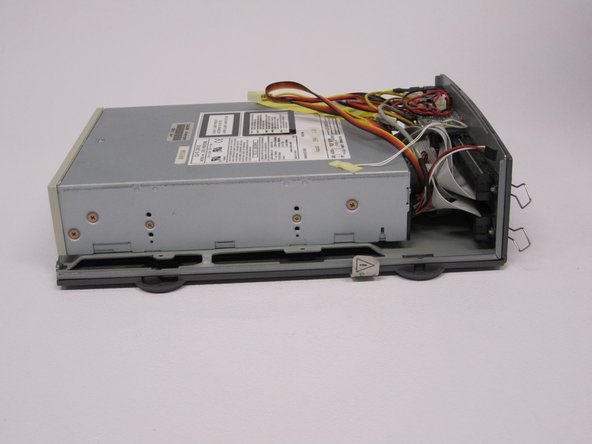
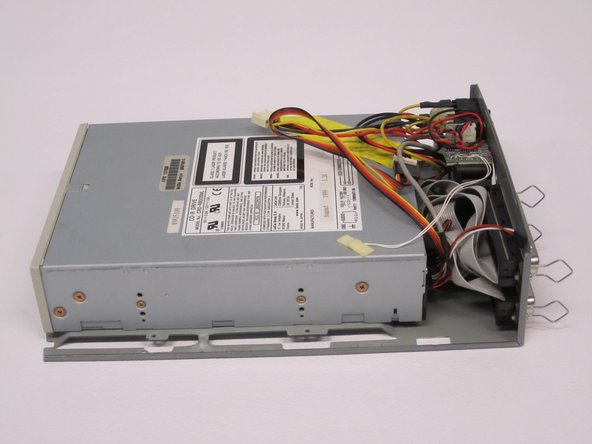
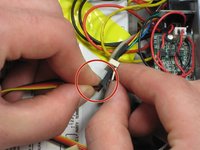
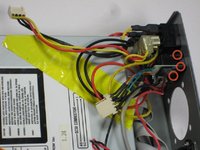
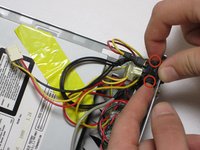
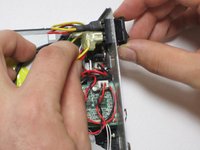
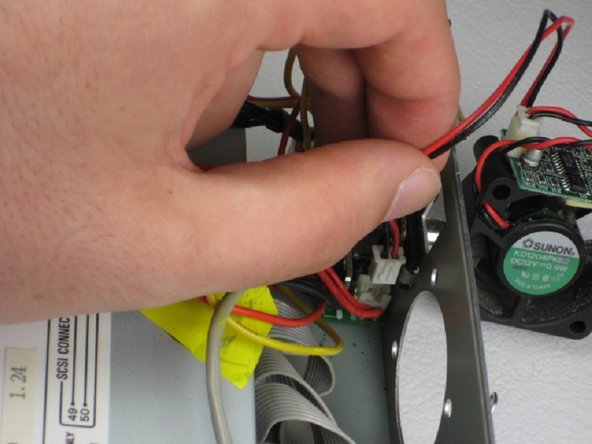
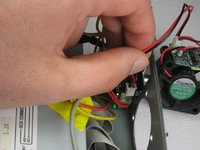
Find the conjoined ID cable wires that are colored black, orange, and yellow.
-
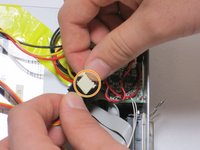
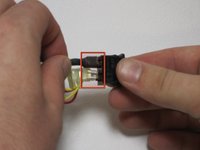
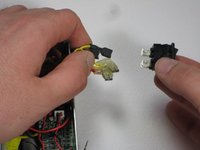
Lift white portion of cable wires to disconnect it.
-
-
-
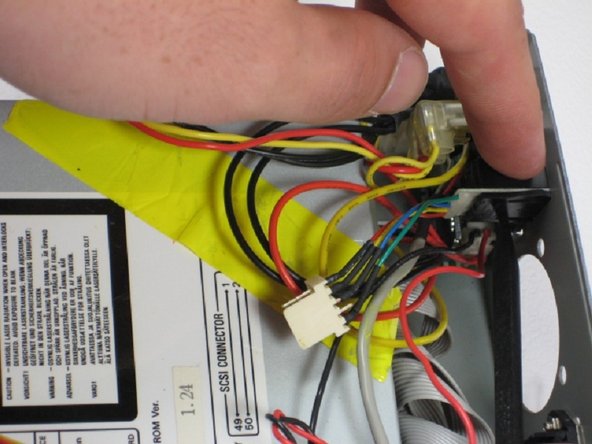
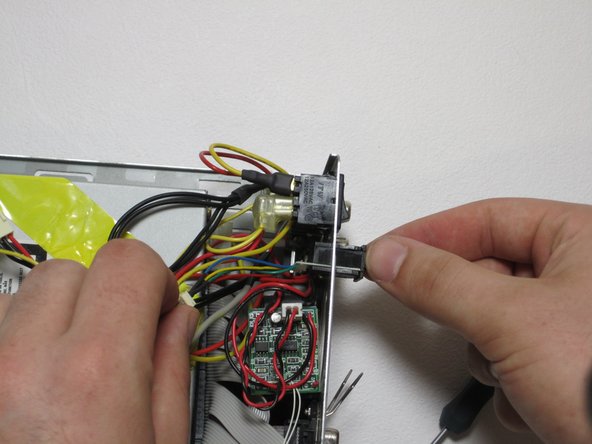
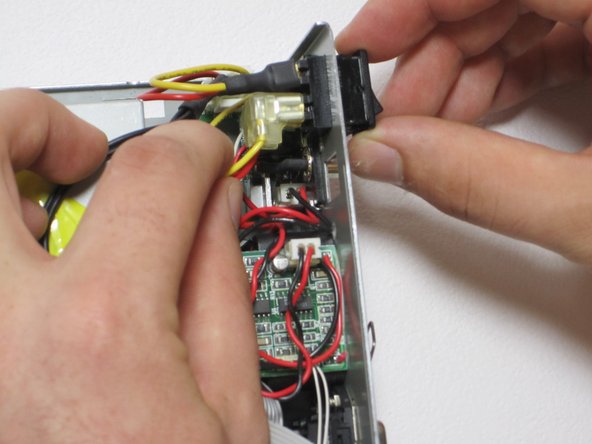
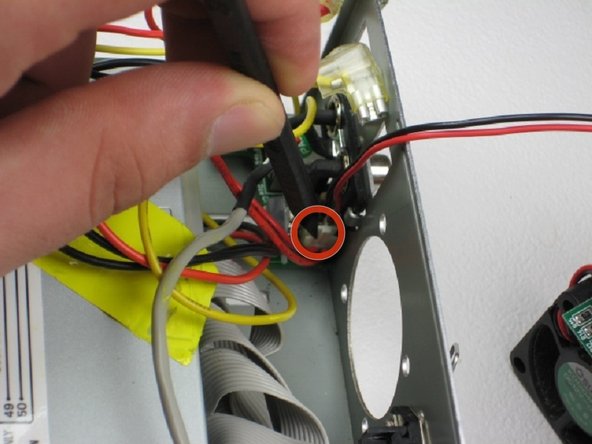
Depress 2 pressure holds on each side of the power switch.
-
Press out the back of the device.
-


To reassemble your device, follow these instructions in reverse order.
团队

Cal Poly, Team 24-60, Amido Spring 2011 Cal Poly, Team 24-60, Amido Spring 2011 的会员
CPSU-AMIDO-S11S24G60
5 名成员
创作了12篇指南