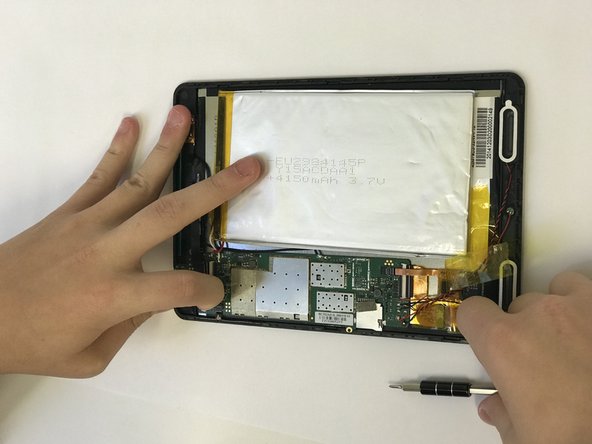
跳转到主内容

AARP RealPad MA7BX2 Screen Replacement

你所需要的

  1. AARP RealPad MA7BX2 Screen Replacement, Back Cover: 步骤 1 中的图像 1,2 AARP RealPad MA7BX2 Screen Replacement, Back Cover: 步骤 1 中的图像 2,2
    • Loosen the back cover using the suction cup.

    • Pull up on the center of the back with the suction cup.

    • Pull up on all four corners of the back with the suction cup.

  2. AARP RealPad MA7BX2 Screen Replacement: 步骤 2 中的图像 1,1
    • Remove the back cover by gently placing the small opening tool in the crevice created by loosening the back.

    • Slide the opening tool around the edges of the device.

    • Wedge it open using the opening tool.

    • Use the suction cup again if you're having trouble removing the back cover.

  3. AARP RealPad MA7BX2 Screen Replacement: 步骤 3 中的图像 1,2 AARP RealPad MA7BX2 Screen Replacement: 步骤 3 中的图像 2,2
    • The black tape is stuck to delicate wires; remove with caution.

    • Peel off the silver tape.

    • Gently pull off the black tape.

  4. AARP RealPad MA7BX2 Screen Replacement: 步骤 4 中的图像 1,2 AARP RealPad MA7BX2 Screen Replacement: 步骤 4 中的图像 2,2
    • Using a JIS #000 screwdriver, remove the two 2.5 mm screws.

  5. AARP RealPad MA7BX2 Screen Replacement: 步骤 5 中的图像 1,2 AARP RealPad MA7BX2 Screen Replacement: 步骤 5 中的图像 2,2
    • Lift off the black audio cover.

  6. AARP RealPad MA7BX2 Screen Replacement, Motherboard: 步骤 6 中的图像 1,2 AARP RealPad MA7BX2 Screen Replacement, Motherboard: 步骤 6 中的图像 2,2
    • Remove the two JIS #000 screws.

  7. AARP RealPad MA7BX2 Screen Replacement: 步骤 7 中的图像 1,2 AARP RealPad MA7BX2 Screen Replacement: 步骤 7 中的图像 2,2
    • Flip up the small black connectors using a spudger or your nails.

    • Be careful when flipping them up. Too much force can cause them to break.

  8. AARP RealPad MA7BX2 Screen Replacement: 步骤 8 中的图像 1,1
    • Remove battery.

    • Removing the battery may need some force. Be careful as to not break anything.

  9. AARP RealPad MA7BX2 Screen Replacement: 步骤 9 中的图像 1,2 AARP RealPad MA7BX2 Screen Replacement: 步骤 9 中的图像 2,2
    • Use the tweezers to loosen up the sides of speakers by going into the gaps, before picking it up.

    • There are magnets holding down the speakers. Be careful as to not pick them up with the speakers.

    • The top of the speakers are very fragile and may fall out at the slightest touch. Be careful when picking them up.

  10. AARP RealPad MA7BX2 Screen Replacement: 步骤 10 中的图像 1,2 AARP RealPad MA7BX2 Screen Replacement: 步骤 10 中的图像 2,2
    • Remove all wire connections by sliding them out of the connectors.

    • Be careful as to not forcefully pull out anything because the wires are very delicate.

  11. AARP RealPad MA7BX2 Screen Replacement: 步骤 11 中的图像 1,1
    • Take off the motherboard and set it aside. Your Finished product should look like this.

  12. AARP RealPad MA7BX2 Screen Replacement, Screen: 步骤 12 中的图像 1,3 AARP RealPad MA7BX2 Screen Replacement, Screen: 步骤 12 中的图像 2,3 AARP RealPad MA7BX2 Screen Replacement, Screen: 步骤 12 中的图像 3,3
    • Use the suction cup to loosen and pull up the screen.

    • Be careful when pulling up screen. Too much force can lead to you breaking it.

结论

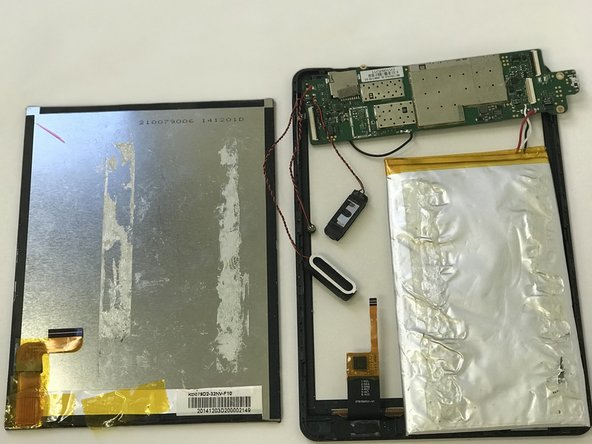
To reassemble your device, follow these instructions in reverse order.

一条评论

Remember to give the lengths for all screws. For warnings, try to be more straight forward and try not to use words like '“note.” Remember to add an introduction.

Jackson Reynolds - 回复

添加评论

浏览统计数据:

过去 24 小时: 0

过去 7 天: 0

过去 30 天: 2

总计 512