简介
With car issues being such a common problem in todays world, I thought it would be a good idea to minimize the times one must pay for labor on their own vehicle. That being said I have conducted a guide that will clearly and thoroughly walk you through the steps of replacing the taillight in a 2011 Hyundai Elantra.
你所需要的
-
-
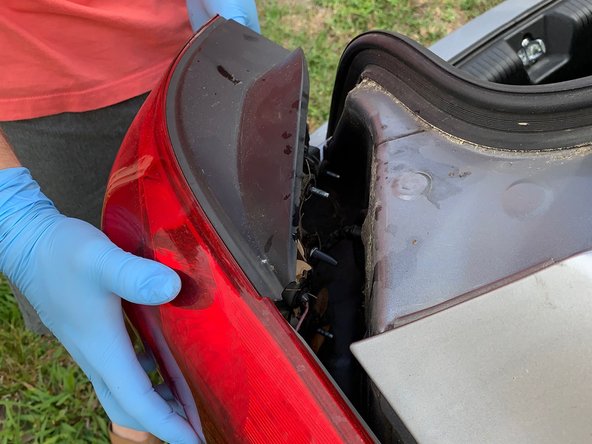
Open the trunk.
-
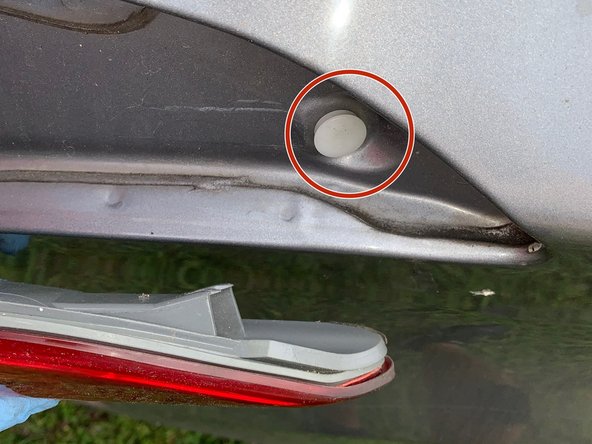
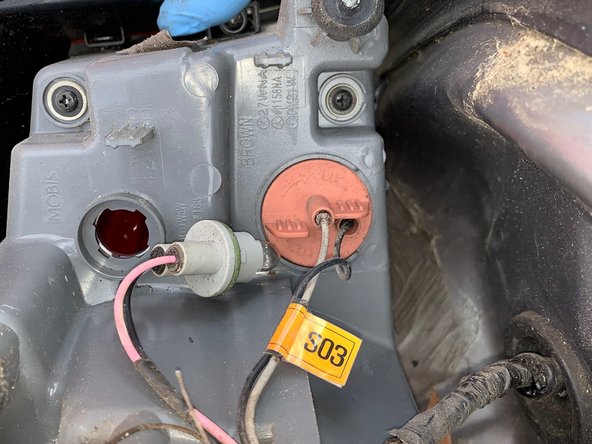
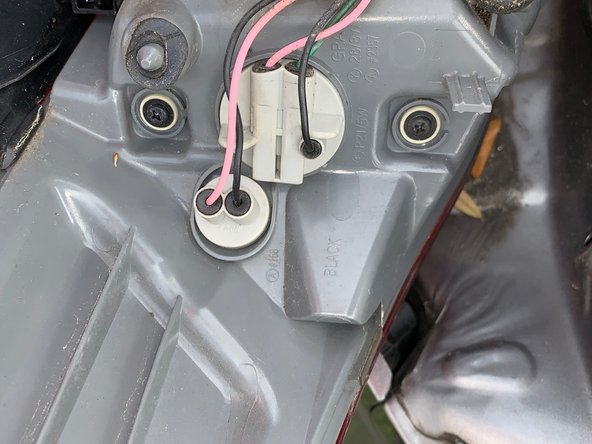
Lift the latch built into the carpet liner on the right side. Remove the cover in order to see the bulb covers.
-
-


To reassemble your device, follow these instructions in reverse order.
To reassemble your device, follow these instructions in reverse order.
团队

USF Sarasota-Manatee, Team S1-G1, Stewart Spring 2019 USF Sarasota-Manatee, Team S1-G1, Stewart Spring 2019 的会员
USFSM-STEWART-S19S1G1
18 名成员
创作了27篇指南