当前版本的文档还未经巡查,您可以查看最新的已查核版本。
简介
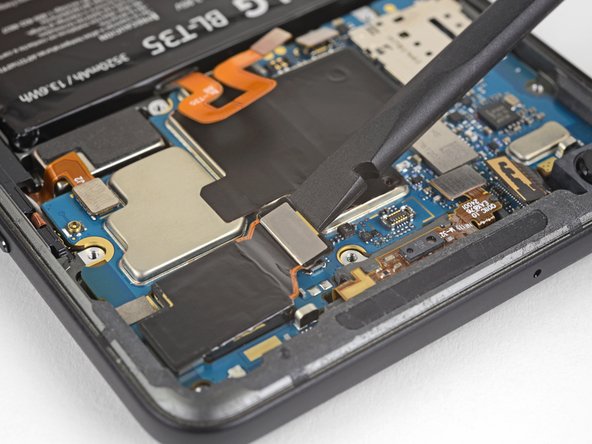
后者摄像头能进行照相和摄像。这份指南能教你如何在不损坏其他组件的情况下拆下有缺陷的摄像头。在开始前一定要确定你拥有下面列出的所有必须的工具。我们还建议你在使用吸盘和撬棍的时候要十分小心。
你所需要的


倒叙操作来重装你的设备。
倒叙操作来重装你的设备。
15等其他人完成本指南。

5条评论
Is there a guide for replacing the lens cover? I bought the replacement camera and lens cover, but not sure how to replace the cover. I may not even need a new camera, since my camera is just a little blurry. Any help would be appreciated!
Unfortunately we don’t have a guide for the camera lens cover yet. It’s just adhered to the back of the phone, so you should be able to heat it and carefully pry it up, or push it out from the inside of the phone. Before installing the new lens cover make sure you scrape all the old adhesive off of the phone and clean adhesion surface with isopropyl alcohol. Then you should be able to use the provided adhesive to install the new cover. Try not to touch the clear part of the new cover since fingerprints might be tough to clean off.
Also, I’d probably try just replacing the lens cover first and then testing the camera (without sealing the phone closed) and see if that fixes your issue before you replace the whole camera. Hope that helps, and good luck with the repair!
I just recently replaced the camera and lens on a pixel 2 xl, after installing and reassembly every time I opened the camera app it just came up dark screen and closed, I cleared cache, memory and even ended up performing a hard reset on the device and nothing helped; also updated the OS and the camera app and nothing helped out. Any suggestions?
Sorry you're experiencing that. I just did the camera replacement, and didn't need to clear any cache or anything, and it just works