本指南有最近更改,您可查看未经巡查的最新版本。
简介
扬声器组件控制着手机的发声。这份指南会教你如何在不损坏其他组件的前提下移除扬声器组件。在开始前请确定你拥有下列有效完成更换所必需的所有工具。我们还建议你在使用吸盘、撬棍、镊子时一定要小心。
你所需要的
-
-
-
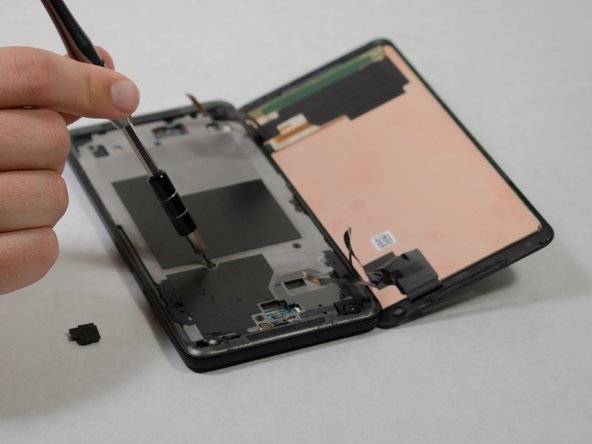
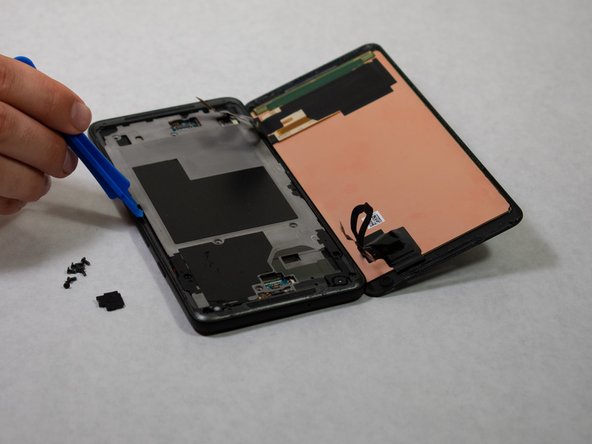
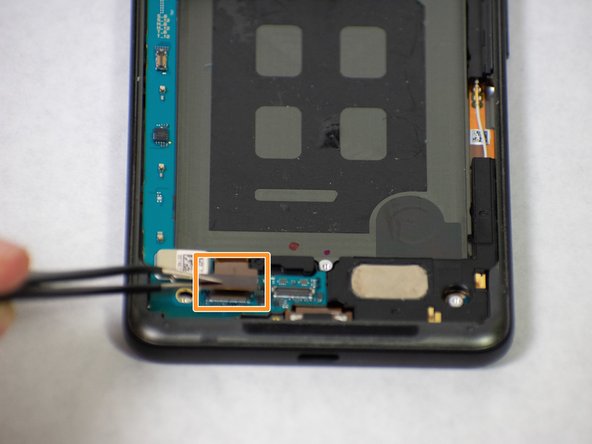
用塑料撬棍撬下扬声器组件。
This step was very difficult, I believe I just snapped the loudspeaker to the left of silver oval piece
C Grzymala - 回复
I was just able to remove the loud speaker using the directions provided. The piece sprung out of the phone. The bottom of the piece is flat with pieces of metal and it appears to be slightly bent from my prying. We will see if it still works.
C Grzymala - 回复
I ended up using my metal silver spudger. It goes in farther without prying on the fragile plastic. I’m replacing the charging circuit anyway, so not too worried about minor damage
This is a difficult step. Pictures indicating other safe pry points would be helpful.
Most stubborn component to remove.
I was able to remove this without great stress on the part by inserting my right thumbnail (thumbprint facing the battery / top of the phone) in between the loudspeaker and the phone body above the silver oval, while at the same time using my left index fingernail to gently lift the long left side protrusion of the loudspeaker. Note that the plastic opening picks were too thick for this. Took twenty minutes or more to figure this out, but about two minutes or less to do it. The fundamental problem seems to be that this part is friction-fit into place, and you won’t get it out all in one motion without risk of breaking it, you have to work at it alternately from every angle. I also added a few drops of everclear (95% ethanol, isopropyl was hard to come by because of COVID), which may or may not have mattered (I have no control for this experiment). I believe there was no damage to the part.
-


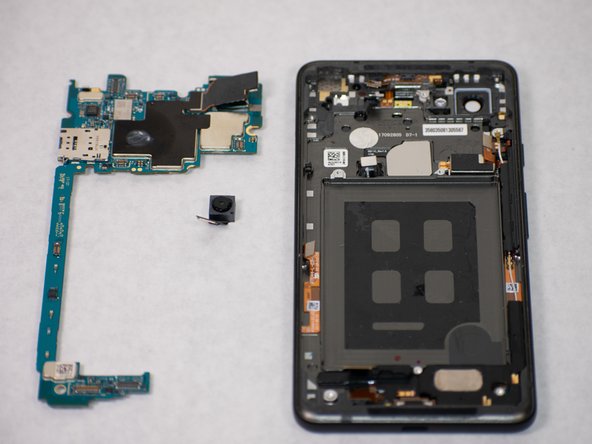


倒叙操作来重装你的设备。
倒叙操作来重装你的设备。
7等其他人完成本指南。
团队

Cal Poly, Team S7-G1, Paton Spring 2020 Cal Poly, Team S7-G1, Paton Spring 2020 的会员
CPSU-PATON-S20S7G1
3 名成员
创作了14篇指南
2条评论
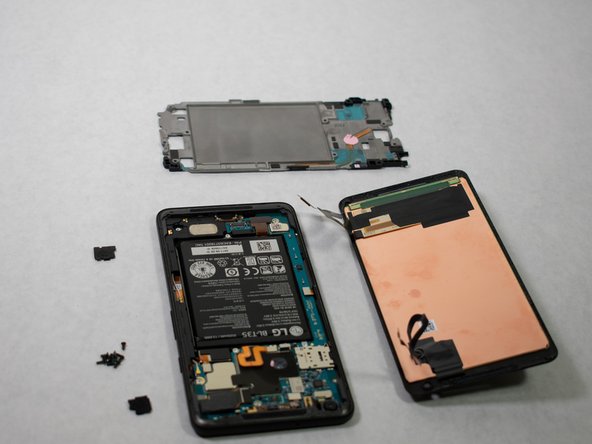
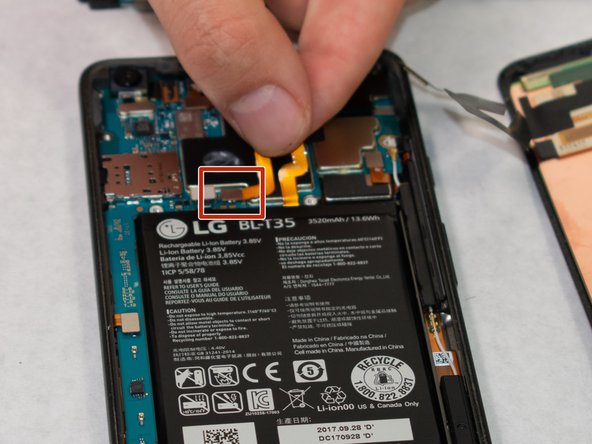
Does this method work with the earpiece one as well?
We don’t have official instructions out for the earpiece speaker, but it’s only accessible underneath the glass panel and antenna assembly on the back of the phone so removing it is a bit different. After removing the motherboard you would have to lift this flex cable from the back of the phone, just enough to separate it from the adhesive holding it down. Then you can carefully pry up the glass panel, and remove antenna assembly and the earpiece speaker underneath. You’ll probably need an iOpener, suction cup, and opening picks to remove the panel and everything underneath—they’re all glued down pretty solidly.