简介
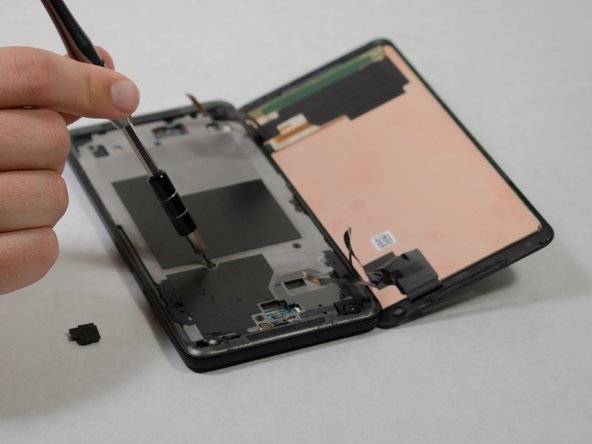
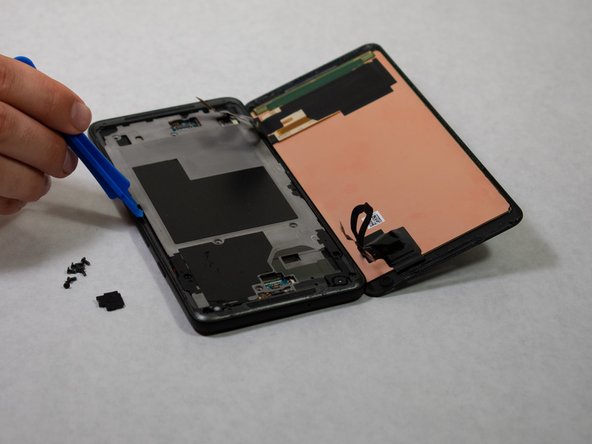
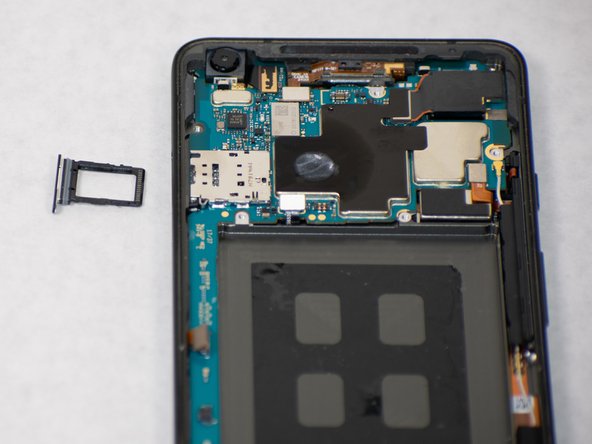
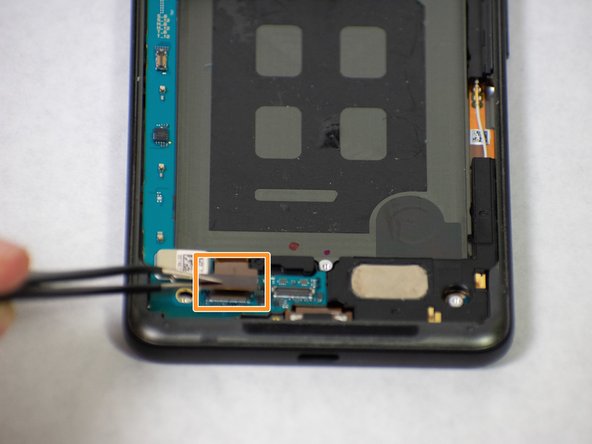
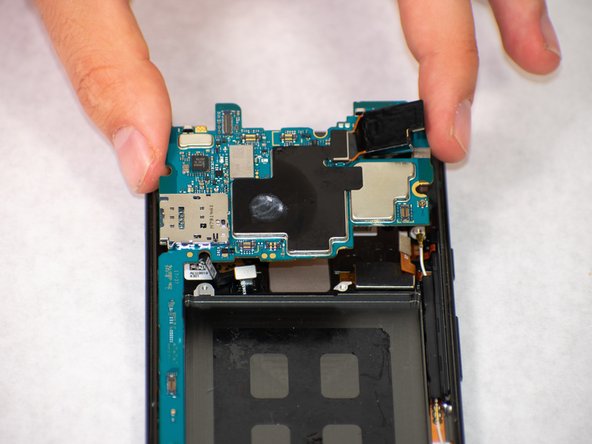
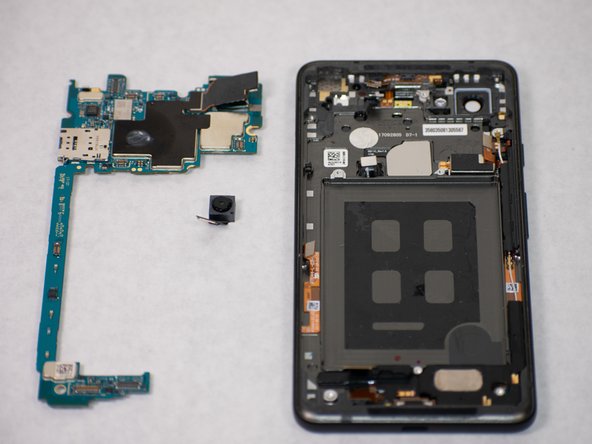
扬声器组件控制着手机的发声。这份指南会教你如何在不损坏其他组件的前提下移除扬声器组件。在开始前请确定你拥有下列有效完成更换所必需的所有工具。我们还建议你在使用吸盘、撬棍、镊子时一定要小心。
你所需要的


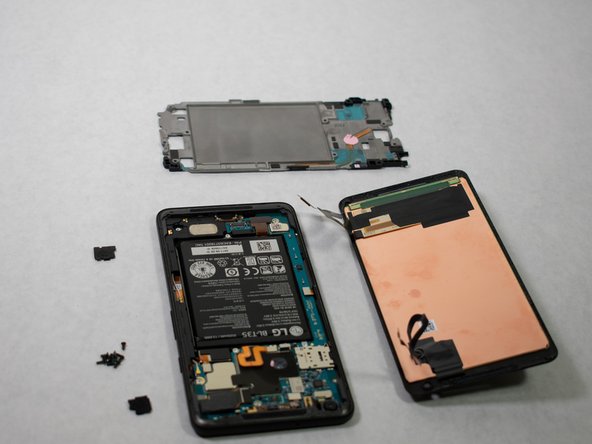


倒叙操作来重装你的设备。
倒叙操作来重装你的设备。
7等其他人完成本指南。
团队

Cal Poly, Team S7-G1, Paton Spring 2020 Cal Poly, Team S7-G1, Paton Spring 2020 的会员
CPSU-PATON-S20S7G1
3 名成员
创作了14篇指南
2条评论
Does this method work with the earpiece one as well?
We don’t have official instructions out for the earpiece speaker, but it’s only accessible underneath the glass panel and antenna assembly on the back of the phone so removing it is a bit different. After removing the motherboard you would have to lift this flex cable from the back of the phone, just enough to separate it from the adhesive holding it down. Then you can carefully pry up the glass panel, and remove antenna assembly and the earpiece speaker underneath. You’ll probably need an iOpener, suction cup, and opening picks to remove the panel and everything underneath—they’re all glued down pretty solidly.